When it comes to Yin Yoga, it’s important to recognise how different it is from Vinyasa or Bikram Yoga, especially when teaching classes. Our tips are tailored to this practice, helping you to get the most out of students when teaching these classes.
Tip #1 – Use Traffic Light Systems To Monitor Comfort Levels During Each Yin Yoga Pose

Our first piece of advice for Yin Yoga teachers is to consider using a traffic light system to monitor student pain levels.
Yin Yoga involves a slower and more meditative practice. Clients hold poses for much longer than during Vinyasa Yoga – this can be from 3 minutes up to 20!
With this in mind, you want students to stretch deeply enough for it to be felt over time but not so hard they overstrain their muscles or injure themselves.
This is where the traffic light system comes in and can be done verbally or by holding up flashcards:
Green – Students should feel no discomfort at all and can easily hold the pose.
Amber – Students feel the stretch and mild discomfort but can hold it for the duration.
Red – This is the danger zone where students will find a pose very painful.
Using this system, you ideally want students to be in the amber zone. This means they can feel their bodies adapting to the pose but shouldn’t be experiencing serious pain.
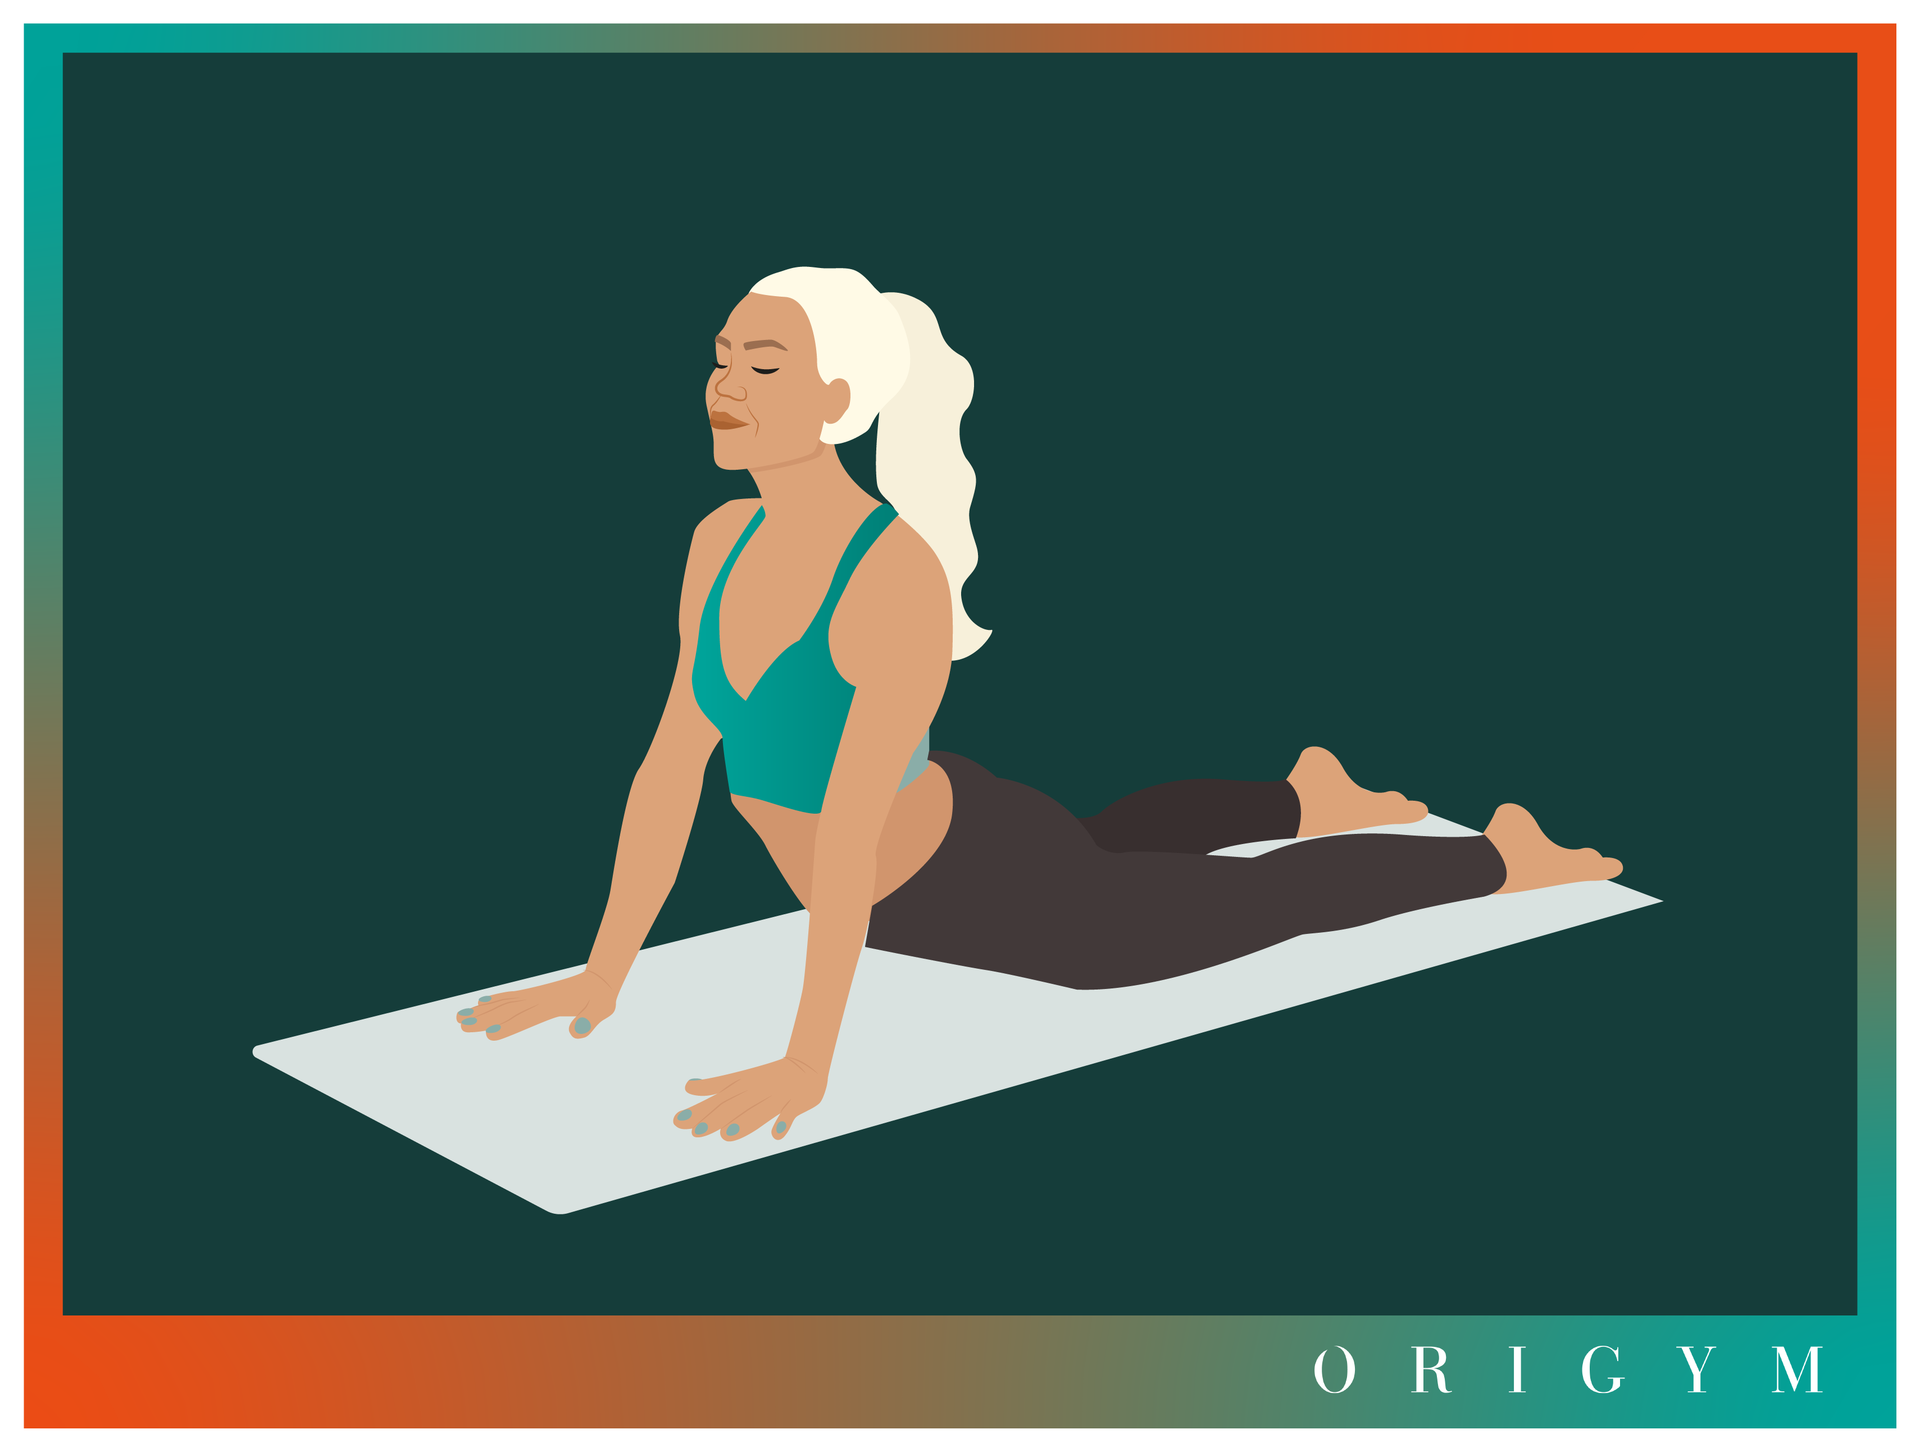
Minor discomfort is reasonable as it means their bodies are working hard and getting the most out of their practice. However, If your students are in the red zone they risk injury and may set themselves back in their practice.
Always remember ‘no pain, no gain’ has no place in teaching Yin Yoga. This can produce a negative mindset and students may develop the idea they are only reaching their goals if they experience pain.
On the other hand, easy and simple poses offer no room for improvement and students may find these classes boring.
Tip #2 – Use Yoga Props To Help Students Make The Most Of Different Yin Yoga Poses

Props can make a huge difference when deciding how to teach each Yin Yoga pose, especially if you learn to use them effectively.
Props for Achieving a Yin Yoga Pose
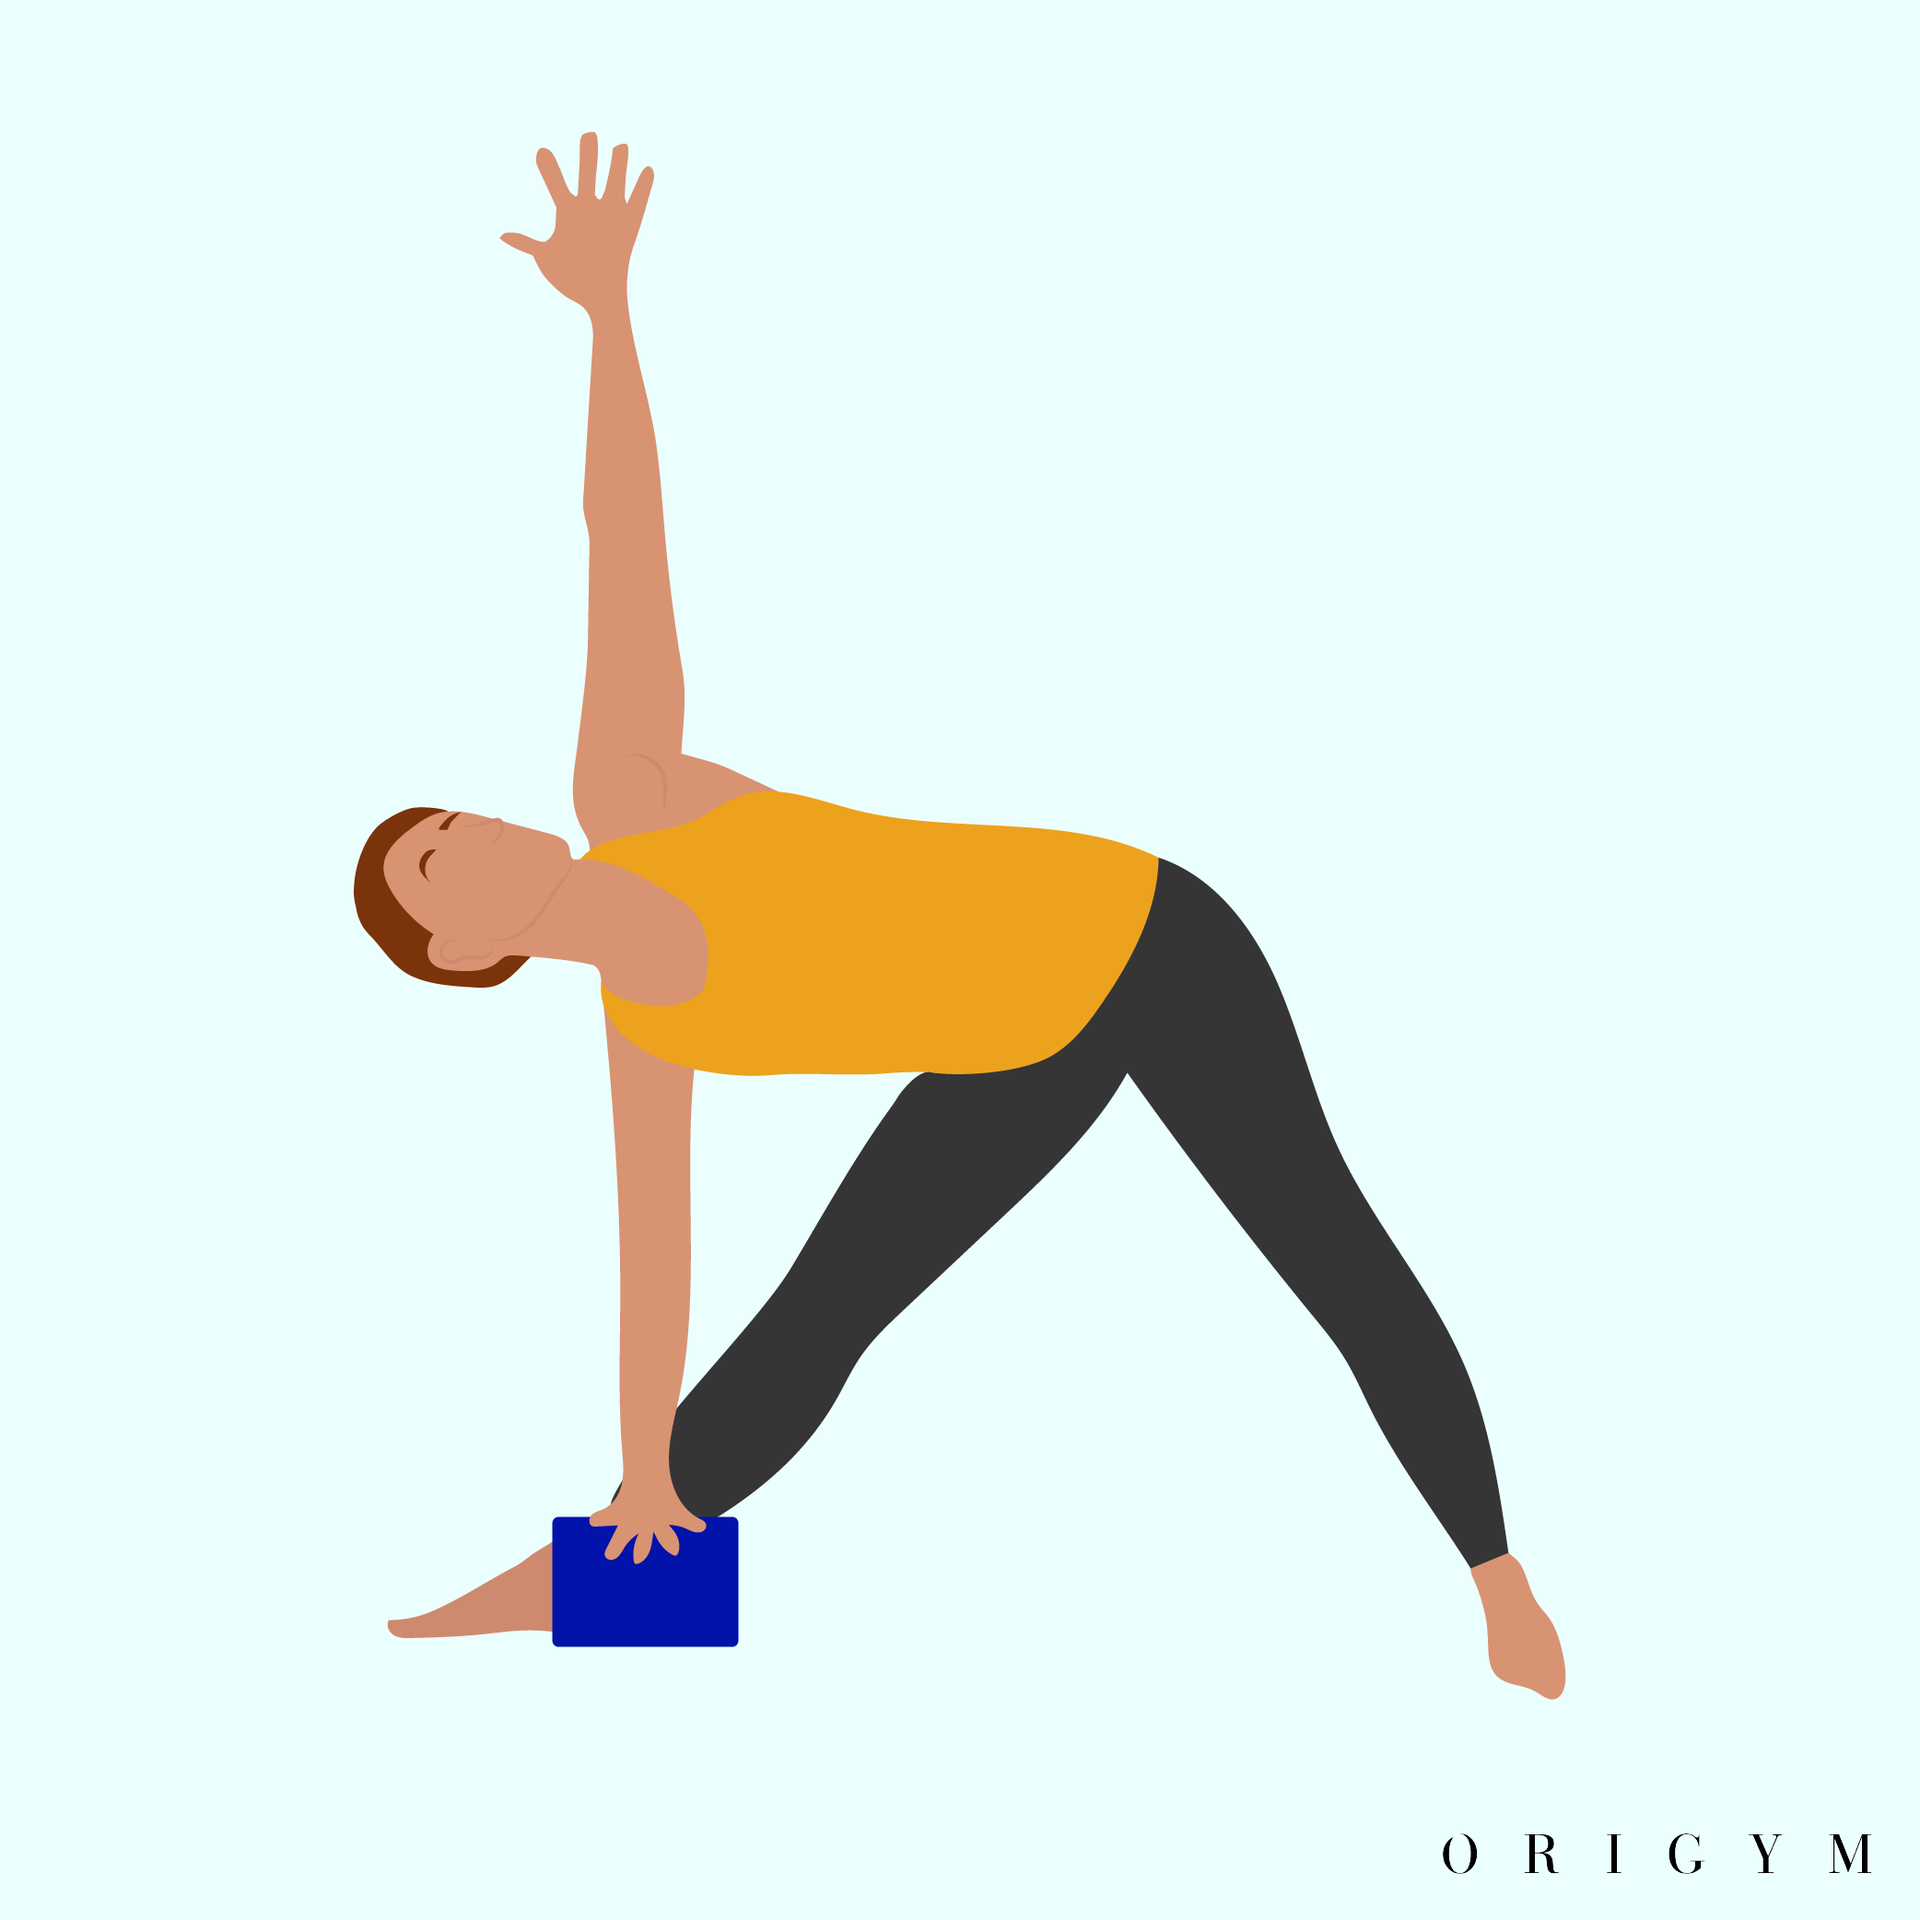
Yin Yoga encourages relaxation and releases your muscles as you stretch. Using props appropriately can help students stay still and relaxed for extended periods of time.
Your props can range from simple yoga blocks to blankets and bolsters. These can all be used to make different postures more achievable or effective depending on the student.
For example, if you have a client who can’t comfortably achieve the pose long enough to hold it as they’re in the red zone, you could use a bolster to support their bodies and make the posture easier.
On the other hand, you could also use a yoga block to get a deeper stretch, bringing some clients out of the green zone and into amber.
It all depends on how a student can fit into each posture and working with them to ensure they’re getting the most from the class.
Using a prop to support a posture isn’t ‘cheating’ – there’s no shame in a student needing something extra to reach different poses.
One key piece of advice for Yin Yoga teachers is to encourage students to listen to their bodies and do what feels right. If that means using a block to make things easier, that’s perfectly fine!
Props for General Comfort During Yin Yoga Poses
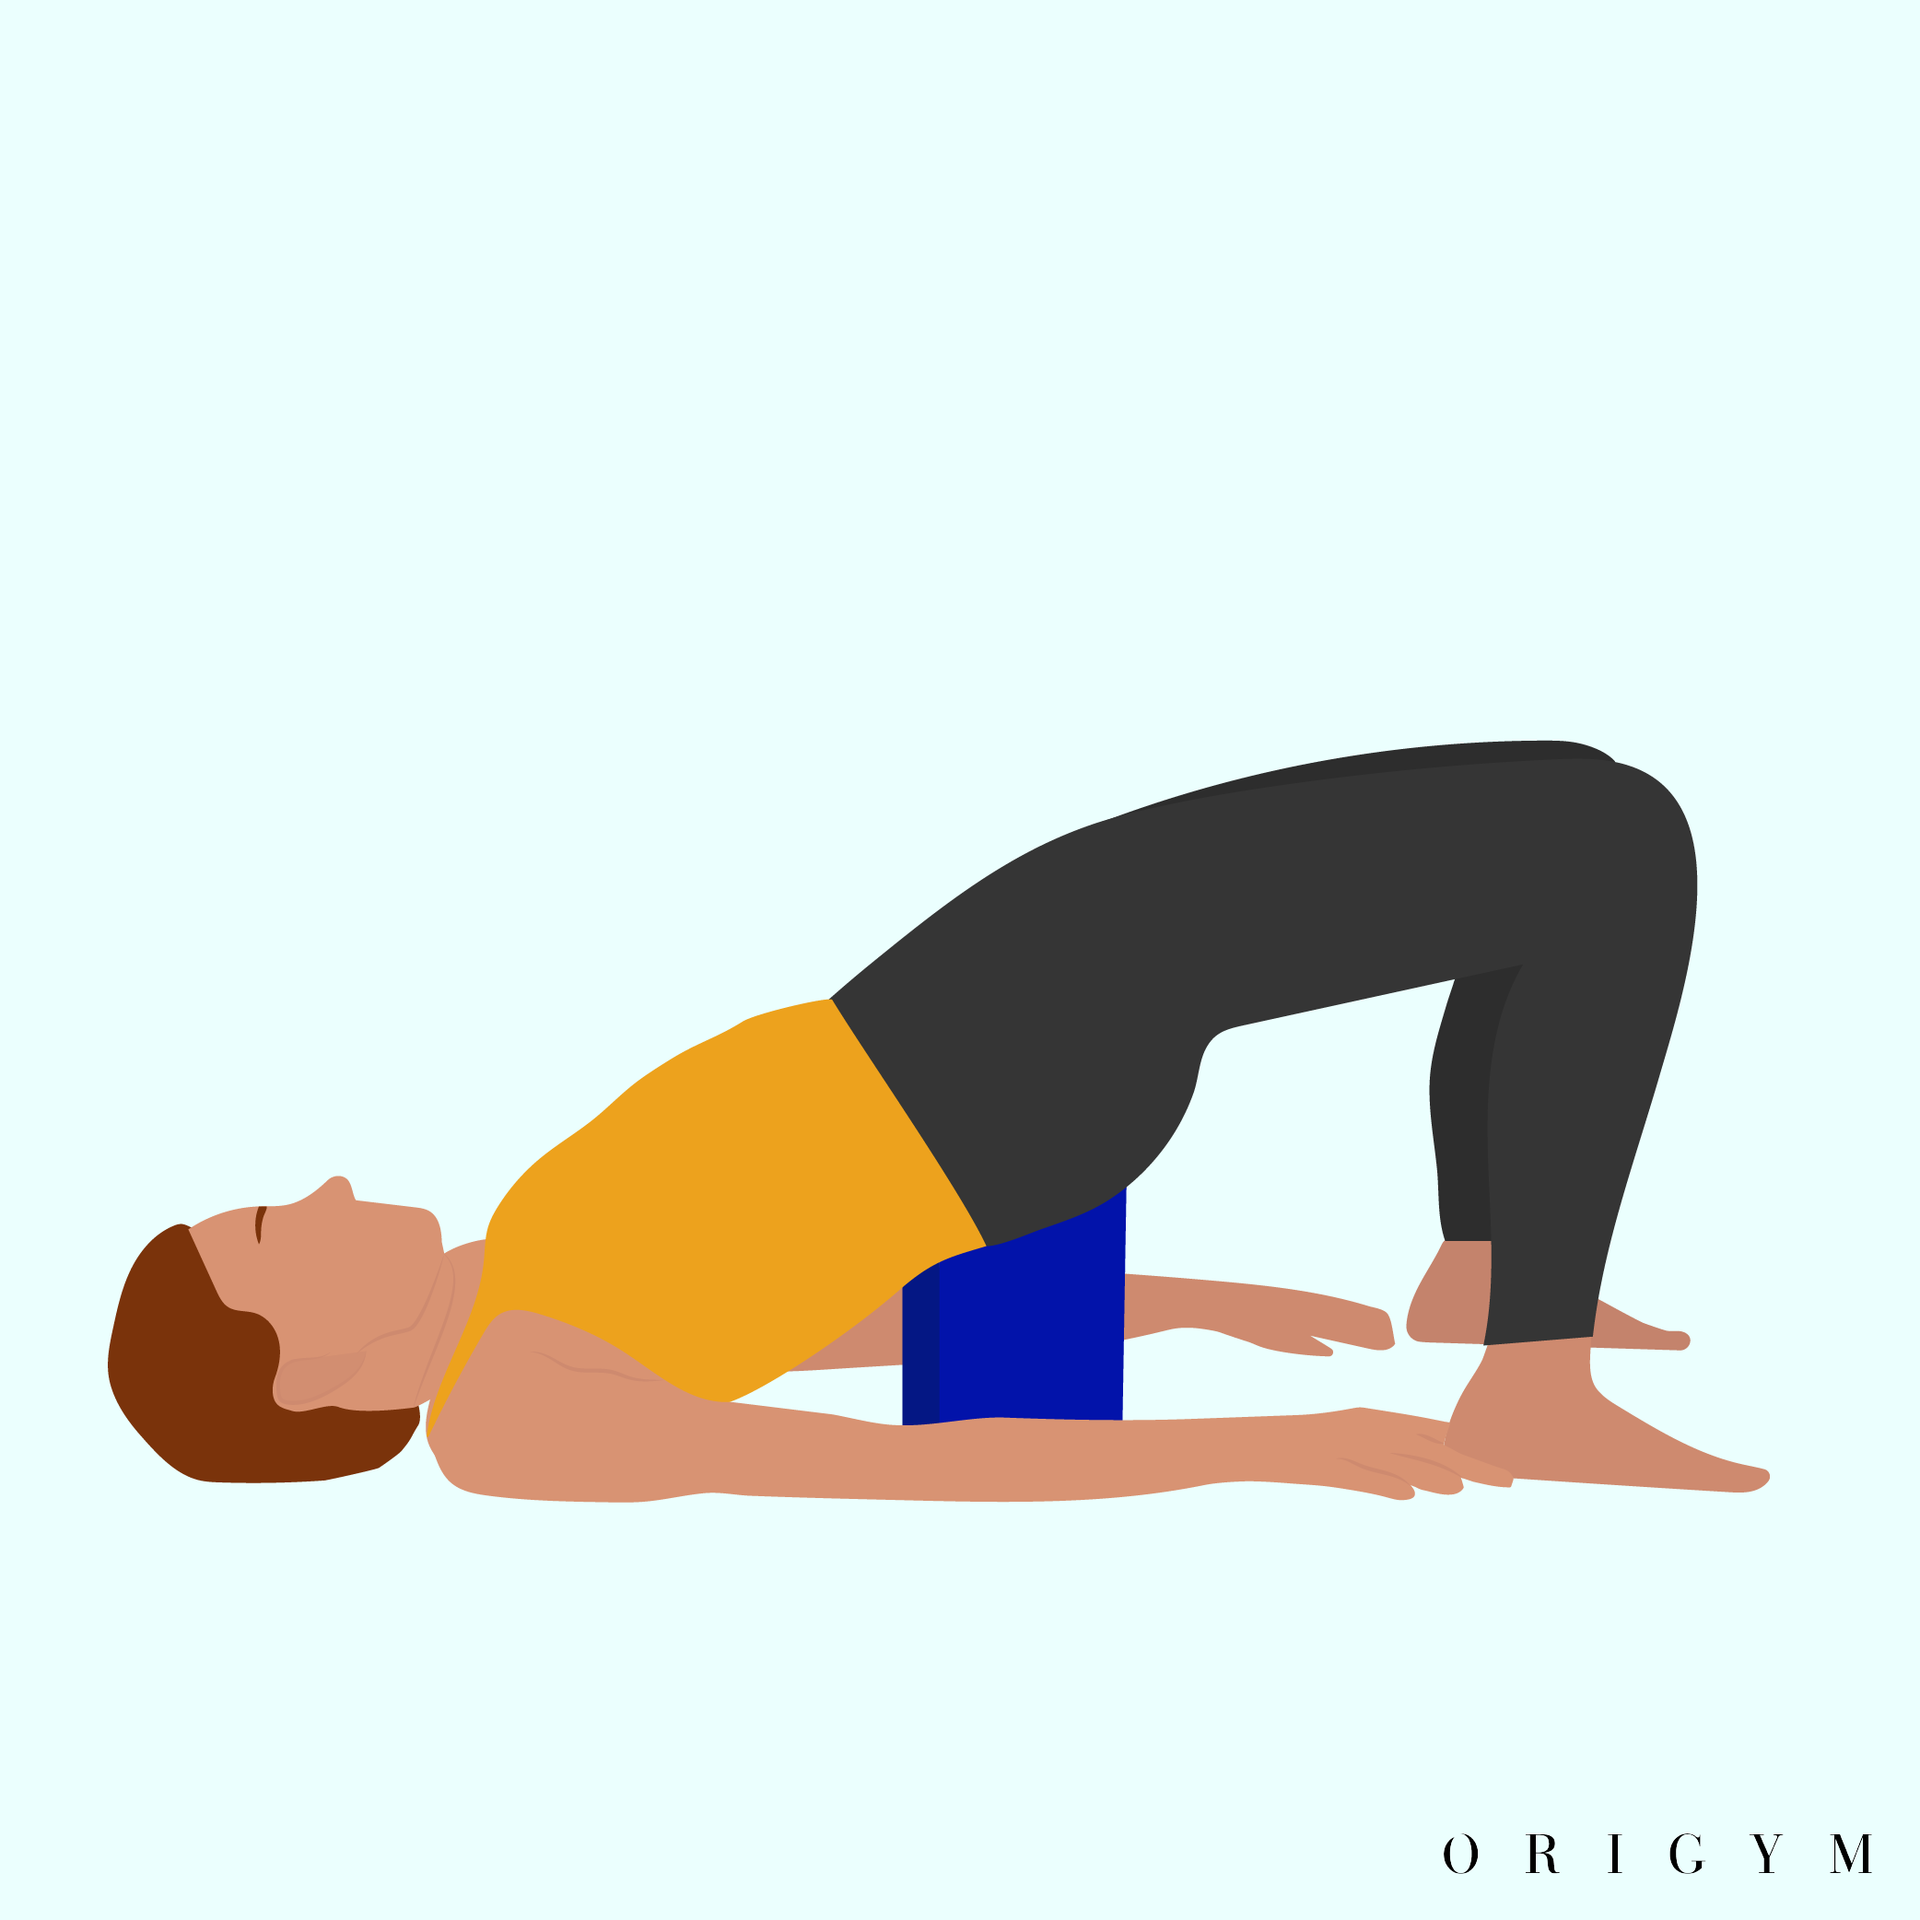
When instructing a Yin Yoga class, you can use props to make things more comfortable. In Yin Yoga, it’s likely you’re going to be holding a pose anywhere between 3 to 10 minutes which can be uncomfortable on a hard floor.
Using extra yoga mats or blankets can go a long way in ensuring your students are comfortable during each posture. This allows them to fall into the pose and concentrate on relaxing or slipping into a meditative state.
Tip #3 – Consider How And When Is Best To Speak Vs Staying Silent
Yin Yoga is arguably among the most meditative of all different types of yoga styles. Knowing how to speak properly during class is important for setting the mood.
Tone of Voice

When learning how to teach a Yin Yoga class, one thing you should bear in mind is your tone of voice.
In terms of modulating your voice, our tips for Yin Yoga teachers is to be firm yet soft. A soft speaking voice will help keep the relaxed mood you want for the class.
Keeping your tone light and friendly will also help students stay within the meditative mindframe and make your clients relate more with your teaching style, making them more likely to come back to class.
However, you should still be assertive so your students listen and respond positively to your authority.
Speaking Up Vs Staying Silent

Another key point to consider when you start thinking about how to instruct a Yin Yoga class is learning when it’s appropriate for you to speak and when you should stay quiet.
If you want to keep a relaxed atmosphere where your students feel comfortable enough to meditate, you can’t speak too much and break their concentration.
As a loose guideline, try not to speak for more than 30 seconds for each minute your class is being held. This should be enough time to explain the posture and how to transition into the pose.
This isn’t a hard and fast rule, but it’s a great place to start when you’re learning what will work best for your class.
When you’re helping clients individually, keeping a low voice won’t disturb others in the class so feel free to take your time with each student as you need to help them get the best from each posture.
Tip #4 – Think About The Atmosphere You Want To Create In The Yin Yoga Studio

Another of our ‘how to teach Yin Yoga’ tips involves carefully considering the mood in your studio and what you can do to create the best atmosphere for your class.
There are several methods you can use which we’ll briefly go through below.
Using Music or Ambient Noise During Yin Yoga Classes
One way to create a mood within a space is by using music! Different backing tracks can relax or energise a studio, meaning it’s important you choose the best sounds for your class.
A Yin Yoga class should be calm and relaxed. Quiet classical music or gentle acoustic guitar songs are definitely one way to go. You can create a yoga Spotify playlist to provide background sounds for your class without being too loud or complicated.
However, some advice for Yin Yoga teachers is to be careful when choosing anything with lyrics. This could distract your students while instructing your Yin Yoga class.
These tracks will easily slip through the ears of your class, providing stimulation without distraction.
Using Scents to Create Atmosphere During Yin Yoga Classes

If you want to increase the relaxation factor of your Yin Yoga class, aromatherapy is a simple extra that can make a big difference.
In terms of scents, our best ‘how to’ for teaching a Yin Yoga class is to choose earthy or subtle floral scents.
Flowers like lavender or jasmine and herbs like sage and rosemary are commonly used in relaxants, making them a great option to choose from for your studio.
We do recommend you avoid strong citrus smells as these tend to be stimulating, which doesn’t fit the mood you want.
Scents are an easy way to set the right tone for your class from the beginning and a great way to show your individual taste and personality during class.
Create An Atmosphere Using Temperature During Yin Yoga Classes

When you learn how to teach a Yin Yoga class, one thing you should remember is the temperature of your studio is cooler than Vinyasa, and much cooler than Bikram.
This is because warmer temperatures encourage the muscles to feel the stretch whereas in Yin Yoga you want the feeling to go deeper into the connective tissues. Cooler temperatures allow the stretch to deepen through the body.
One thing to remember when you’re designing the mood for your class is to make sure the studio is on the cooler side to make sure your students get the most from their session.
Tip #5 – Plan Your Yin Yoga Sequences So They Flow Smoothly
Knowing how to sequence a Yin Yoga class properly is an incredibly important skill because it helps the class feel professional.
The right sequence ensures students will be able to work in a logical way around the body and are less likely to overtrain an area or skip over it entirely during their workout.
Depending on the theme of your routine, students may be focusing on a more specific area of the body, so it’s important you have the right variety of poses to work through this area without repeating the same muscle group too often.
In a lower body routine, you’ll want to choose poses that cover everything from hip to foot to provide a full experience for each leg.
These poses work as hip openers at different angles, as well as stretching the quads and hamstrings.
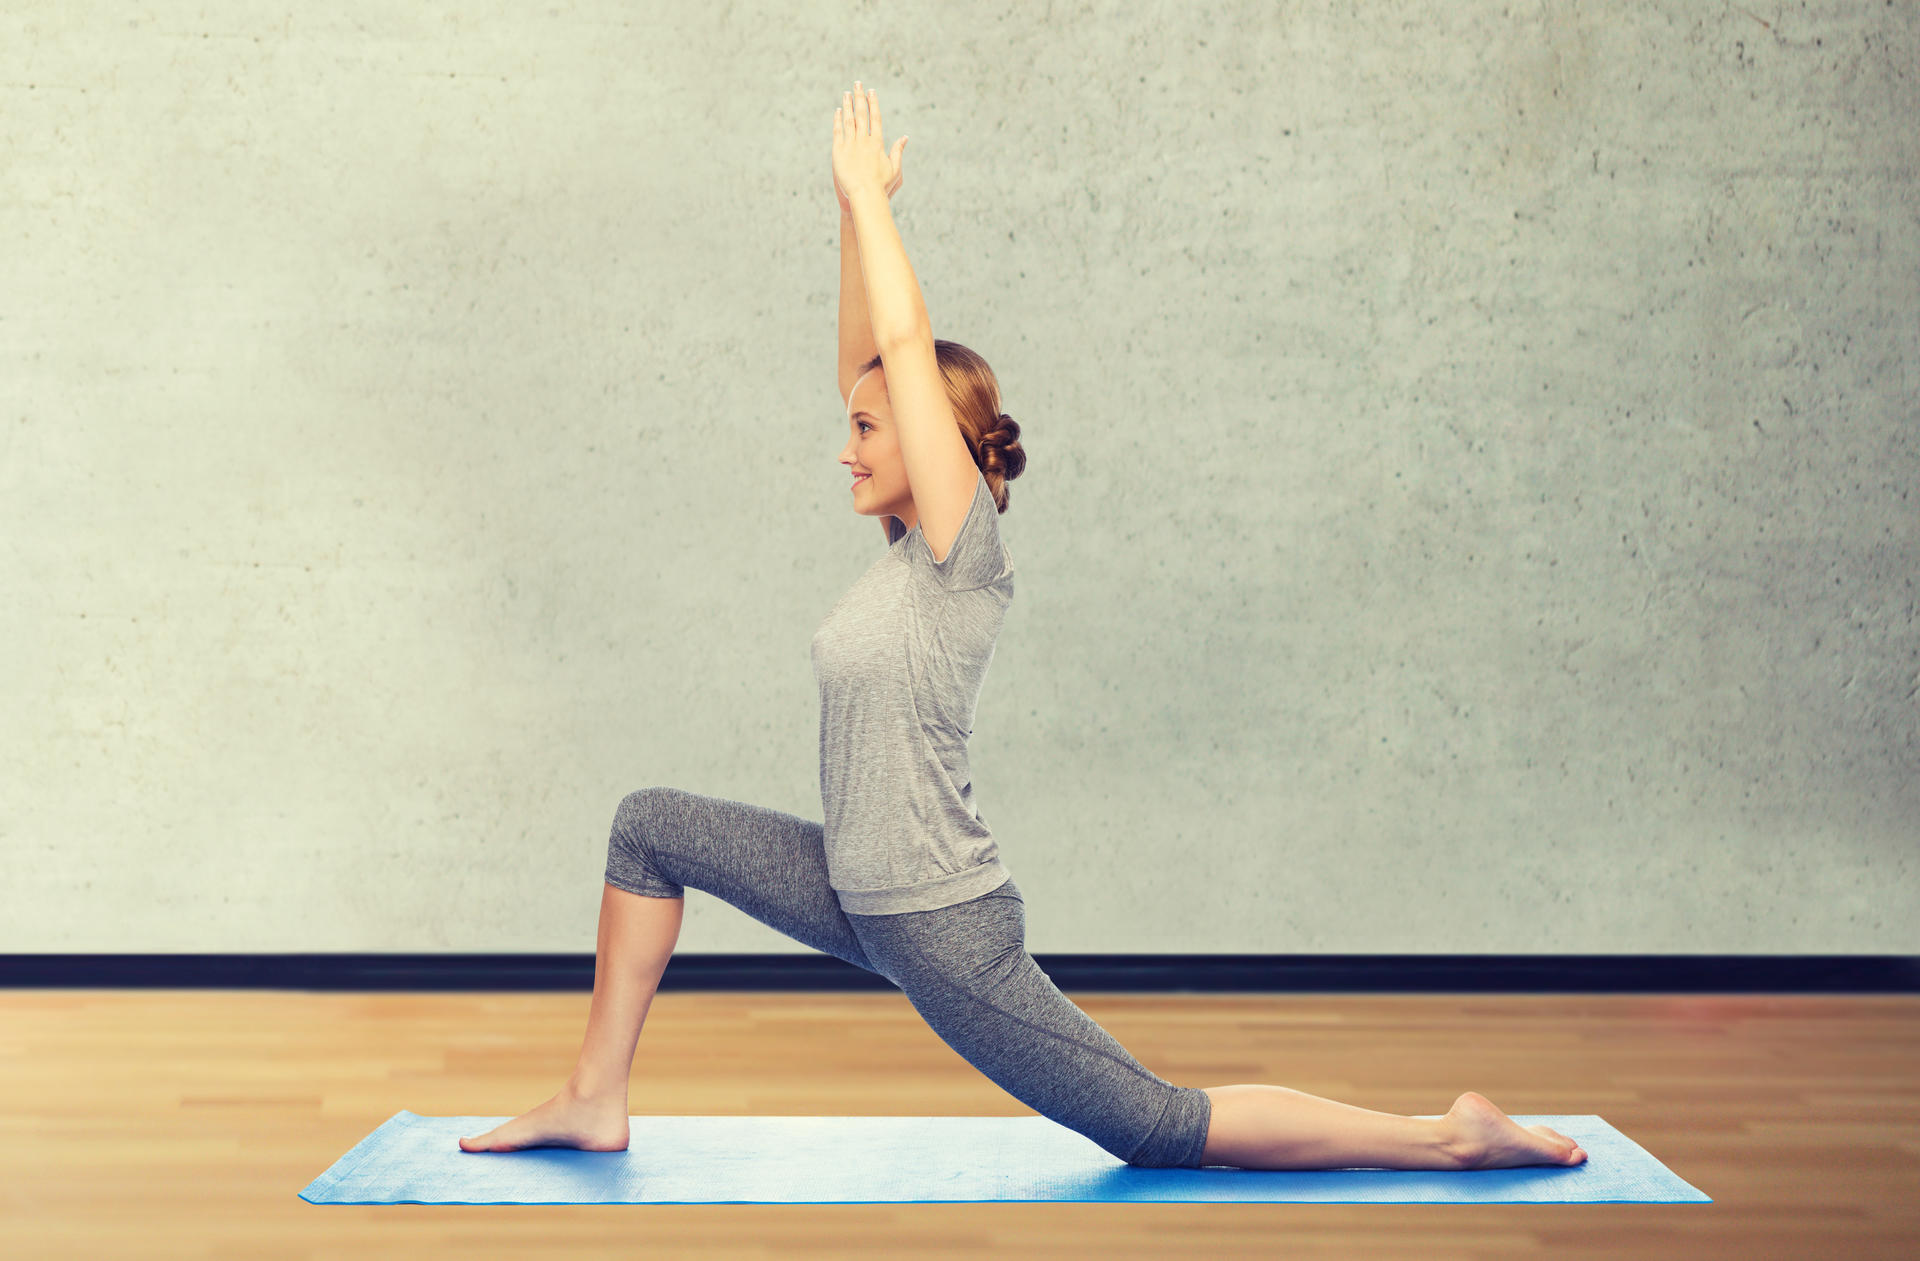
This style of routine means students can work evenly across each leg and get deep into any problem areas they may be experiencing.
Another reason you should know how to sequence a Yin Yoga class routine is because the right routine will create a thorough experience for your students and they’ll be able to flow through the poses easily without getting stuck in the transitions.
Lastly, Yin Yoga as a whole relies on holding a series of poses for an extended period of time, encouraging a deeper stretch in the body.
To this end, you’re going to have fewer poses in your practice as each will be held for a minimum of 3 minutes.
Choosing the right poses becomes doubly important when you’re making a rich and full class experience for your clients. You don’t want students to leave the session feeling like they haven’t made any progress, meaning you need to consider how your routine will flow.
Tip #6 – Consider Function Over Form When It Comes To Yin Yoga Poses

Function over form is one of the most important tips for Yin Yoga teachers.
Remembering this will make you a more attentive and helpful Yin Yoga teacher in the long run. It will also make your classes a fuller experience for your clients.
Yin Yoga is a functional exercise practice. It’s designed to provide a deeper stretch for the body, as well as an opportunity to connect mentally to the self. Students could even slip into a meditative state during select poses.
While the poses are obviously important in terms of function, their overall form is more of a guideline for how they’re done rather than a hard and fast rule.
Teachers and students can often get too invested in achieving the correct form or moving onto the next level of the pose they forget to listen to their bodies.
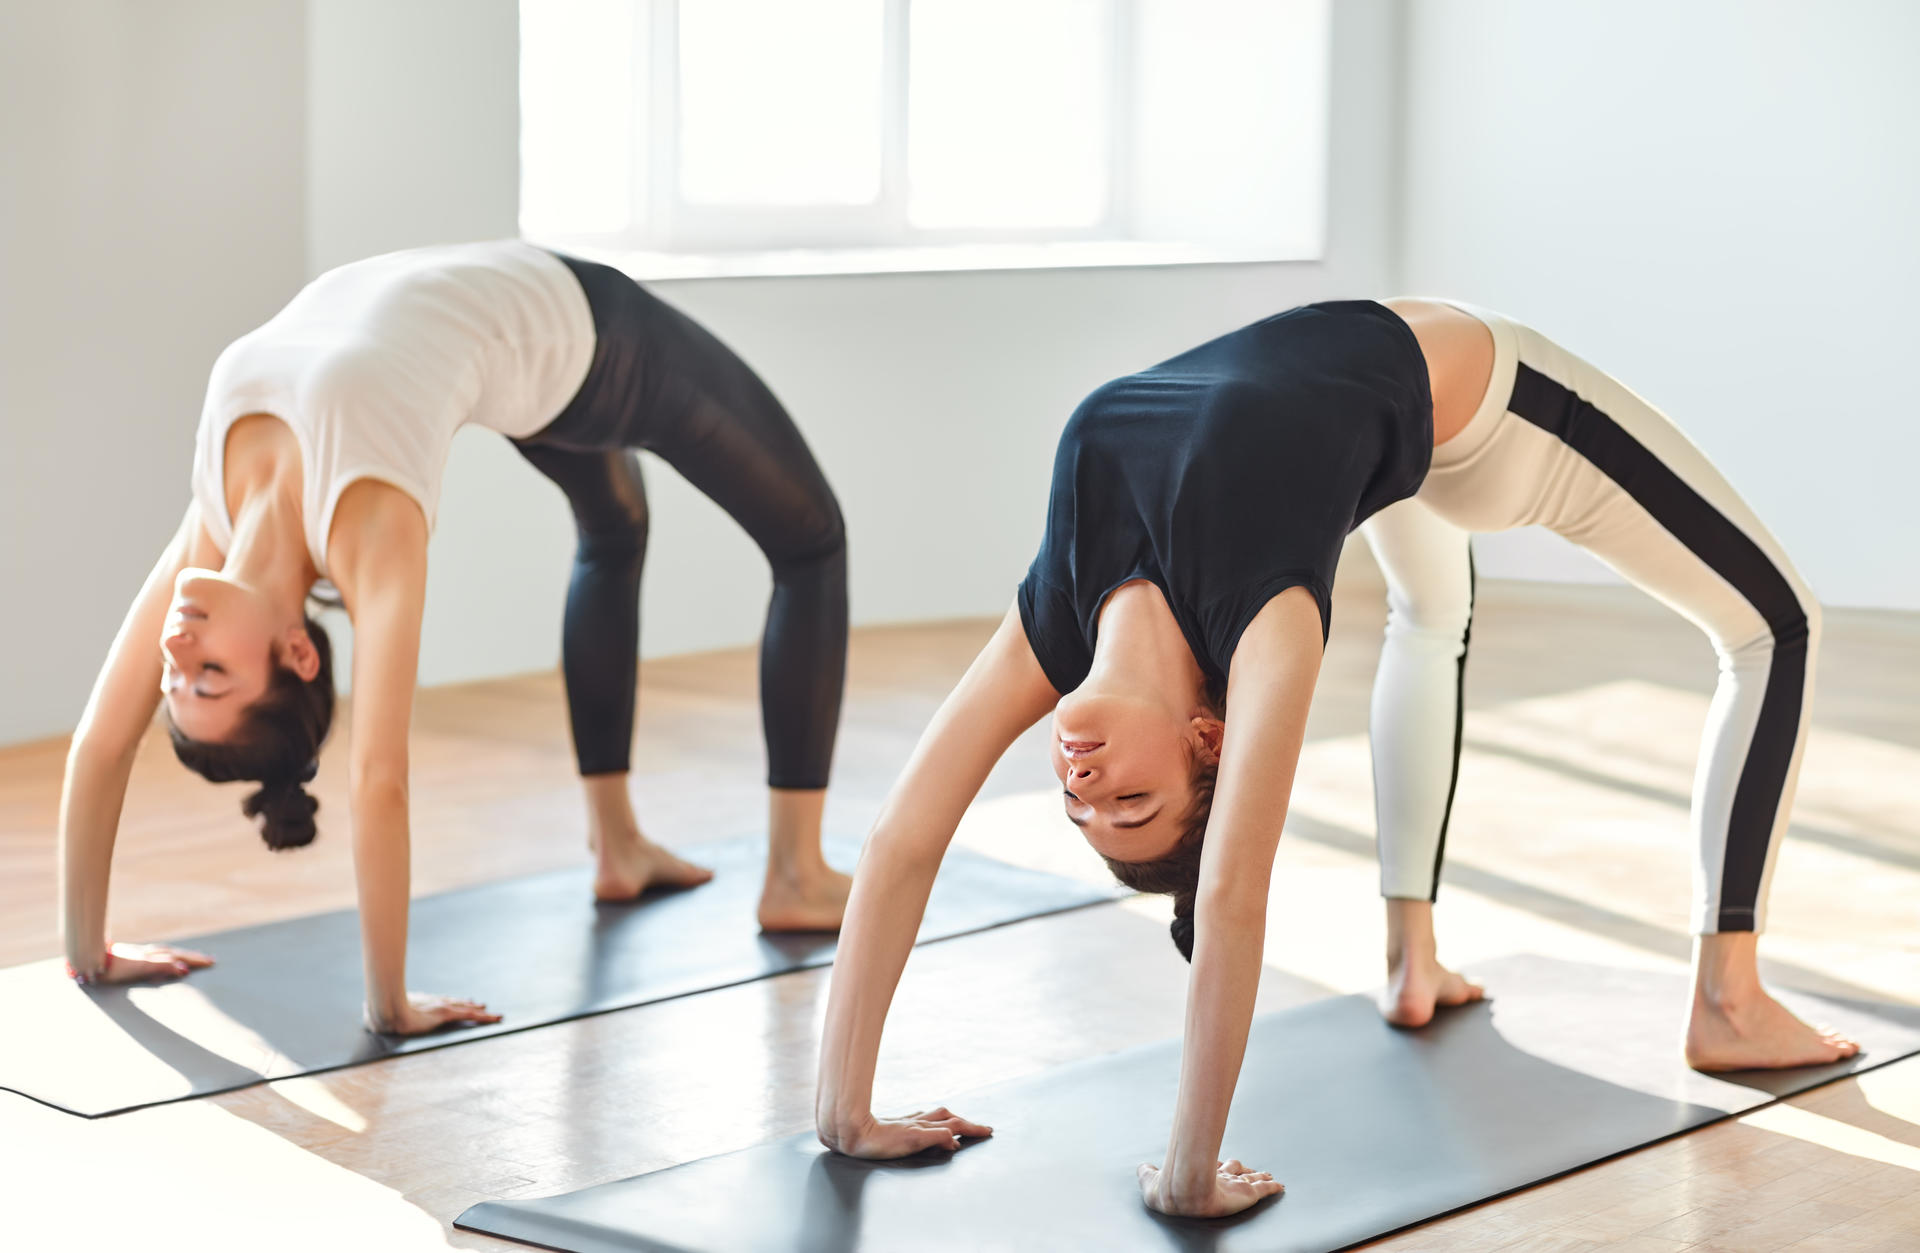
Everyone has their own body structure, meaning poses will look and feel slightly different to each individual.
As someone who is instructing a Yin Yoga class, you need to be aware of this and work with it, rather than forcing your students into uncomfortable or ineffective positions in the name of achieving the correct form.
Instead, you should encourage students to listen to their bodies while you’re teaching Yin Yoga and help them work towards the original function of a pose.
Our advice for Yin Yoga teachers is to see how each student first fits into a posture and how their own body alignment interprets a pose before you offer any assistance or corrections.
Encourage students to listen to their bodies and work with them to achieve a pose, otherwise they risk overstraining their muscles and potentially injuring themselves.
Become a Master Yoga Teacher with Origym
Develop your skills and knowledge to become the ultimate Yin Yoga Teacher with our range of Level 4 Yoga Teacher Training!
Tip #7 – Pay Attention To Transitions Between Yin Yogas Poses
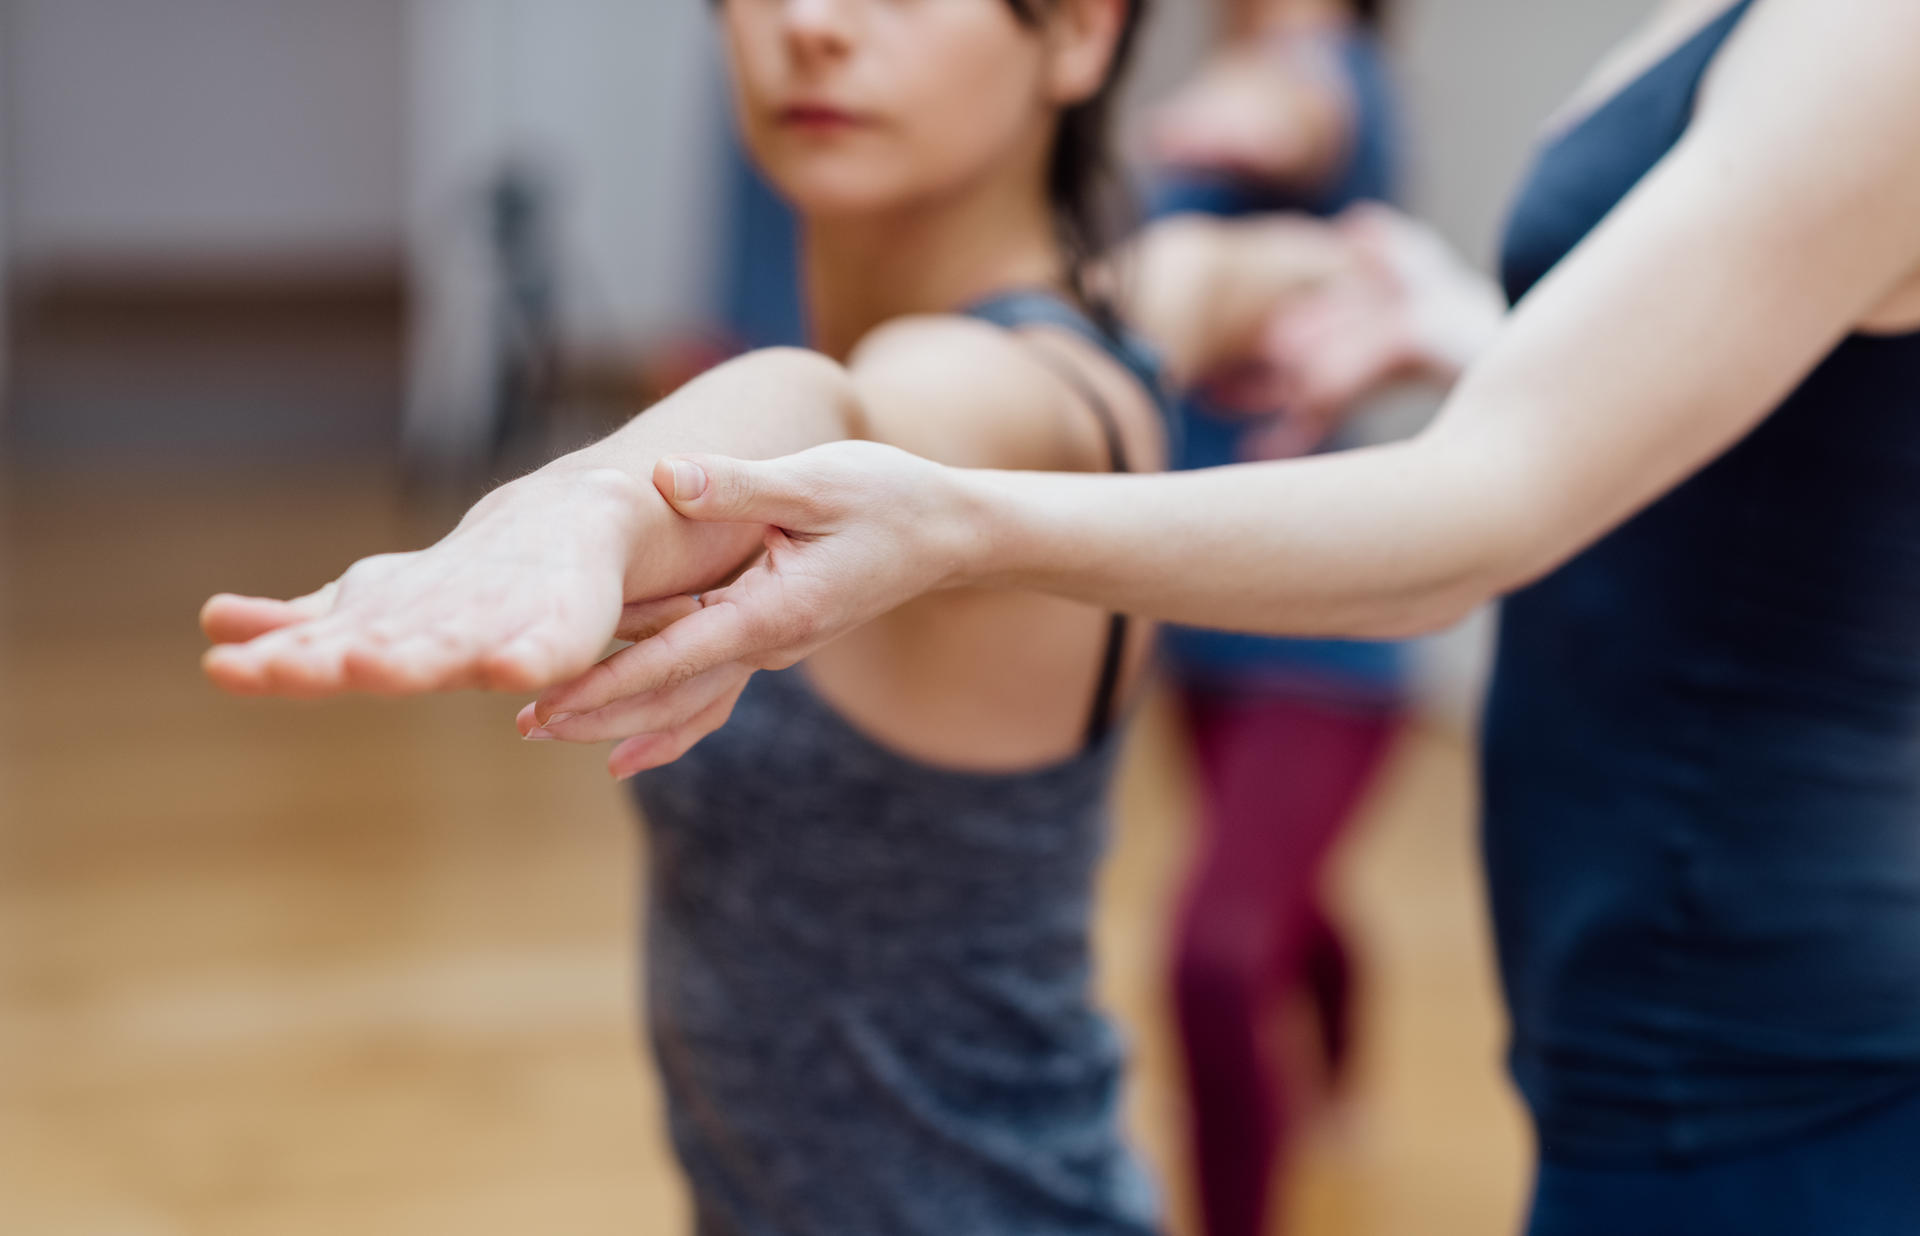
Part of learning how to sequence a Yin Yoga class is paying attention to the transitions and flow between each pose.
When you’re creating a routine, you want to choose poses that make sense together. These should be ones where you can flow from one to the other without disrupting the mood during the transitional stage.
For example, moving from pigeon pose to swan pose is easier as you just need to:
Sit up in the chest
Bend the back knee
Bring the foot up from the floor
On the other hand, changing from pigeon pose to happy baby makes less sense overall.
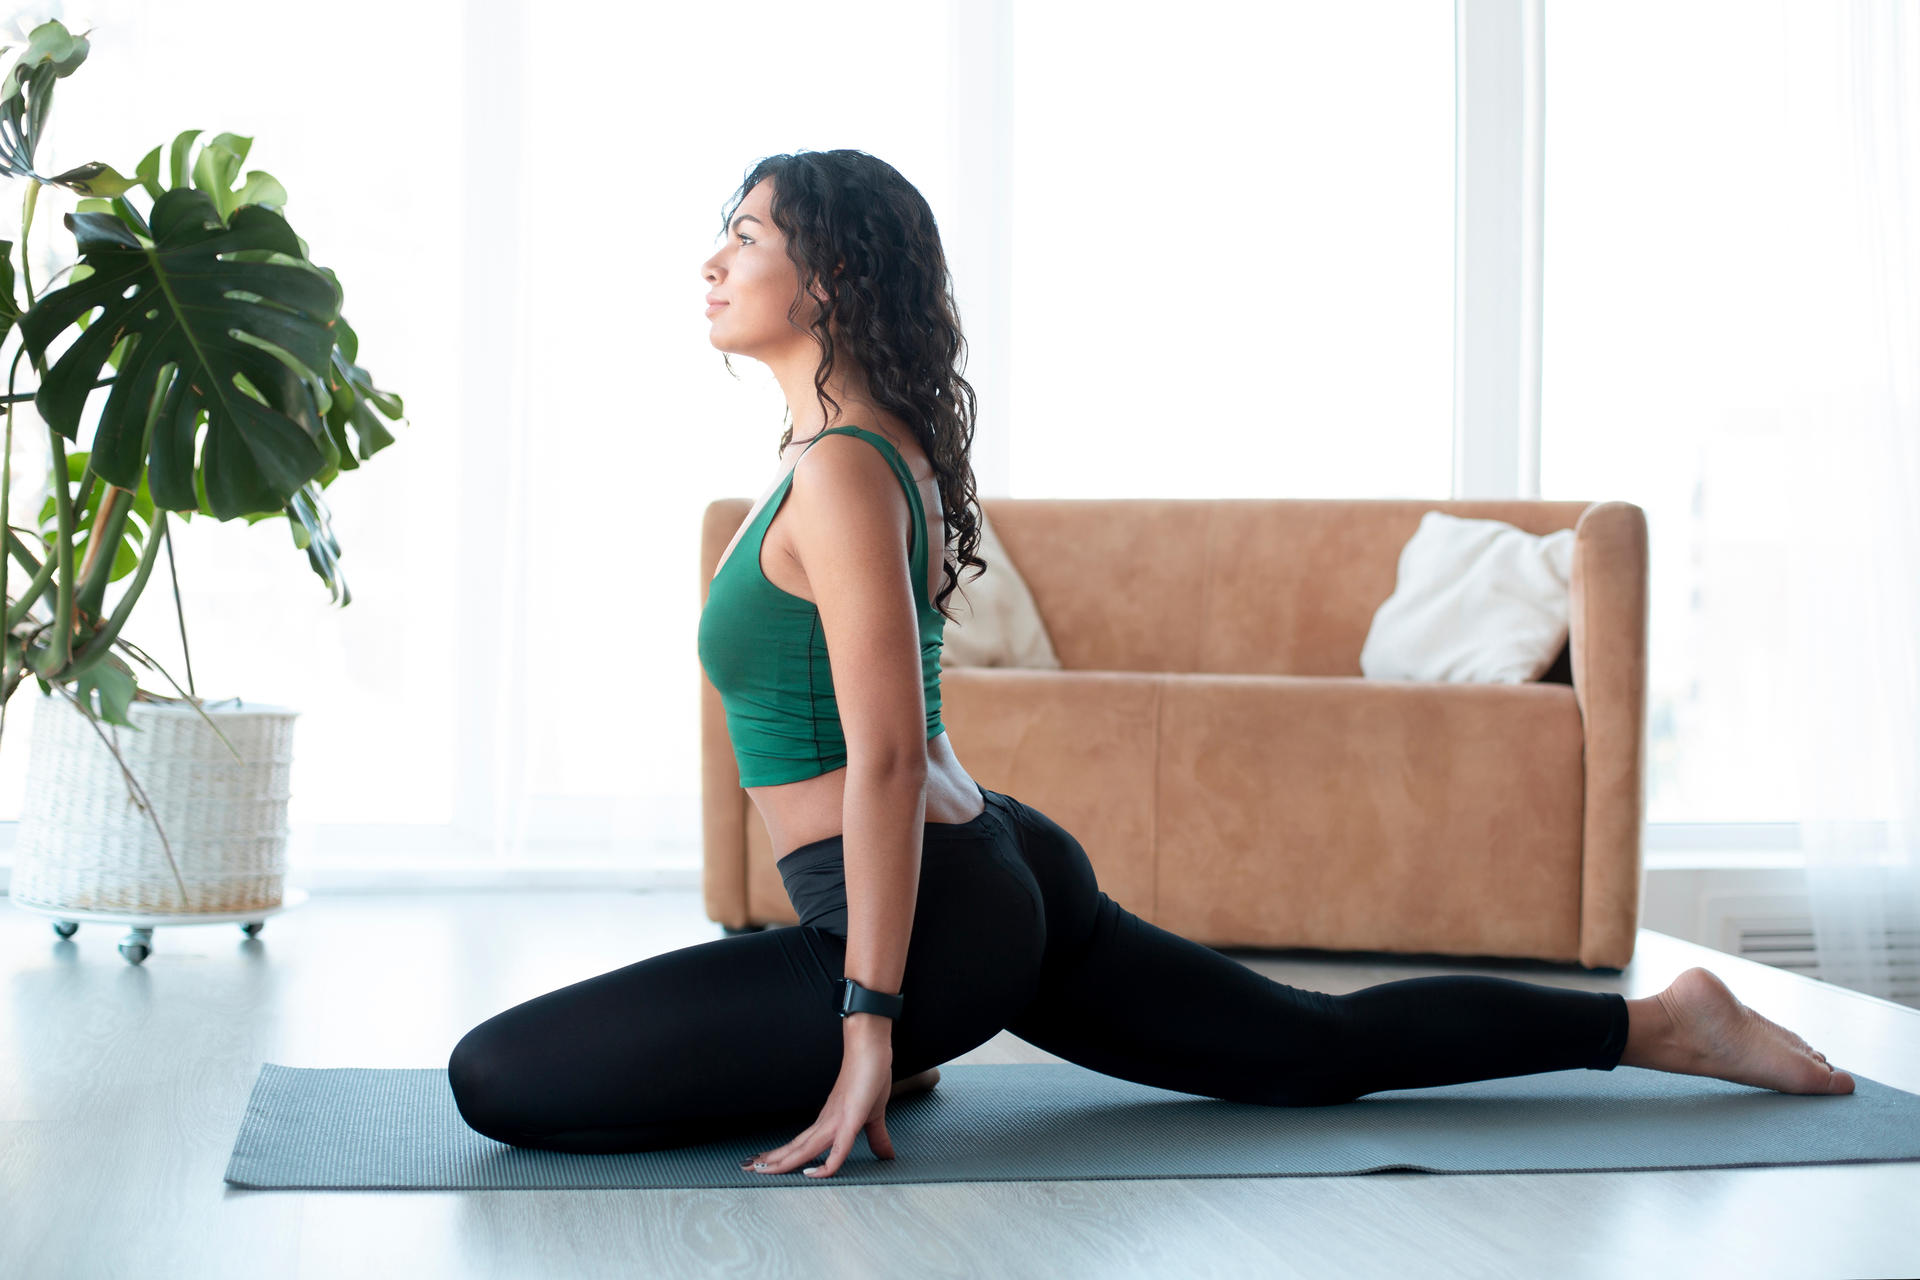
Of course, not all poses can be transitioned easily from one to the other. However, you should be able to find the right balance of movements between each posture to make the transitions smooth.
For example, moving from pigeon to swan and then into face down savasana (corpse pose) makes use of each different stage to create a smooth sequence.
One of our tips for Yin Yoga teachers is this – if you can’t create smoother transitions, make a feature out of them instead.
When you’re finding it hard to switch between postures, you can make more of a deal out of the transition and incorporate it into the routine rather than just as something to get from A to B.
Another ‘how to’ for teaching a Yin Yoga class is to slow down and make sure your students aren’t trying to rush through their transitions.
Yin Yoga is naturally meditative, meaning you should encourage students to work slowly through their transitions and concentrate on their movements in each phase.
Tip #8 – Leave Time Between Yin Yoga Poses for Rebound

One thing you should know from learning how to teach a Yin Yoga class is paying attention to transitions like we explored above. This also means leaving some time between each pose for students to recover from any rebound they may experience.
Rebound is basically the time taken between positions where the body relaxes and recovers from the position it had previously been in.
When you’re instructing a Yin Yoga class, your students are putting controlled amounts of stress on the connective tissues of the body by stretching deeply.
When this tension is released, your students will need some time to recover from the release of pressure or rebound.
Having this short amount of time allows the body to reset back to a more neutral setting where it isn’t expected to hold any stretches, so rebound is a period of recovery.
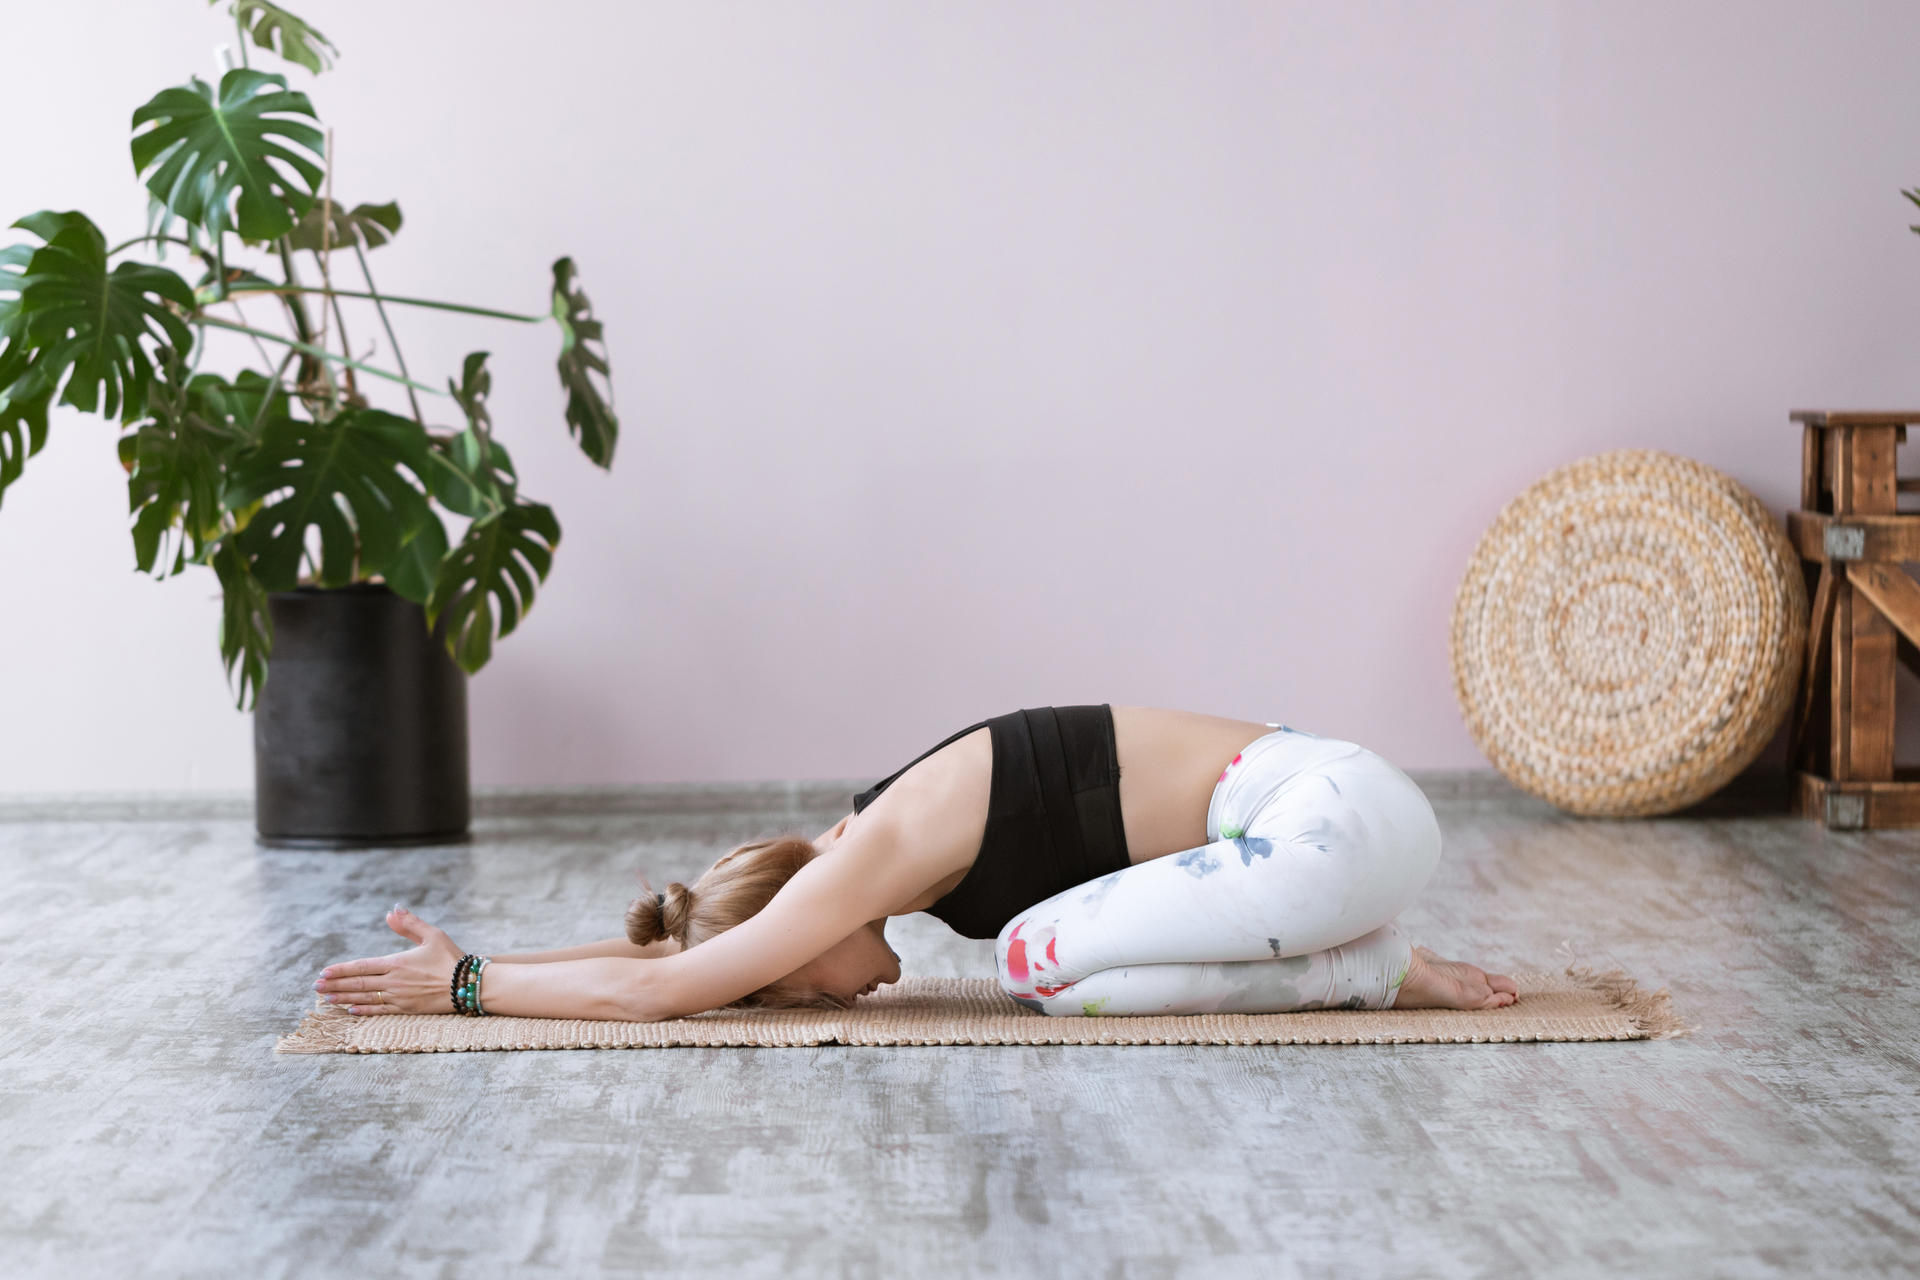
During rebound the heart rate returns to normal and blood flow increases to the areas you were just working with. Skipping this state could lead to increased tension and soreness as you haven’t allowed the body time to rest in between poses.
It’s definitely important you recognise the impact of recovery when you’re new to learning how to instruct a Yin Yoga class.
Our advice to Yin Yoga teachers is if you’re unsure how to incorporate time for rebound into your routines, make each transition go through savasana (corpse pose).
By lying down on your front or back in savasana you’re allowing time for the body to recover in a neutral pose. This is an easy position to transition through into the next pose while keeping the overall flow of your routine.
