The 10 Best Iyengar Yoga Books
khxl6

My Recommendations for the Best Iyengar Yoga Books

There are many good yoga books on all the different aspects of yoga. I’ve accumulated a number of excellent books that help me with my study, practice, and teaching of Iyengar Yoga. It was difficult paring down my list to what I thought were the 10 best, but this list will give you a place to start if you’re interested in Iyengar Yoga or yoga in general.

Herbal Teas to Boost Energy and Mood in WinterKATELYN WEEL

0:03 / 0:10Read MoreI chose books on Iyengar Yoga that represent different facets of the study and practice of yoga, including good all-purpose books for learning and practicing yoga asanas (poses) and pranayama (breathing exercises), books that focus on health-related issues and different segments of the population, and books on the philosophy of yoga.

Important Note: Light on Yoga, by B.K.S. Iyengar, is by far the most important Iyengar Yoga book. I list it second only because, in my experience, many beginners are daunted by the amount of information given and the number of very difficult poses featured. Any serious Iyengar Yoga student should have this book, though. But the average beginner relates better to books with bigger “prettier” pictures and less text.
vl9ue

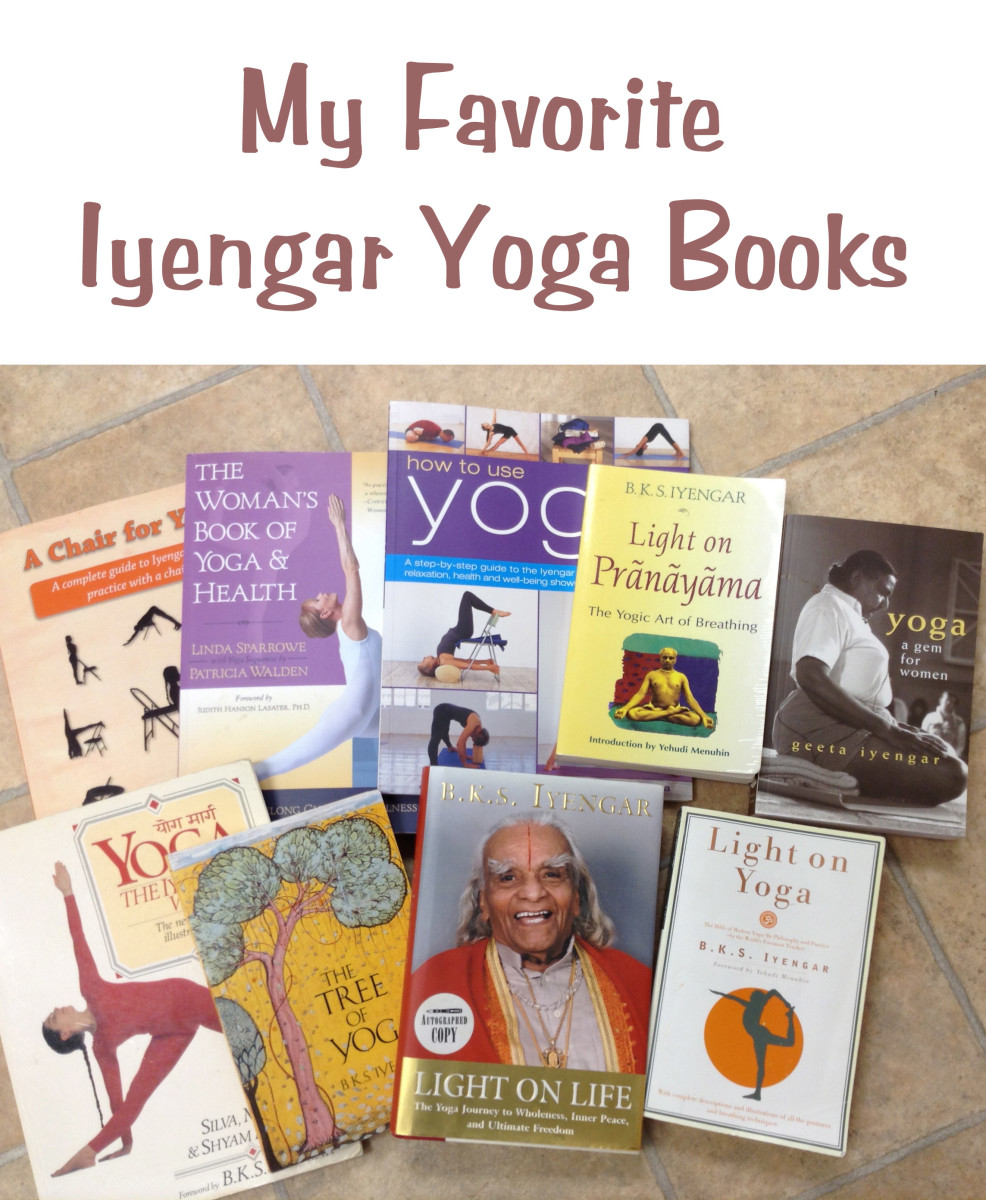
These are the Iyengar Yoga books that I most commonly use.

My own photo, my own books

1. Yoga: The Iyengar Way: Silva, Mira, and Shyam Mehta

Yoga: The Iyengar Way was one of the two first yoga books I bought when I started yoga, and it’s still one of my favorite books for referencing poses and for showing photos of poses to my students. It’s accessible to most new students, as well as an excellent resource for the continuing, experienced student. This is the book I recommend most often to new students, along with the next book on my list, Light on Yoga.

I feel that Yoga: The Iyengar Way is more accessible to the brand new student than Light on Yoga, which is why I list it first. It includes about 100 postures with step-by-step instructions on how to do the poses and is accompanied by detailed, beautiful photos. The poses shown are inspiring and exquisitely executed! Instructions include modifications, along with the use of props, to safely work toward the full poses. Postures are rated for their difficulty level, from one diamond for easy to four diamonds for very difficult.

Besides the detailed information on how to do the yoga asanas (poses), there are also sections on pranayama, relaxation and meditation techniques, and the philosophy of yoga. At the end, there are lists of suggested sequences of poses to follow, including general sequences for regular learning and practice and sequences for improving different health issues. The pose names are listed in Sanskrit, so the reader will have to do some work to translate them (which is a good thing, in my opinion!).

2. Light on Yoga: B.K.S. Iyengar

Light on Yoga is the other book that I bought when I first started taking yoga classes and another one that I recommend most frequently to students. The subtitle of this book is appropriate: The Bible of Modern Yoga — Its Philosophy and Practice. It’s a definitive text on hatha yoga and a great resource for anyone who is serious about the study and practice of yoga.

The name Light on Yoga refers to the book’s purpose of “shedding light” on the subject of yoga.

The book includes over 200 poses, with at least one photo per pose, and often more than one photo to show different stages of the poses. The first 50 pages or so of the book define what yoga is and gives a summary of the philosophy of Patanjali’s yoga, which is the basis of Iyengar yoga (and some of the other yoga methods).

Light on Yoga is required reading for anyone looking to become certified in the Iyengar Yoga method. I’m currently wearing out my third copy of this book!

3. Yoga: A Gem for Women: Geeta Iyengar

This is another book that’s required reading for Iyengar Yoga teachers (I’m currently on my second copy of this book!) and strongly recommended for anyone who’s serious about the practice of yoga. As the name implies, it’s truly a “gem” of a book. Even though the title is Yoga: A Gem For Women, most of the book is applicable to men as well.

Geeta Iyengar is the daughter of B.K.S. Iyengar and a world-respected yoga teacher and writer. This book contains fewer poses than Light on Yoga, but more description of the techniques for doing the poses, including variations if the classical pose is too difficult. Geeta Iyengar also includes a section on practicing yoga poses safely during pregnancy and segments on what to practice and what to avoid during certain stages of a woman’s life.


B.K.S. Iyengar December 14, 1918 – August 20, 2014

Photo by Mutt Lunker on Wikipedia, CC BY-SA 3.0

4. The Tree of Yoga: B.K.S. Iyenga

This is a good introduction to the philosophy of yoga.

My Honest Review of the Military Diet

Most of my students start yoga for the physical health benefits that the practice of asanas (poses) can give them and for relief from stress. These are great reasons to start yoga. But there is so much more to yoga than the poses and relaxation techniques.

When my students start to become more interested in the “big picture” of yoga, this is a great book to introduce them to the philosophy of yoga. The Tree of Yoga refers to the eight different parts of Patanjali’s yoga, which include ethical concerns, physical postures, breath work, and practices leading to meditative states. Mr. Iyengar also includes his essays on various aspects of yoga and life.

5. The Woman’s Book of Yoga and Health: Linda Sparrowe and Patricia Walden

This wonderful book covers the different stages in women’s lives and discusses how the practice of yoga can help us maintain our physical and mental health as we move through these stages. Sample sequences of poses, with photos, are shown as recommendations for how to practice during different times of our lives and for different issues in our lives.

Sections include:

Essential yoga sequences

Entering puberty and the menstrual cycle

Pregnancy and post-partum

Menopausal issues

Aging issues (post-menopausal)

I recently recommended this book during a workshop class I taught about how to develop your own home yoga practice. A couple of women told me they bought it and have been enjoying their practice of the Essential Yoga Sequences as listed in the book.

5. The New Yoga for Healthy Aging: Suza Francina

The subtitle for this book is Living Longer, Living Stronger, and Loving Every Day. Author and certified Iyengar Yoga teacher Suza Francina has written articles and books with baby boomers in mind. Read Suza’s Yoga Articles for a number of her online articles.

The New Yoga for Healthy Aging is illustrated by inspiring photos of older yoga students doing poses that require strength and grace, and tips are given to show how the more challenging poses can be done through the use of props and modifications. This book also addresses common ailments of aging, including osteoporosis, arthritis, hip replacements, heart health, and Parkinson’s disease. The book includes sequences for “healthy aging.”

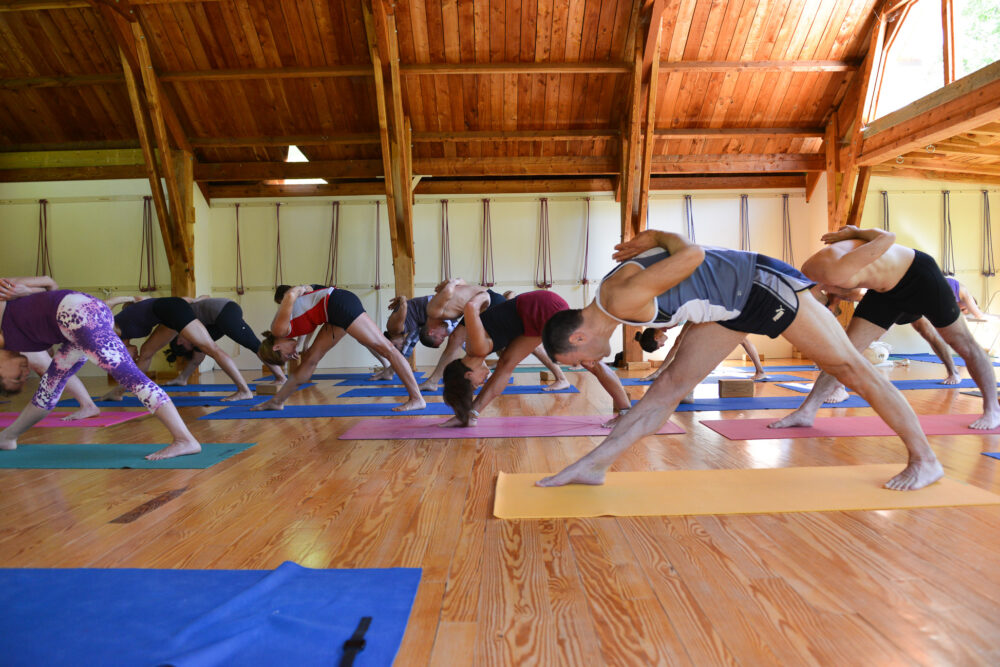
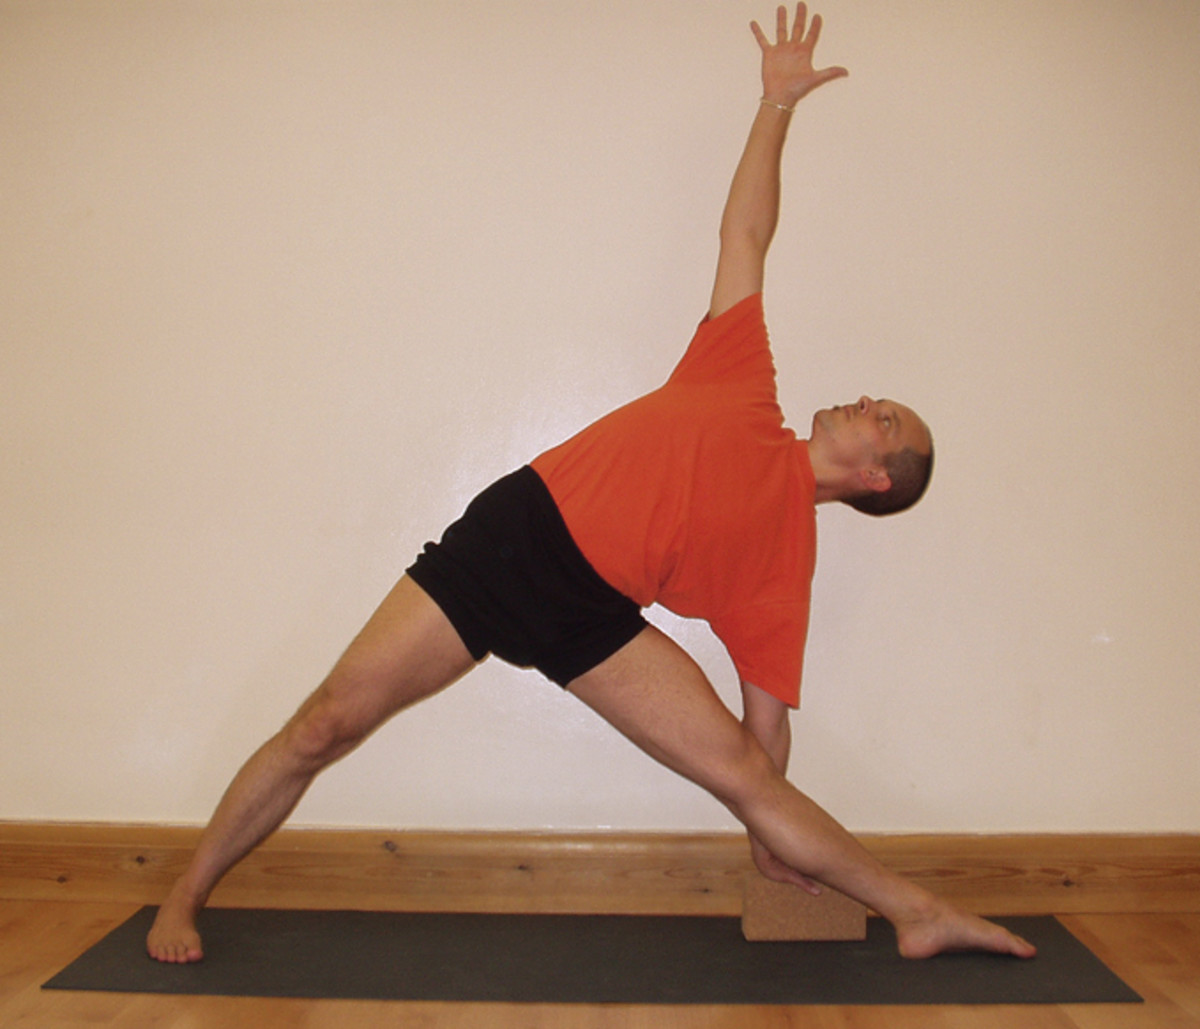
Triangle Pose, utthita trikonasana

Matthew Greenfield on Wikipedia, CC BY-SA 3.0

7. Yoga for Wimps: Poses for the Flexibility-Impaired: Miriam Austin

I love the name of this book! Sometimes my students don’t take the book seriously when they see the name, but then I tell them it is such a great book for “the average Joe or Jane off the street” who wants to do yoga but is worried because they can’t touch their toes or turn themselves into pretzels.

The models in this book are all “real” students and are shown doing poses and modifications that most people will be able to approximate. Common household items (chairs, belts, ties, walls) are used as props to help do the poses better. Easy sequences are given for quick “fix-its” for simple aches and pains and for stress reduction.

8. Light on Life: B.K.S. Iyengar

The subtitle of this book is The Yoga Journey to Wholeness, Inner Peace, and Ultimate Freedom. This book is about the yogic journey to “realize” our inner divine being. The first sentence says, “Spiritual realization is the aim that exists in each one of us to seek our divine core.”

To find this core, we explore our different “sheaths” of being, our different layers or bodies of existence, including our physical, energetic, mental, intellectual, and divine layers. All these layers need to be integrated in order for us to achieve wholeness.

I don’t recommend it for those who are just starting their study and practice of yoga (I recommend starting with the physical practice and reading Tree of Yoga before reading Light on Life), but it’s an excellent book for those who are already familiar with the philosophy of yoga.

9. Light on Pranayama: B.K.S. Iyengar

This is another of B.K.S. Iyengar’s “Light on … ” books—books that shed light on particular aspects of the practice and study of yoga. Light on Pranayama gives instruction on the different techniques of pranayama, or breath work, along with the theory and philosophy of yoga.

This isn’t a book for beginners, though. In the Iyengar Yoga system, the formal practice of pranayama isn’t started until the student has a strong background in the physical poses, to build up the strength to sit well and to build greater awareness in the body and mind. Before formal instruction in pranayama, we do some practice on breath awareness and are reminded not to hold the breath or to breathe heavily while in poses. Then when the body and mind are prepared, we’re taught more formal breathing techniques.

10. A Chair for Yoga: Eyal Shifroni

A couple years after I originally wrote this article a new book came out that has since become one of my favorites: A Chair for Yoga: A Complete Guide to Iyengar Yoga Practice With a Chair by Senior Iyengar Yoga teacher, Eyal Shifroni, from Israel.

If you’ve taken Iyengar Yoga classes, most likely you’ve used a metal folding “yoga” chair for some of the poses—perhaps the “back bend” over the chair (Dwi pada viparita dandasana with chair support) or for a simple supported Adho mukha svanasana (downward facing dog pose) with hands on the chair seat, or for other poses.

Eyal Shifroni has taken the use of the “yoga” chair to another level in his book, A Chair for Yoga. He shows different ways to use the chair for all of the categories of yoga asanas, or poses, including standing, seated, forward bends, back bends, balance poses, inversions, abdominal poses.

A chair can be used for beginners or for weaker students to help support them in a pose for longer while holding a better alignment, and it can also be used by more experienced students to explore the poses more deeply.

This book has been very enjoyable to work from. I’ve introduced my students, from gentle yoga through experienced, to many of the chair poses that Shifroni shows in this book.

[……]

Read more

5 Reasons Why You Should Try an Iyengar Yoga Class

kbnpt

Many times at the end of my Iyengar yoga class I thank my yoga teacher for saving my life. Most of them, including my most cherished, long time Iyengar Teacher, Scott Hobbs, simply smile and acknowledge. As someone with a high stress job that involves lots of heavy lifting, my Iyengar practice has many a time healed my back and saved my sanity. I’ve asked Scott to weigh-in on some key benefits about Why You Too Should Try an Iyengar Class.

About. Grounded in a deeply mind-body-soul spiritual belief system, Iyengar Yoga was created by yoga master B.K.S. Iyengar who began teaching in Pune, India in 1936 at the age of 18 until his death at age 95. Today, his daughter, Geeta, and his son, Prashant—both accomplished teachers themselves—continue his teachings at the Iyengar Institute in India. Therefore, according to Scott, unlike many other yoga practices, Iyengar is a living, constantly evolving, progressive yoga method.The Iyengar family’s teachings are deeply grounded in the yoga sutras of Patanjali, an ancient summation of the path and philosophy of yoga considered to be at least 2,500 years old. B.K.S. Iyengar’s intense practice and over seventy years of teaching have produced significant innovations in the teaching of the art and science of yoga.

The Iyengar method develops self-awareness, intelligent evaluation, and profound inward reflection. The attention to detail and cultivation of awareness is meant to maintain physical safety in the practice, AND also to develop the mental benefits of a complete meditation in action.

B.K.S. focused his yoga methodology to help and actually cure multiple ailments and disorders. These include high blood pressure, depression, chronic neck and back pain, immunodeficiency and glandular imbalances—especially thyroid—to name a few. Here are a four additional powerful reasons/benefits to for you to consider trying an Iyengar yoga class:

Focus on correct anatomical alignment: Emphasis on precise anatomical alignment in all poses makes each pose healthy for joints, ligaments and muscles, allowing the body to develop harmoniously.

Accessibility through the use of props: Iyengar yoga uses props to help the student, regardless of their capabilities or limitations, reach the desired pose (asana). Blankets, belts, chairs, ropes, wooden blocks, and more are used in Iyengar yoga to reach a deeper penetration into the postures. This is key to strengthening the natural curvatures of the spine according to Scott.

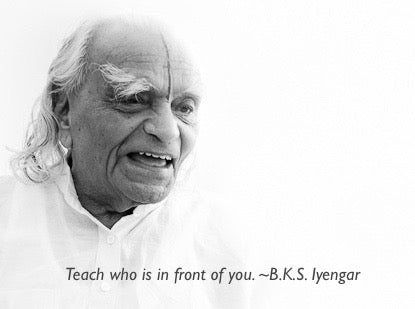
Instructors complete comprehensive and rigorous certification: As a result of years of study, instructors can quickly recognize the individual needs of students and identify which props to use and how. Everyone is an individual in life and in yoga. Instructors are taught to understand this key component to help guide students to reach rewarding, profound poses. Iyengar respects boundaries per Scott. “Teach who is in front of you.” ~B.K.S. Iyengar

Longer holds of poses: Higher levels of strength, flexibility, healing and awareness can be reached when more time is spent in each asana (pose). During this time, students reach new levels of consciousness while practicing yoga.

Iyengar is movement appropriate for every level and age versus high impact aerobics, running, etc., according to Scott. I personally love taking an Iyengar class with people who range from Millennials to mid-eighty year olds. It’s a pretty powerful and awe inspiring statement about community and acceptance—something we could all use a little more of these days…

50v82

Scott Hobbs has been practicing and teaching Iyengar yoga for over 35 years. He is a graduate of the first Iyengar teacher training held in Los Angeles in 1981. He started the Iyengar Yoga Institute of Los Angeles in 1984 and was one of the first group of Americans to be certified as an Iyengar Yoga teacher that same year. He is fortunate to have studied yoga with B.K.S. Iyengar and his children Geeta and Prashant.

Currently he teaches at YogaWorks throughout the Los Angeles area. Scott’s classes not only feature his many years of expertise but a healthy dose of humor as well. He is a long time vegetarian and vegan, actively involved in the animal rights movement.Scott is also the Director of the Cameron Parsons Foundation established in 2006 for the purpose of bringing attention to and conserving the artwork and the writings of the late artist Cameron and her first husband, the late scientist and writer Jack Parsons.

[……]
Read more

Unlock the Benefits of Forward Bends with Iyengar Yoga

8v2p8

These courses highlight the unique benefits of forward bends, such as improved flexibility, enhanced spinal health, and stress relief. Iyengar Yoga’s emphasis on precision and alignment transforms these seated asanas into powerful tools for mind-body balance. By understanding the intricacies of each pose, our courses empower you to achieve a deeper, more mindful practice, paving the way for a transformative yoga experience.

Understanding Forward Bends

Forward bends are a group of yoga asanas where the body bends forward from the hip joints, stretching the back and leg muscles. These poses range from simple to complex, targeting flexibility in the hamstrings, spine, and hips. They are known for their calming effect on the mind and can be beneficial for relieving stress.

Intermediate Forward Bends: Bridging Basics to Advanced in Iyengar Yoga

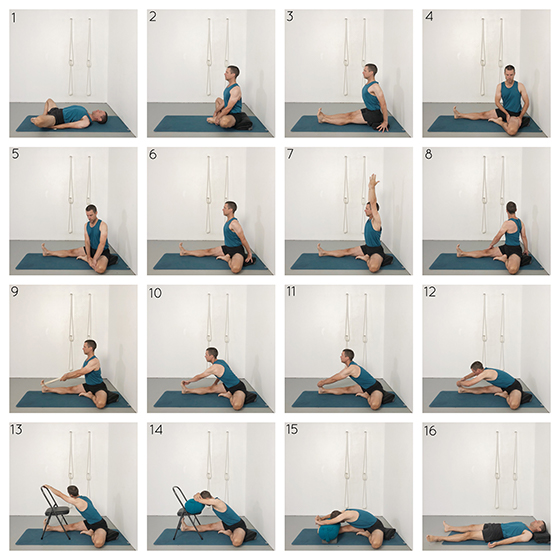
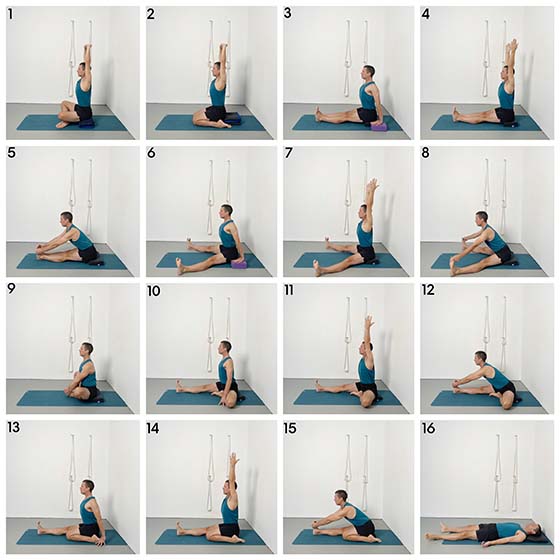
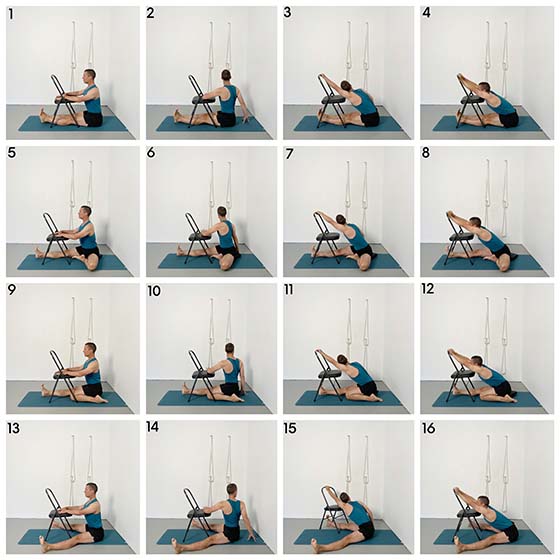
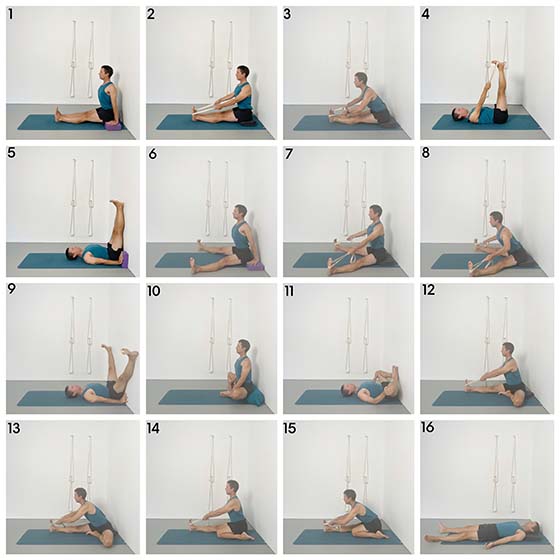
The Intermediate Iyengar Yoga Forward Bends 10-Part Online Course is designed as a bridge between beginner and advanced practices. It focuses on building a solid foundation in essential forward bend poses like Paschimottanasana, Triang Mukhaikapada Paschimottanasana, Upavistha Konasana and Janu Sirsasana, while introducing students to more complex variations. The course emphasises proper alignment, the use of props for enhanced flexibility, and techniques to safely progress in practice, making it ideal for those looking to deepen their understanding and execution of forward bends.

chlii

Forward Bends 101

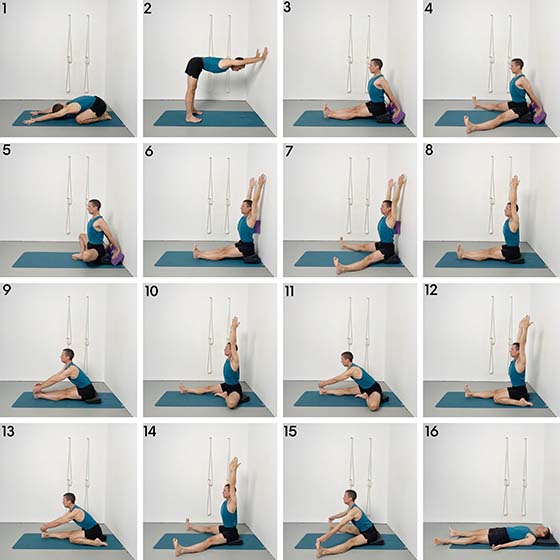
The first class in the intermediate course, titled “Forward Bends 101,” is an essential guide to the foundations of forward bending asanas. It focuses on establishing basic upright seated positions and their progression into advanced forward bends. Ideal for newer students transitioning to intermediate poses, it also aids experienced practitioners in refining alignment and deepening their understanding of these techniques. Emphasizing the use of yoga props, the class addresses stiffness and injury prevention, setting a solid groundwork for a sustained and safe practice of forward bends. This session is a cornerstone for anyone looking to strengthen their forward bend abilities.

e1ika

Forward Bends: Essential Tips for Safe Progress and Improved Practice

The second class in the intermediate course, “Forward Bends: Essential Tips for Safe Progress and Improved Practice,” delves into the fundamental principles of forward bending poses. Acknowledging the challenges faced by individuals with limited mobility, the class addresses tight muscles and stiff joints that often hinder progress in forward bends. Focusing on spinal health, it provides practical tools for enhancing these asanas, laying a firm foundation for confidently practicing poses like Paschimottanasana, Janu Sirsasana, Triang Mukhaikapada Paschimottanasana, and Upavistha Konasana. The poses are taught in a systematic progression, enabling a gradual advancement towards more challenging asanas.

6rftf

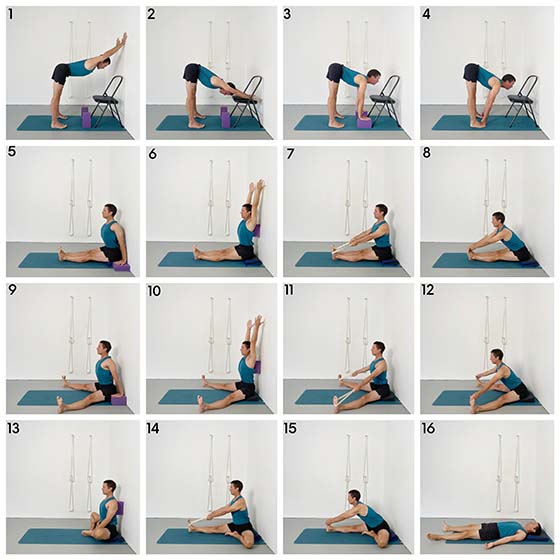
Forward Bends Using a Chair

The third class in the intermediate course, “Forward Bends Using a Chair,” introduces a novel approach to incorporating the upper back and shoulders into forward bend practices. By using a chair, the class adds chest-opening dynamics to the asanas, which typically focus on the hips, groins, and hamstrings. This session also features twisting variations that are effective in identifying and addressing stiffness and imbalances in the muscles connected to the spine and rib cage, enriching the forward bend experience with a comprehensive approach to alignment and muscle engagement.

rblj5

Energise Your Forward Bends

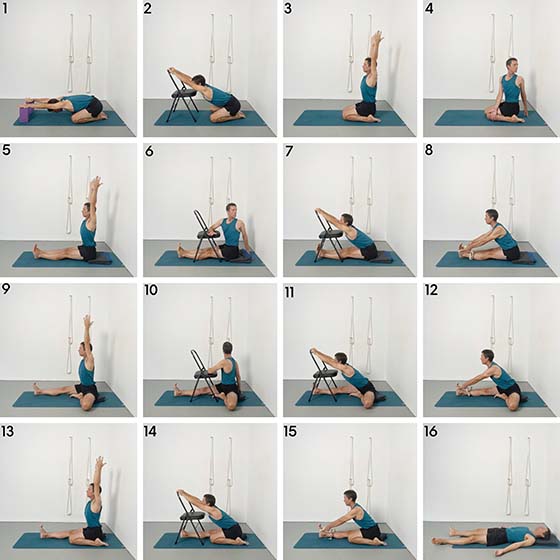
The fourth intermediate course class, “Energise Your Forward Bends,” offers a refreshing take on forward bend sequences. Recognising that beginners or those with restricted mobility might find these poses more challenging than calming, the class introduces a more energetically uplifting approach. Especially suitable for individuals with stiff hips and tight hamstrings, it shifts the focus towards dynamic spinal lifts and chest openings within foundational forward bends. This approach aims to transform potential frustration into a balanced and energised feeling, offering a new, invigorating perspective on the forward bending asana group.

k1bv3

Energising Approach to Forward Bends

The fifth class in the intermediate course, “Energising Approach to Forward Bends,” is tailored for those who find traditional forward bend sequences more tiring than tranquil. Acknowledging the struggles of beginners or those with restricted mobility, such as tight hips and hamstrings, this class reframes forward bends with an energizing twist. Focusing on dynamic spinal lifts and chest openings, it redefines the forward bend experience to be more uplifting and invigorating. This class is perfect for practitioners looking to transform their forward bend practice from a state of fatigue to one of balance and rejuvenation.

e6ux4

Forward Bends

The sixth class in the intermediate course, titled “Forward Bends,” skillfully blends the consolidation of basic forward bending concepts with the encouragement for ongoing exploration. The class focuses on methods that evolve upright seated poses into full forward bending postures, along with tips and techniques for maintaining healthy spinal alignment during these transitions. Key poses like Janu Sirsasana, Paschimottanasana, Upavistha Konasana, and Triang Mukhaikapada Paschimottanasana are taught in a manner that allows students to either solidify their foundational skills or advance to more challenging variations, making it an adaptable and enriching experience for all levels of practice.

e1ika

Forward Bends Fundamentals

The seventh class in the intermediate course, titled “Forward Bends Fundamentals,” delves into the fundamental principles of forward bending poses, acknowledging the challenges they pose for individuals with restricted mobility. The class emphasizes the importance of practicing these asanas correctly to avoid straining the spine and exacerbating back discomfort. With detailed guidance on poses like Paschimottanasana, Janu Sirsasana, Triang Mukhaikapada Paschimottanasana, and Upavistha Konasana, it lays a solid foundation for safe practice. The class progresses methodically, building a strong base that gradually leads to more advanced forward bends, making it ideal for those looking to enhance their practice with a focus on spinal health.

hmgor

Consolidating Foundations of Forward Bends

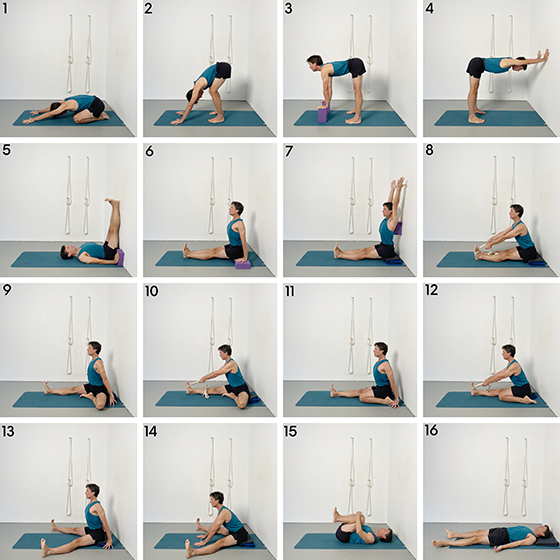
The eighth class in the intermediate course, focused on “Consolidating Foundations of Forward Bends,” builds upon the essential elements of these asanas. This session revisits best practices, while introducing new perspectives to offer fresh insights. It’s an extension of the previous class, particularly beneficial for those with tight hamstrings. Featuring a range of key forward bends like Paschimottanasana, Baddha Konasana, Janu Sirsasana, Upavistha Konasana, and Triang Mukhaikapada Paschimottanasana, it aims to bridge the gap between beginner and intermediate levels. The class highlights techniques for evolving from upright seated poses to full forward bends, with a strong emphasis on maintaining healthy spinal alignment.

sxzgm

Forward Bends for Stiff Bodies

The ninth class in the intermediate course, “Forward Bends for Stiff Bodies,” specifically addresses the challenges faced by individuals with tight hamstrings. Recognising the need for modifications, this class employs props and supports to make forward bends more accessible and effective for less flexible bodies. Tailored to those with stiffness, it anticipates potential difficulties, offering methods and techniques to enhance the practice of key forward bends like Paschimottanasana, Janu Sirsasana, and Upavistha Konasana. This approach ensures that students with varying flexibility levels can experience the full benefits of forward bends.

[……]
Read more

Why is Iyengar Yoga Ideal for Beginners

9ah6s

Find out why Iyengar yoga is suitable for you wherever you are on your yoga journey – even if you have never practised yoga before

If you’re reading this post and have never done yoga before, maybe you’re wondering how to get started and which style to choose. With so many classes on offer it can be hard to work out which one is right for you. You may be aware already of the incredible physical and mental benefits of yoga. If not, you’ve got that pleasure to come. Either way, a well-trained, empathetic teacher can make all the difference.

What is Iyengar Yoga?

Iyengar yoga is known for its precision and alignment of the postures, sequencing of the postures, for the length of time the postures are held for maximum benefit and for the use of props where they are needed.

Iyengar yoga is a powerful and sophisticated discipline that can be practised at all stages of life. The benefits are far-reaching and can help those who practise it in every aspect of their daily lives. Many people enjoy the thorough, detailed teaching approach which emphasises correct alignment, making it a safe and accessible method for all body types.

If this sounds what you are looking for then finding an Iyengar teacher is an excellent way to set you on the right path to start your yoga journey.

What else is different about Iyengar yoga and why is it so good for beginners?

Iyengar yoga is different from most other methods because there is a worldwide system of teacher training and teaching. It is one of the most widely-performed methods of yoga.

Teachers are highly trained and fully insured. All Iyengar teachers continue their professional development throughout their teaching career.

Through their extensive training the teachers have an in depth knowledge of the human anatomy which enables them to help students who have injuries to practice safely.

What’s the teaching like?

Teaching is methodical and progressive – teachers help you achieve gradual, steady progress.

Teachers are trained to provide clear demonstrations of each posture in the class.

Props are available and encouraged where beneficial. They not only maximise the opening and awareness of the body but also provide support to new students, the less flexible and those with injuries.

Wherever you go in the world the teaching will be similar and you’ll know that you’re in good hands and that the teacher has been trained to a high standard. A quick internet search will help you find a qualified Iyengar teacher in many parts of the world. Although each teacher chooses postures (or asanas in Sanskrit) for a specific reason, the style of teaching will be the same as you have experienced at home.

As a beginner, what can I expect of an Iyengar yoga class?

A friendly welcome from a teacher who is passionate about what they are teaching.

Interest in you and what you want to achieve.

Information about which postures should be avoided at certain times and for certain people. For example, closed twists and inversions (head stand, shoulder stand, hand stand) should be avoided during menstruation.

No pressure to try postures that you don’t feel confident about.

Props like bricks, belts, bolsters, blankets and chairs to help you get the maximum benefit from each posture and to try the ones you thought you couldn’t do.

Where practical, Iyengar teachers move around the room at various points throughout the class to check that every student is clear about what they are expected to do, is safe and is given the appropriate adjustments for their level. This is where the props we use come into their own. Props also help you to get into good habits while you are learning without injuring yourself.

Although this may seem a long way off when you are a beginner, through skilled instruction and practice, students learn to penetrate beyond the physical body to the inner kosas (layers) of mind, energy and spirit, gaining vitality, clarity and calm.

What will we do in the Iyengar yoga class?

In general, the class will start with a few moments of quiet to prepare for the yoga.

This is followed by some preliminary postures to mobilise, open and activate the body and to quieten the brain to encourage a focused, concentrated state of mind.

Standing postures are then often practised where we learn how to adjust and align the body correctly.

The class might then focus on a particular theme such as back bends, more standing postures, forward bends, inversions such as headstand, handstand or shoulder stand.

Inversions like headstand and shoulder stand are usually for those who are ready, and, as with other poses, these can be modified for comfort and ability.

The class will end with recuperative and re-energising postures.

You’re likely to work on each pose for a while, repeating and working in detail on the subtle actions involved. As we said, your teacher will check that you’re working in the correct way and will make adjustments as necessary, sometimes using props.

Most practitioners find that focussing on opening up the body and discovering the correct action in a pose is very uplifting, bringing a feeling of freedom to the body and mind.

So, if you are interested in exploring the wonderful world of yoga and ready for all the positive benefits it offers, Iyengar yoga and its highly trained teachers will give you a warm and supportive environment in which to flourish.

[……]

Read more

IYENGAR YOGA SELF-PRACTICE SEQUENCE

xeej9

The ability to practise yoga alone in your own space, in your own time, at your own pace, with your own feelings and reflections, is beneficial in evolving and deepening one’s practice. Here an Iyengar practice sequence is provided that can be used to develop a self-practice routine.

Benefits of self-practice

Practising within the energy of a group in a class environment, in a dedicated yoga space, and with the direction and assistance of an experienced teacher, is necessary in the beginning, and is vital for generating the impetus, confidence and maturity to practice alone. Moreover self-practice is not something that everyone one wants to pursue. For some, life is busy, and attending classes regularly is aspiration enough! Depending on one’s circumstances, however, self-practice may be more viable for some, and perhaps seem a natural evolution from attending classes.

Practising alone allows for a level of reflection that may not be as possible to achieve within a class context. For the most part, in a class, students are guided by the teacher, both in terms of the sequence and where to direct one’s attention within the pose. Of course, this is all necessary for at least the first few years of one’s yoga journey, to become acquainted with how to do the poses with a sense of competence and what adaptations may be required for one’s individual circumstances. At some stage, however, for the practice to become a true yoga practice space is needed for the reflective (or vairagya) aspect to evolve.

Iyengar yoga and self practice

While Iyengar yoga has many positives and is the gold standard when it comes to the refinement of the poses, it does not have a set sequence that practitioners can familiarise themselves with and follow when practising alone. (BKS Iyengar does provide a 300 week course of sequences at the back of his famous book Light On Yoga, however for most people this course is not viable, both due to the length of the sequences, and the complexity of the asanas within the sequences. In his later years Iyengar even said that he should have added an extra zero to the length of the course, meaning it should probably have been a 3000 week course!) In fact, chances are when attending Iyengar yoga classes that one will never do the same sequence twice! There are many reasons for this, including BKS Iyengar’s insistence that one’s practice should not become a habit, but rather an invigorating, creative experience. Nevertheless, when starting out it can be very encouraging and useful to have a set sequence to follow.

Iyengar yoga and sequencing

While the Iyengar system may lack clear, defined sequences to follow it does have a methodical approach in terms of what types of poses are introduced, and when.

The standing poses are introduced in the beginning of a sequence. They are dynamic, and when done diligently, remove lethargy and generate energy. In the standing poses one particularly learns how to work the feet and the legs correctly. For most poses the feet and the legs form the base of the asana, and as any architect knows, a solid foundation is necessary to support a structure. In the same way an understanding of how to work the feet and engage the legs is necessary to create a solid base for the rest of the asana.

The sitting poses are introduced next, and this includes forward bends and twists. Once access to the hamstrings, hips, groins and the base of the spine has been gained from correct feet and leg action in the standing poses, the sitting poses can be worked on and accessed. In forward bends one learns to lengthen and extend the spine and spinal muscles. In twists the spinal muscles are stretched and strengthened, in preparation for the backbends. The backbends can be considered the pinnacle of the practice. They open the chest, strengthen the arms, and make the spine flexible. They are invigorating, uplifting the spirit and generating energy.

From the peak of the practice the spine and nervous system needs to be neutralised. Inversions and restorative poses can be taken to create this effect. In Iyengar yoga inversions are considered to be the backbone of the practice. They can be practised intensely or quietly, but either way they refresh the whole system. Along with restorative poses, they draw the energy generated from the more active asanas inward and bring the mind into a self-reflective state. Inversions and other restorative type poses are not simple poses, and in fact, require proficiency in the active asanas for their effectiveness to be absorbed and appreciated on a cellular level.

It is traditional for Iyengar yoga schools to teach classes in a monthly cycle, with a focus on a different category of pose each week. Standing poses are focused on in the first week of the month, sitting poses (including forward bends and twists) in the second week, backbends in the third, and restorative/ inversions/ pranayama in the fourth. Occasionally there will be a fifth week, and this is usually regarded as a miscellaneous week, where less common poses are focused on.

Self practice sequence

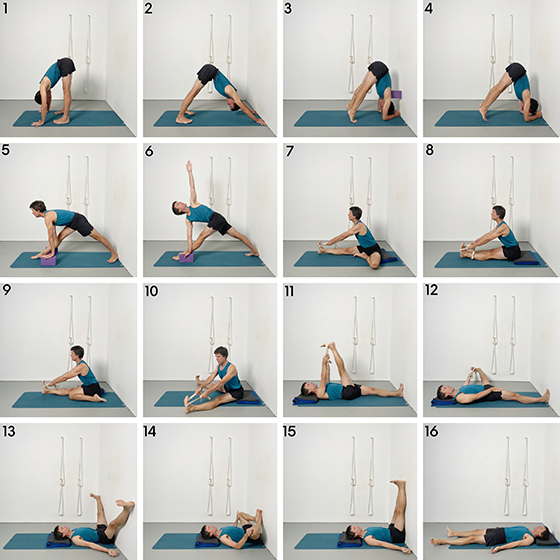
The sequence given below combines all the categories into the one practice. It assumes that one has been attending Iyengar yoga classes regularly (twice a week or more) for a minimum of one year, and requires about an hour to go through thoroughly. Some basic props would be useful, such as a strap, a brick, a blanket, and ideally a bolster. Adaptations can be made according to level of proficiency, time constraints, prop availability, and to provide some variation, although this one sequence can be practised over and over again as presented.

Salamba sirsasana and salamba sarvangasana have been omitted, however according to time available, can be added to the sequence. Salamba sirsasana could be taken before the standing poses (after the first two poses), after the standing poses (before the sitting poses), or toward the end after supta padangusthasana I. Factors determining this would be the time of day the practice was taken, and level of compentancy in inversions. Salamba sarvangasana would go before halasana, and if taken, halasana could be taken in the more traditional manner immediately after salamba sarvangasana. Working up to 10 minutes in each of these poses would be ideal.

Scroll to the bottom of this page for a downloadable PDF of the poses in this sequence.

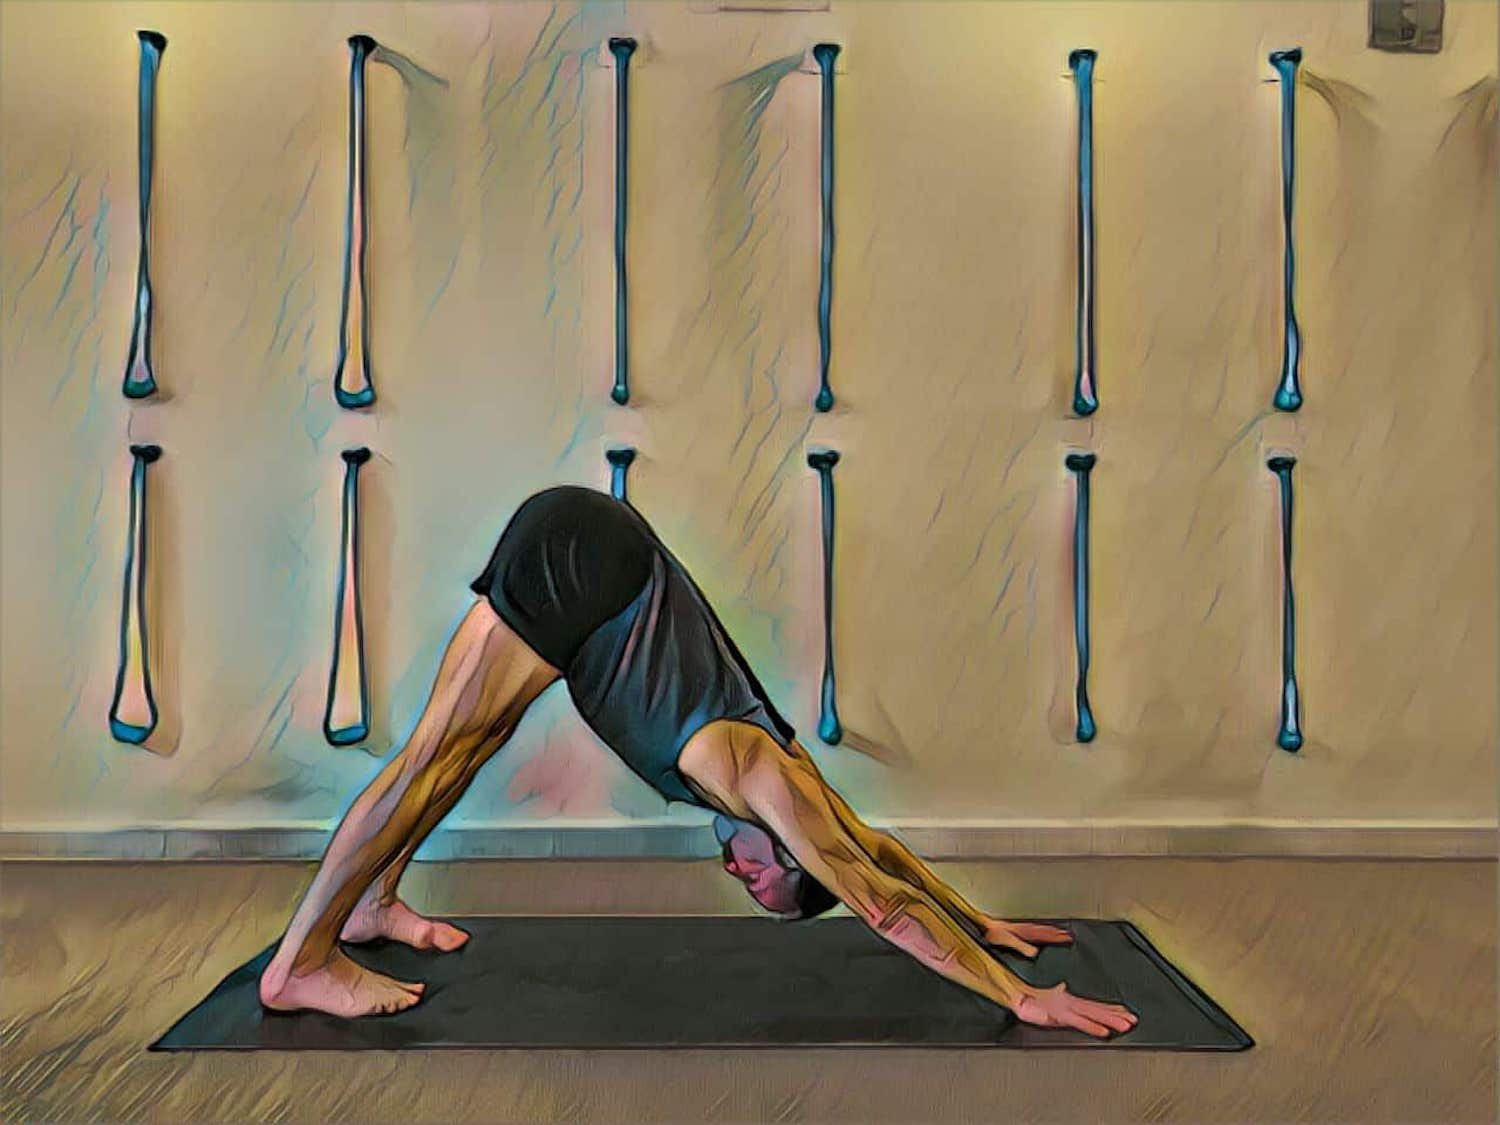
1. Adho Mukha Svanasana

Begin with this pose. It can be considered a prostration before the practice begins, as well as taking the brain from a mundane to a ‘yoga practice’ state. Repeat twice in combination with the next pose.

uxhoe

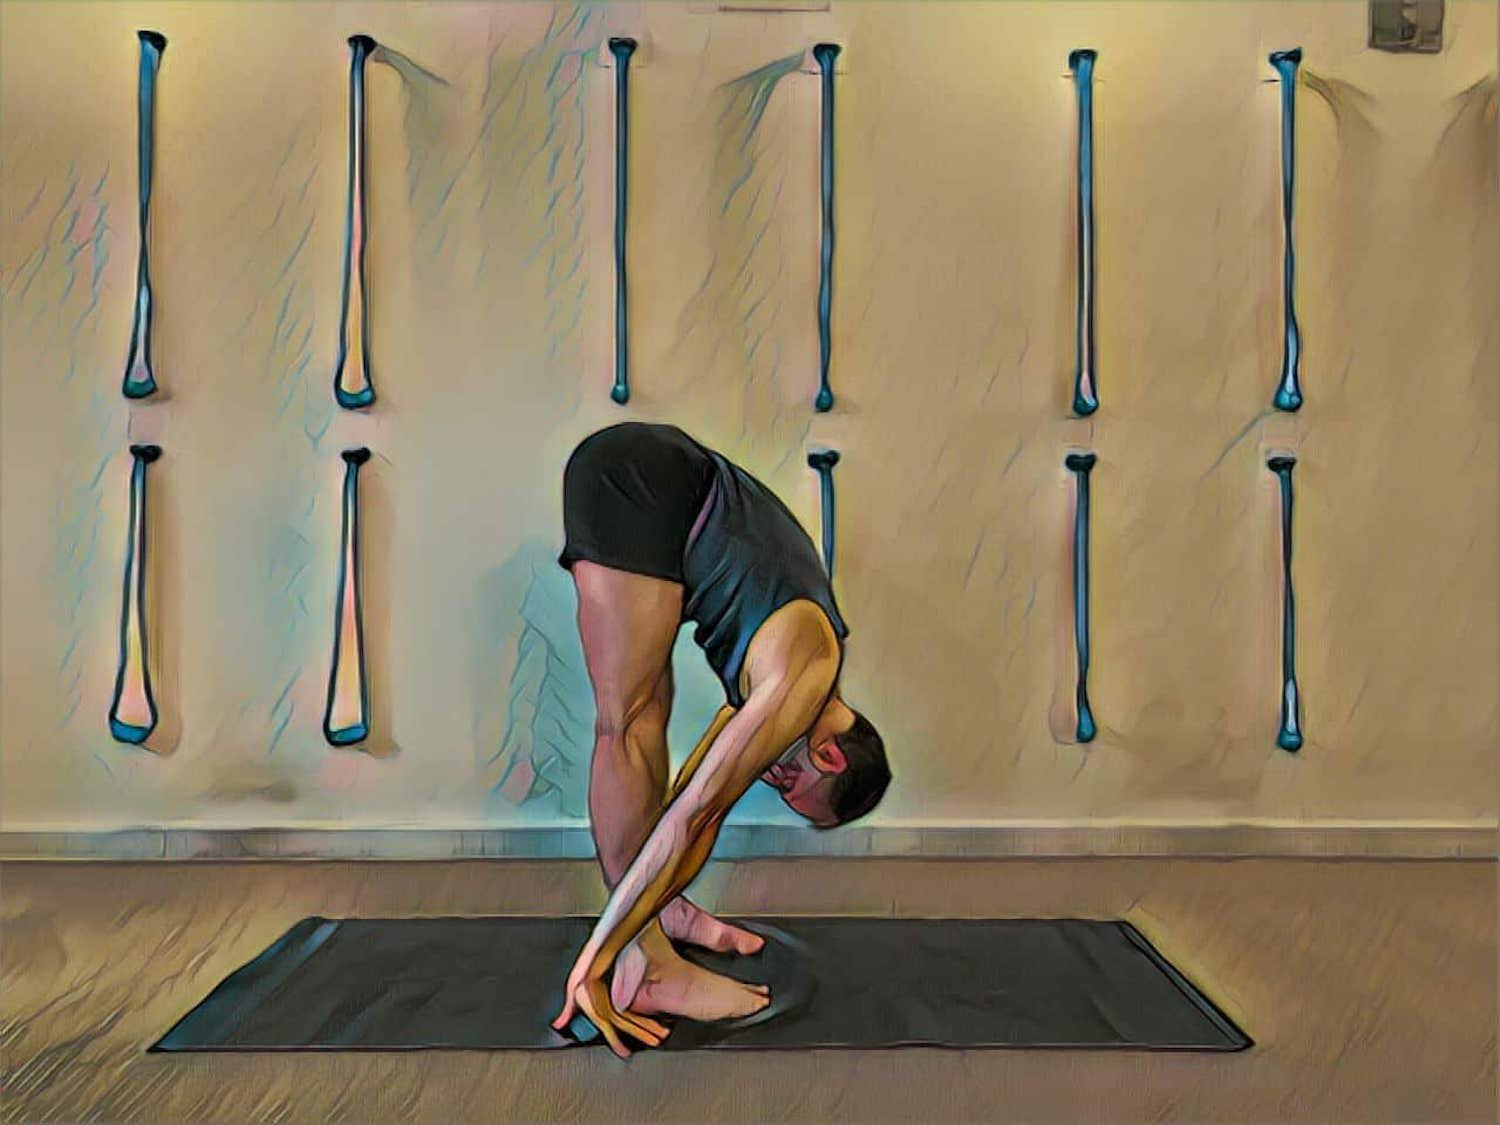
2. Uttanasana

Walk the hands back from adho mukha svanasana, keep feet hip width apart. Adho mukha svanasana prepares the arms, whereas uttanasana prepares the legs. It also has a similar effect on the brain as adho mukha svanasana. Repeat twice with adho mukha svanasana.

nv7hz

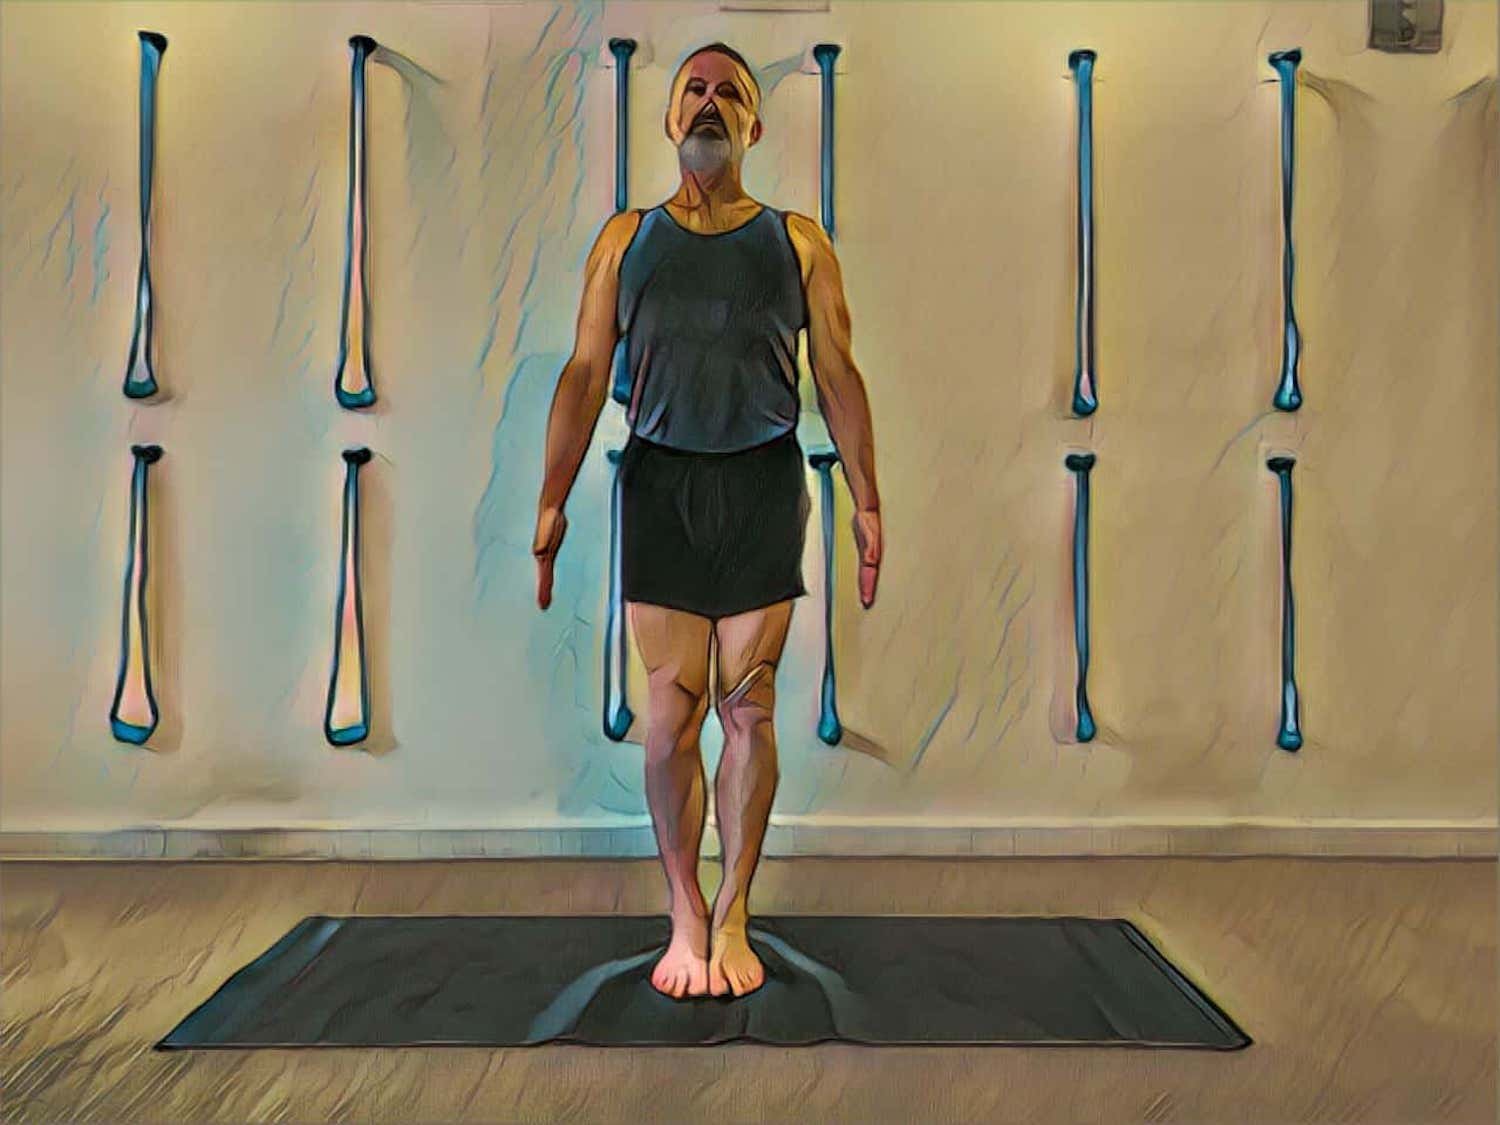
3. Tadasana

This is the base pose. It is a blueprint pose for all the other poses. Keep returning to tadasana between each standing pose. Look to further refine it each time you return to it, before moving to the next standing pose.

vm92t

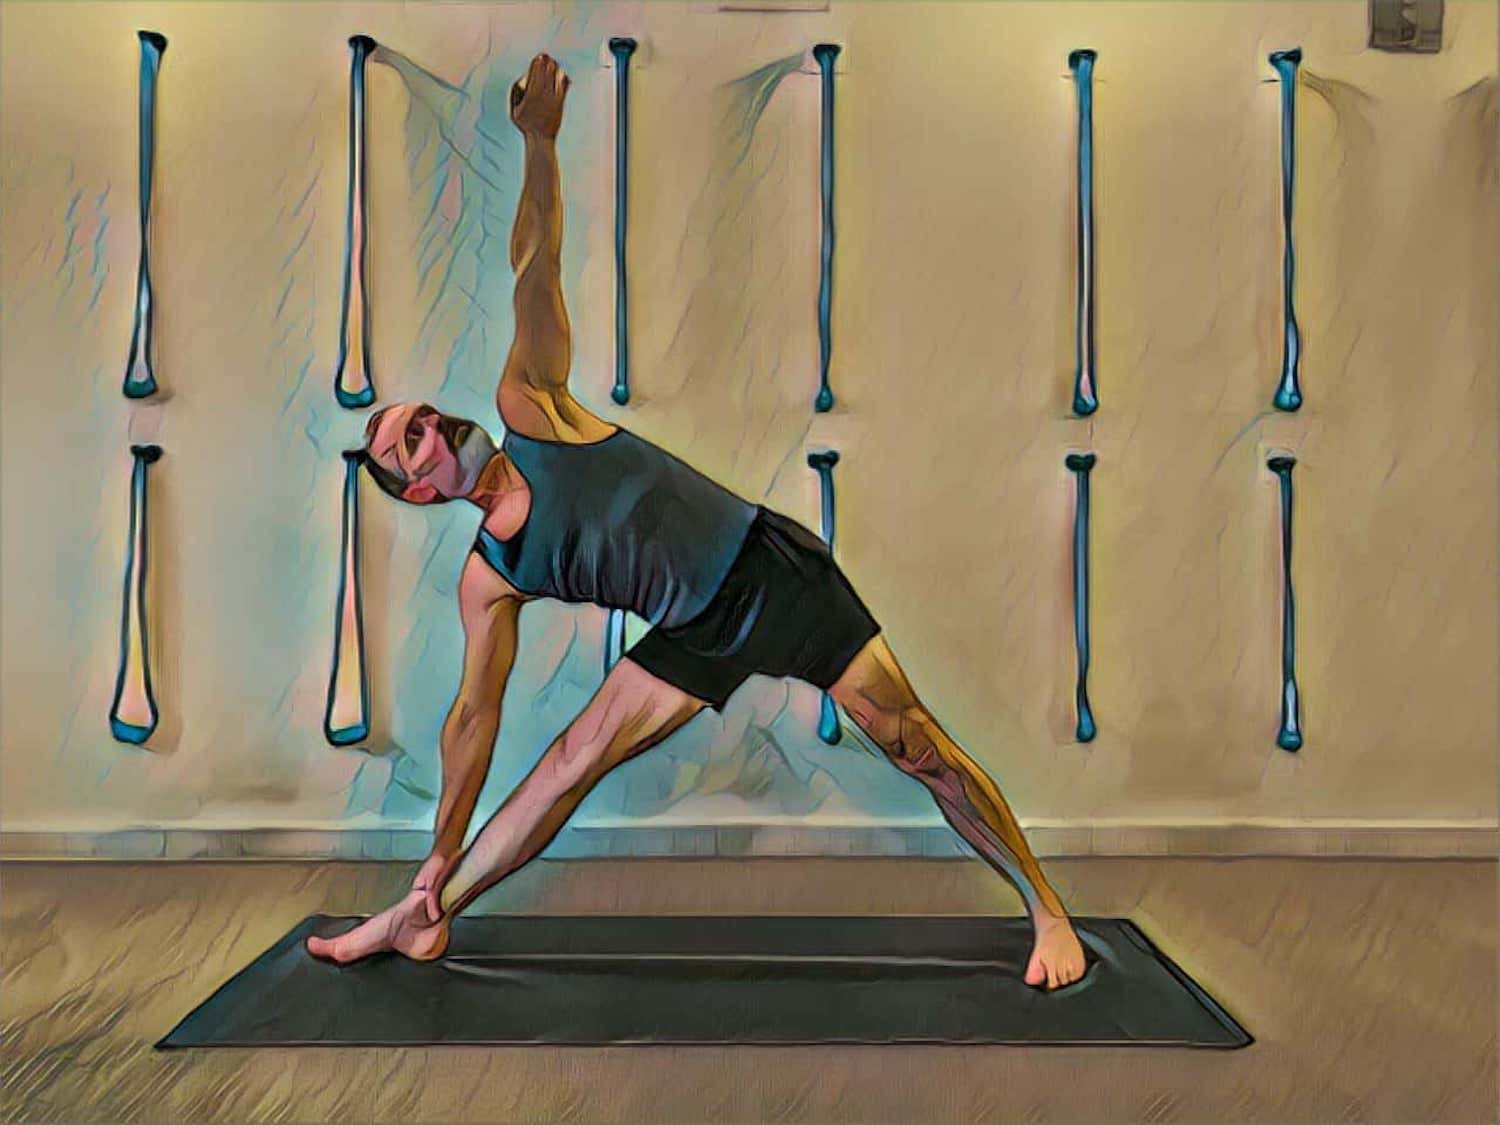
4. Trikonasana

Jump, or step, the legs apart. Turn to the right and do the pose. Come up. Turn to the left and do the pose. Come up. Jump, or step, back to tadasana. Spend 45 – 60 seconds on each side.

g2fpb

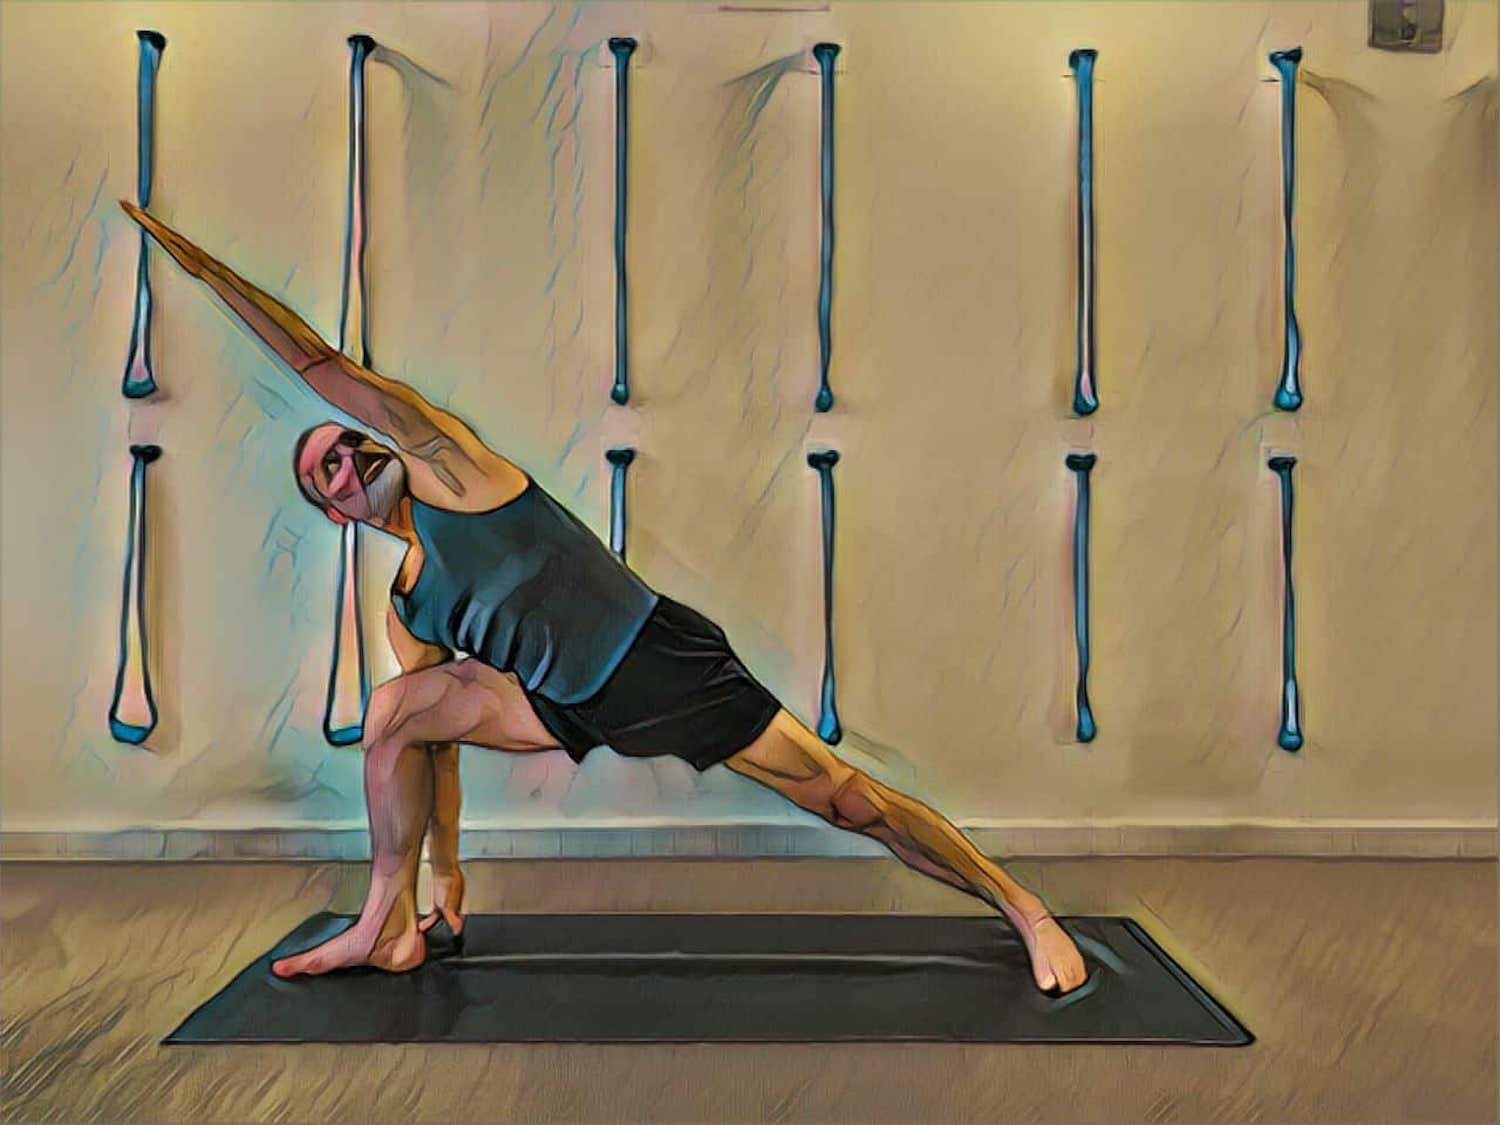
5. Parsvakonasana

Jump, or step, the legs apart. Turn to the right and do the pose. Come up. Turn to the left and do the pose. Come up. Jump, or step, back to tadasana. Spend 45 – 60 seconds on each side. Take the bottom arm to the inside of the front leg and use it from the shoulder to to work the bent knee back if tight in the hips and groins. Use a brick under the front arm hand if the back leg is dull in its extension.

cywt0

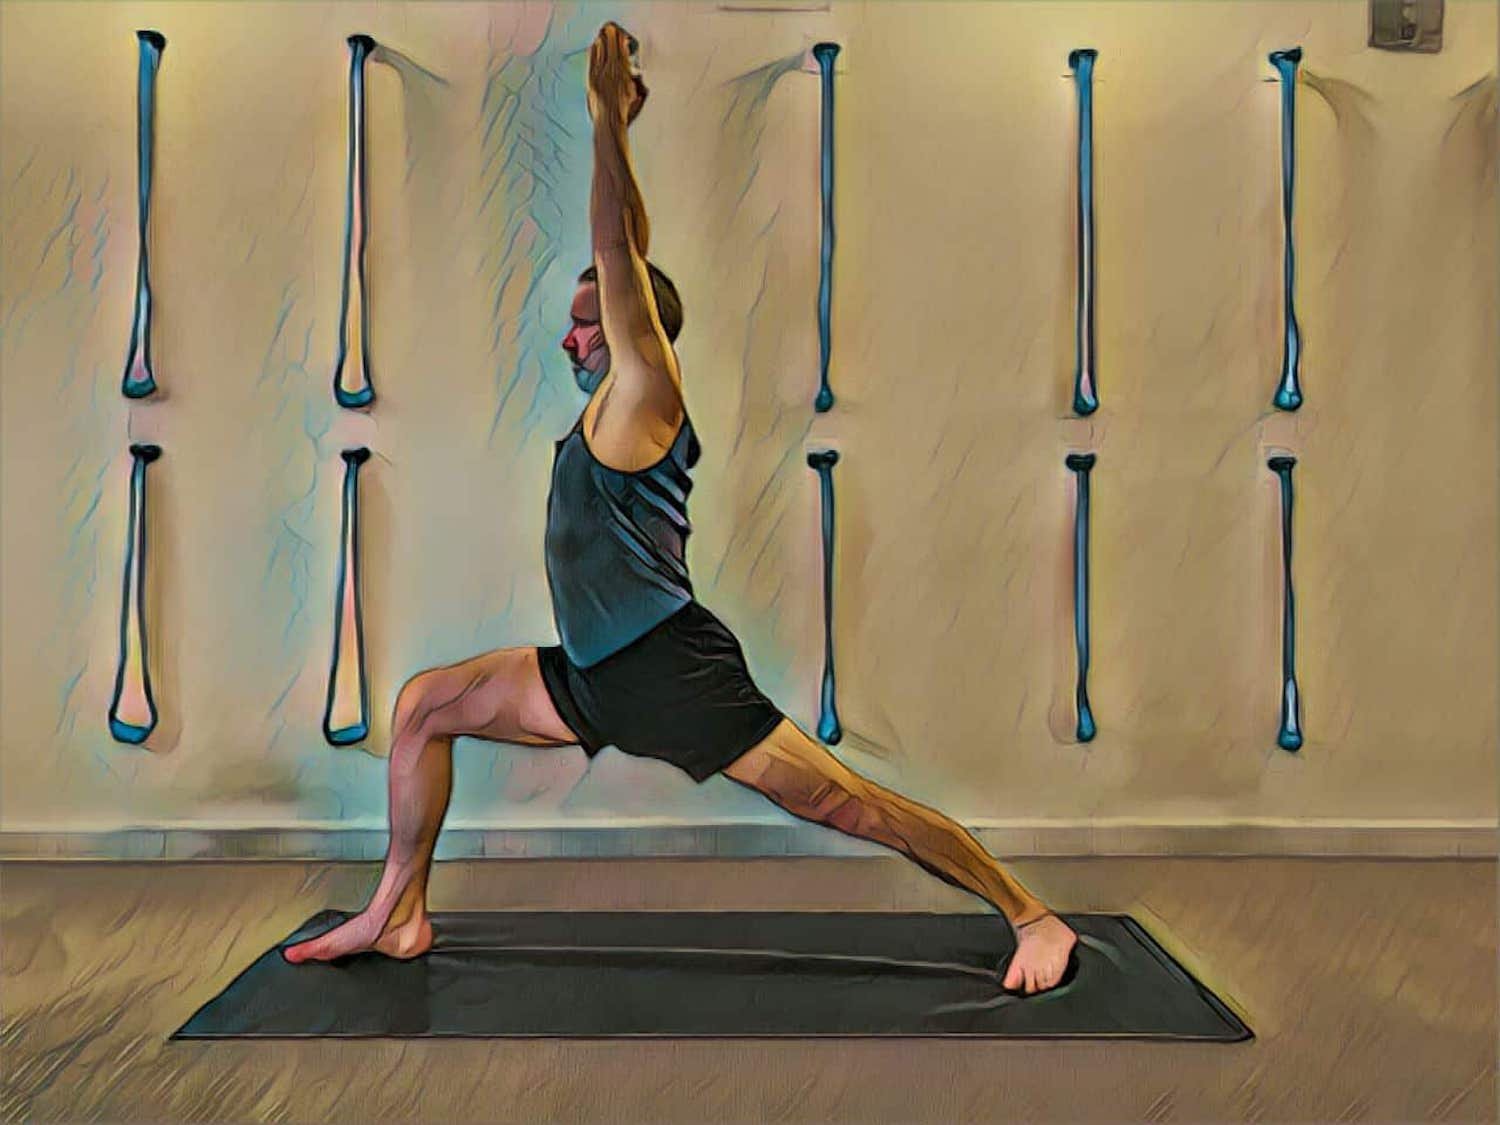
6. Virabhadrasana I

Jump, or step, the legs apart. Take arms up before turning to each side, or as an easier alternative, take hands on hips when turning to each side. Jump, or step, back to tadasana. Spend 30 – 45 seconds on each side.

pdi30

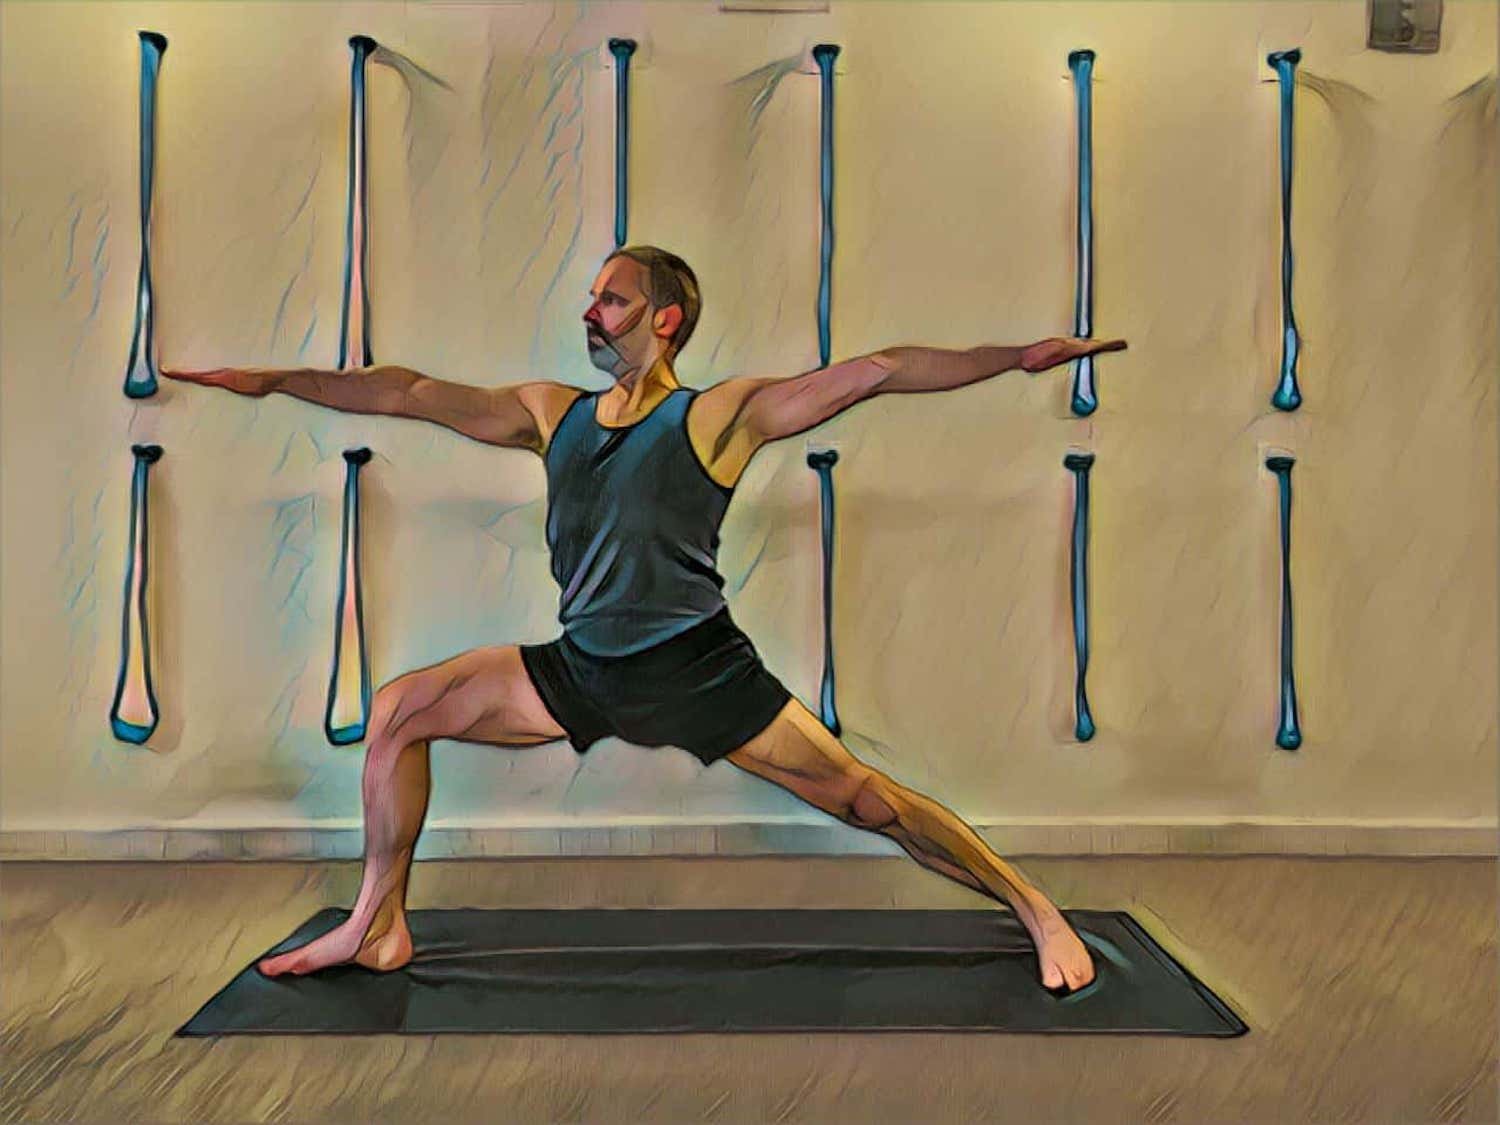
7. Virabhadrasana II

Jump, or step, the legs apart, with arms extended, before turning to each side. As an easier alternative, take hands on hips when turning to each side. Jump, or step, back to tadasana. Spend 30 – 45 seconds on each side.

ijos5

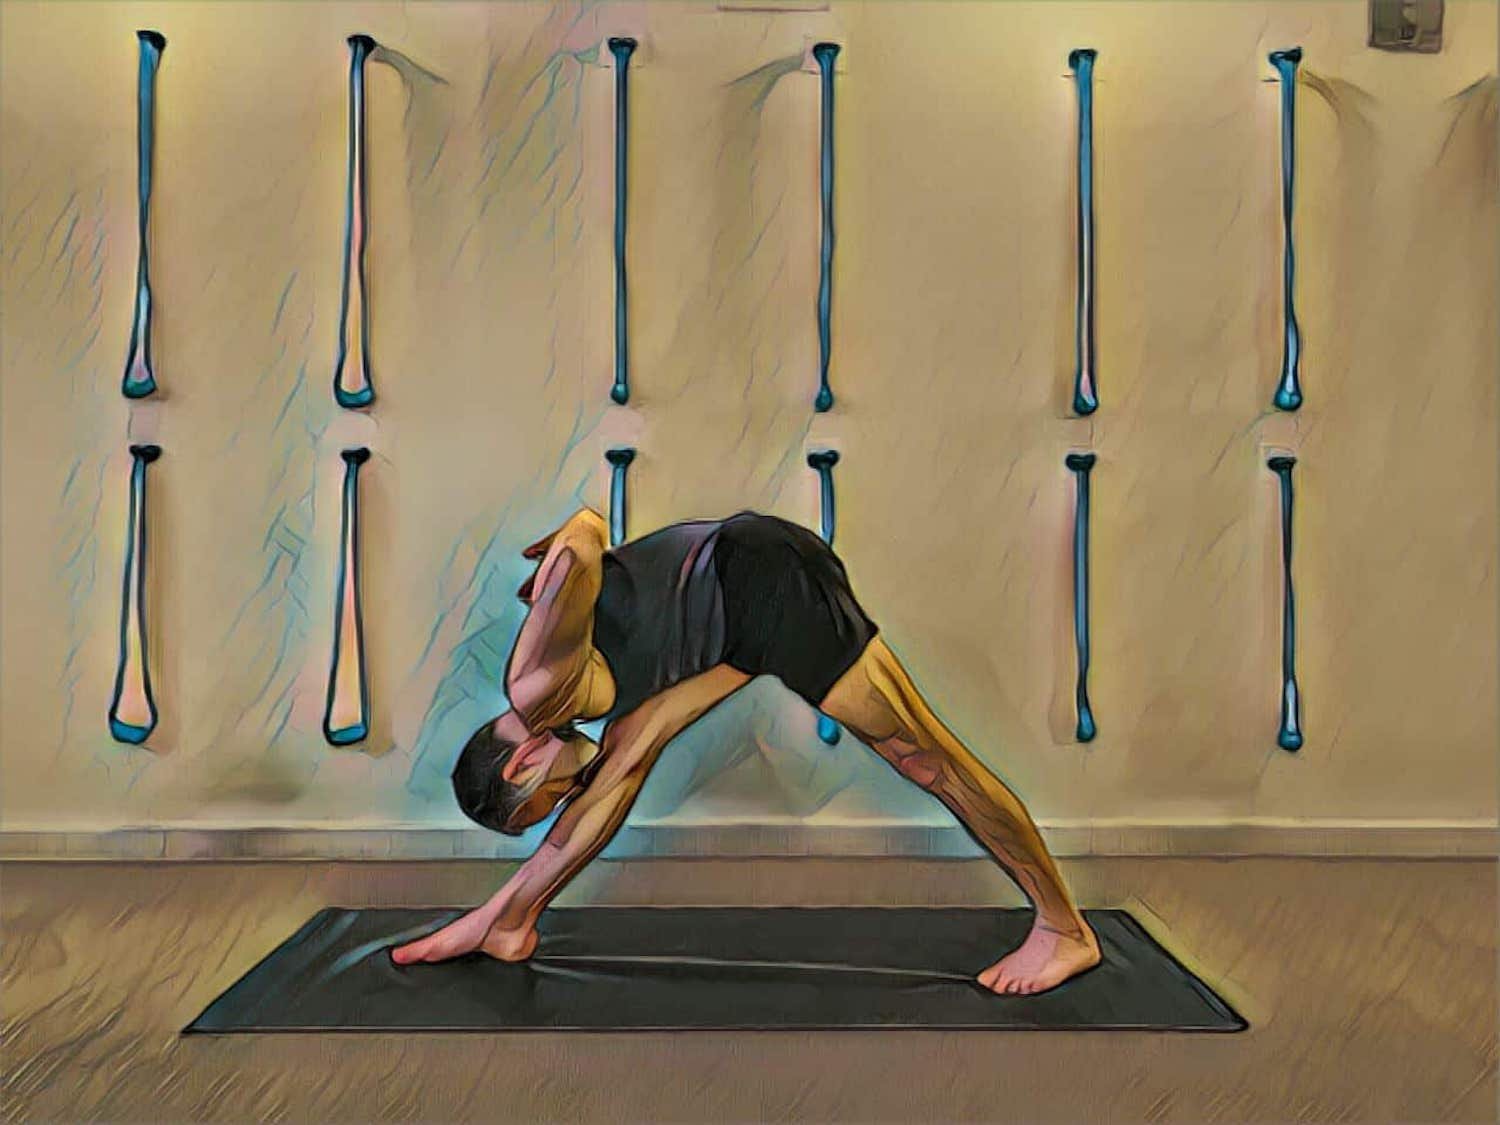
8. Parsvottanasana

From tadasana take the arms into paschinamaskar (or reverse prayer position). Jump, or step, the legs apart. Turn to the right and do the pose. Come up. Turn to the left and do the pose. Come up. Jump, or step, back to tadasana. Spend 45 – 60 seconds on each side. If paschinamaskar arms is not viable, do paschima baddha hasta (or arms bent behind catching the opposite arm above the elbow). As an easier alternative take the hands to the floor, or bricks, either side of the front leg foot.

gg1p6

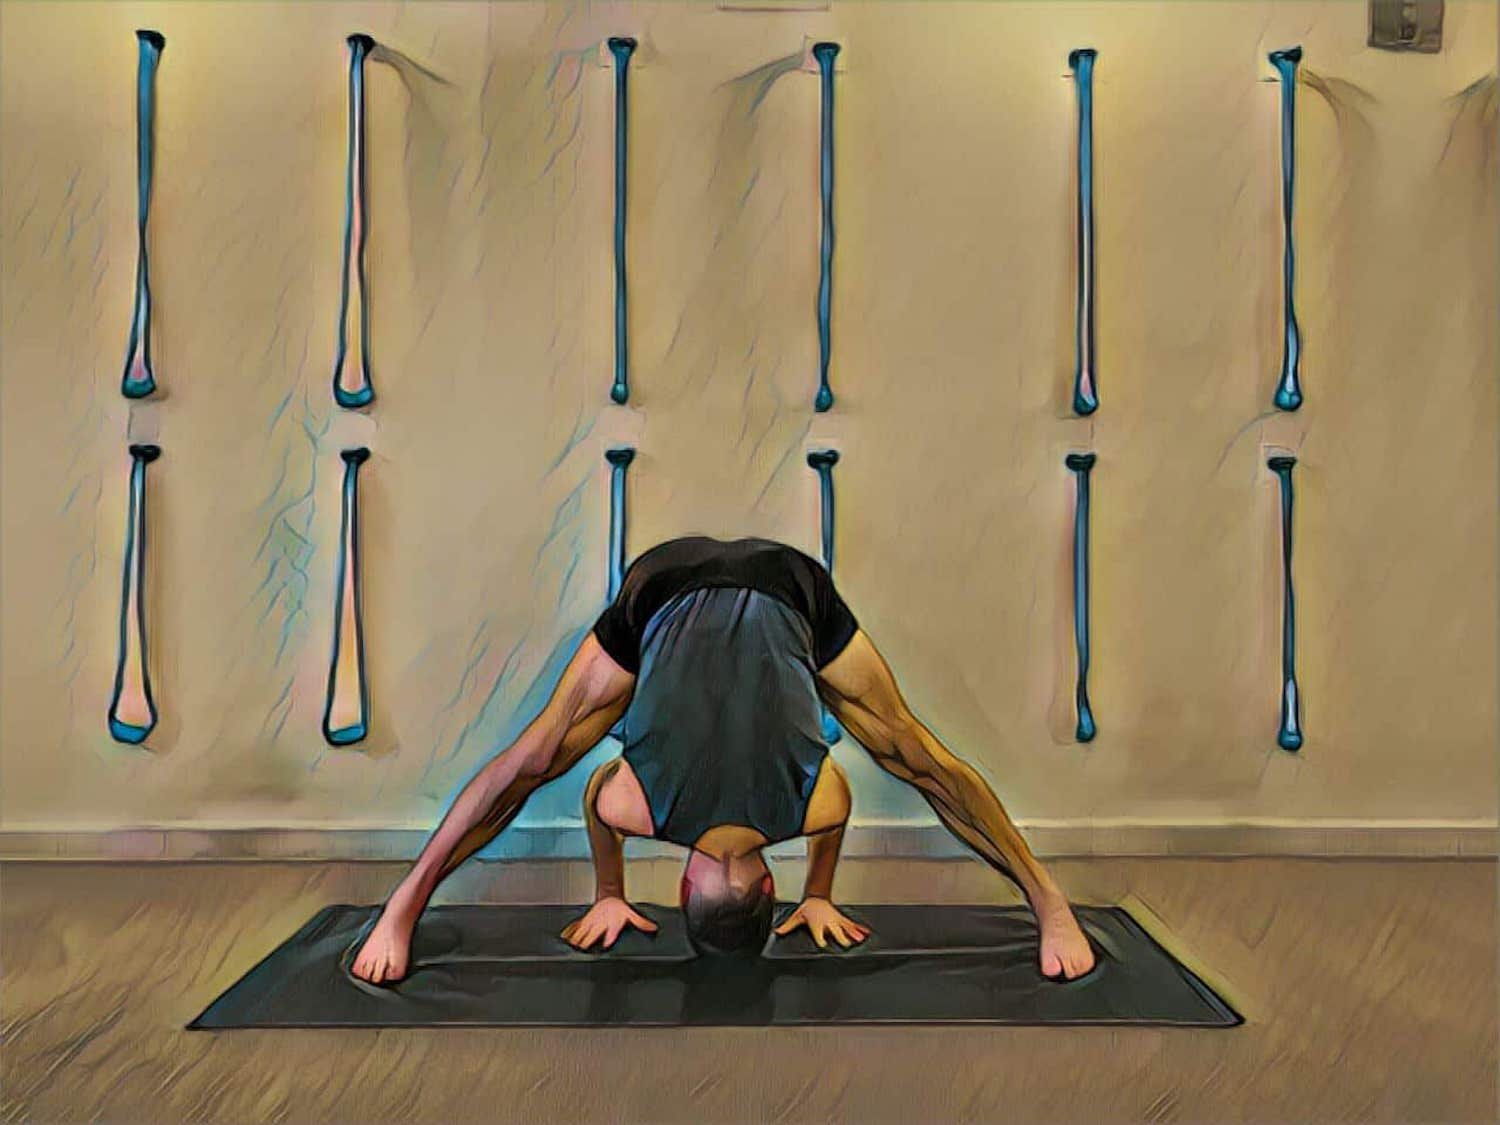
9. Prasarita Padottanasana

Jump or step the legs apart. Go into the pose, making sure to extend the spine once the hands are taken to the floor, before taking the head down. Come up. Jump, or step, back to tadasana. Spend 60 seconds or more in the pose.

89fdy

10. Adho Mukha Vrksasana

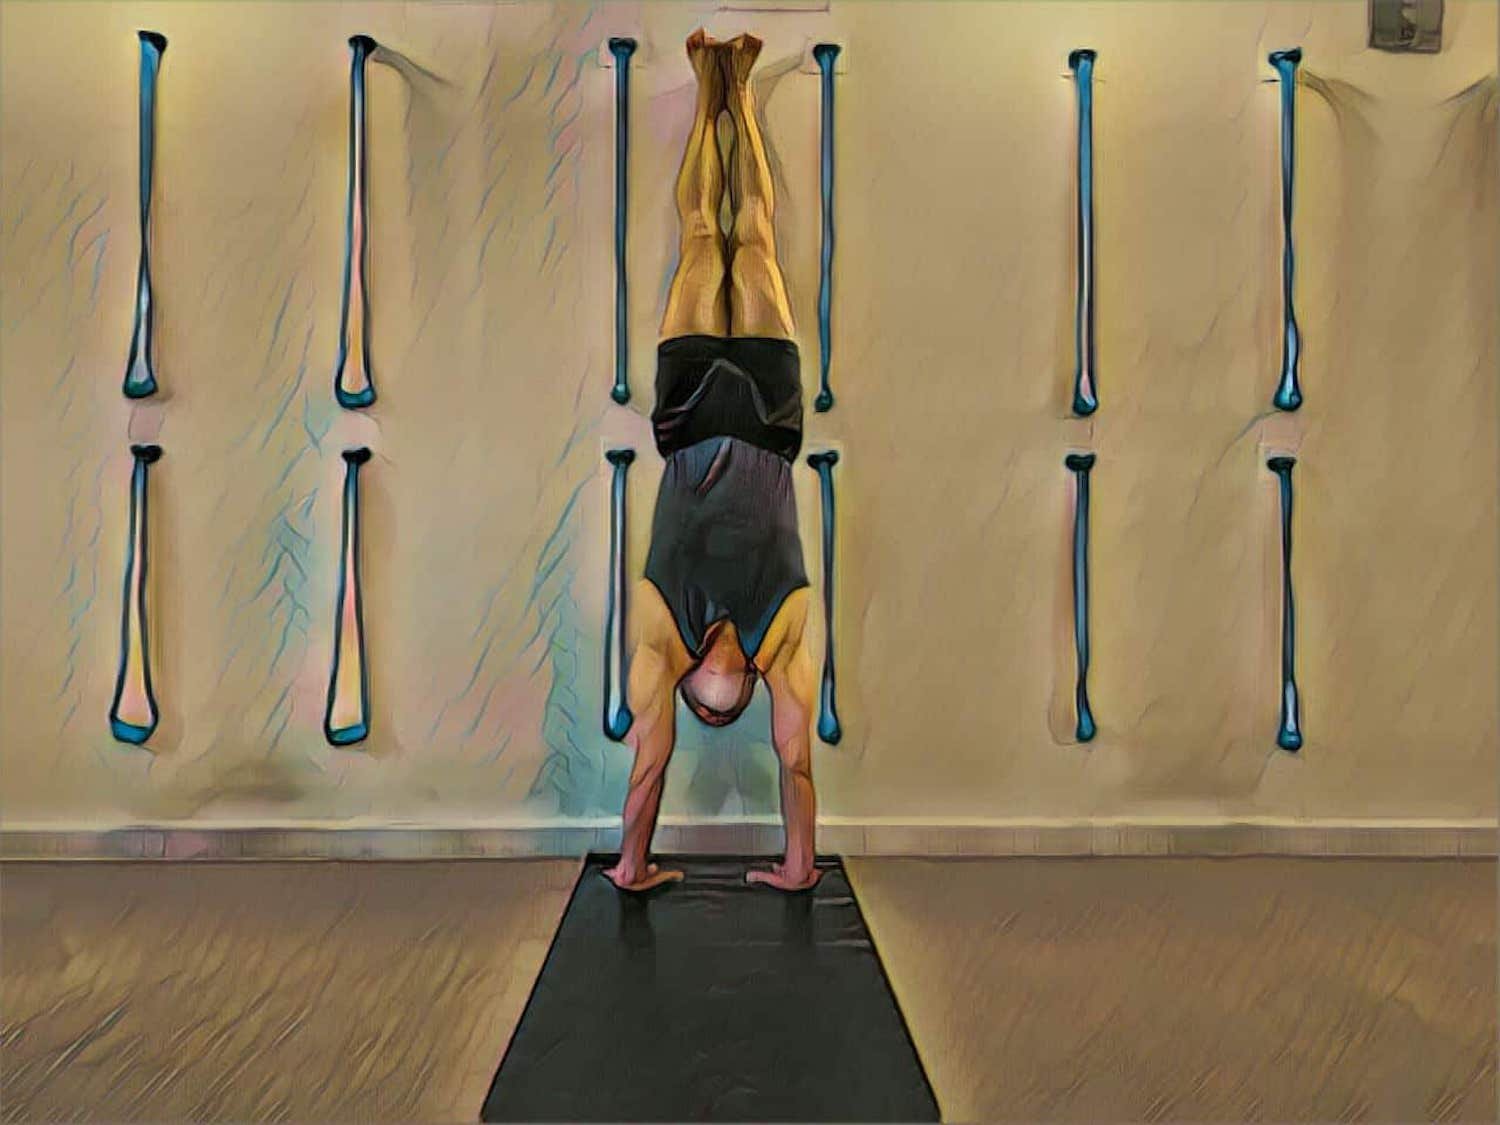
Kick up with the support of a wall behind you. Press the palms and extend up through the legs. Hold for 45 seconds. Come down and rest. Repeat. Learn to alternate the leg you lead with when going up and coming down. If the full pose is not viable place the palms a leg length’s distance from the wall and walk up until the legs are parallel with the ceiling. Press the palms to keep the shoulders stacked vertically over the wrists, and lift up through the sides of the torso.

odcwv

11. Pinca Mayurasana

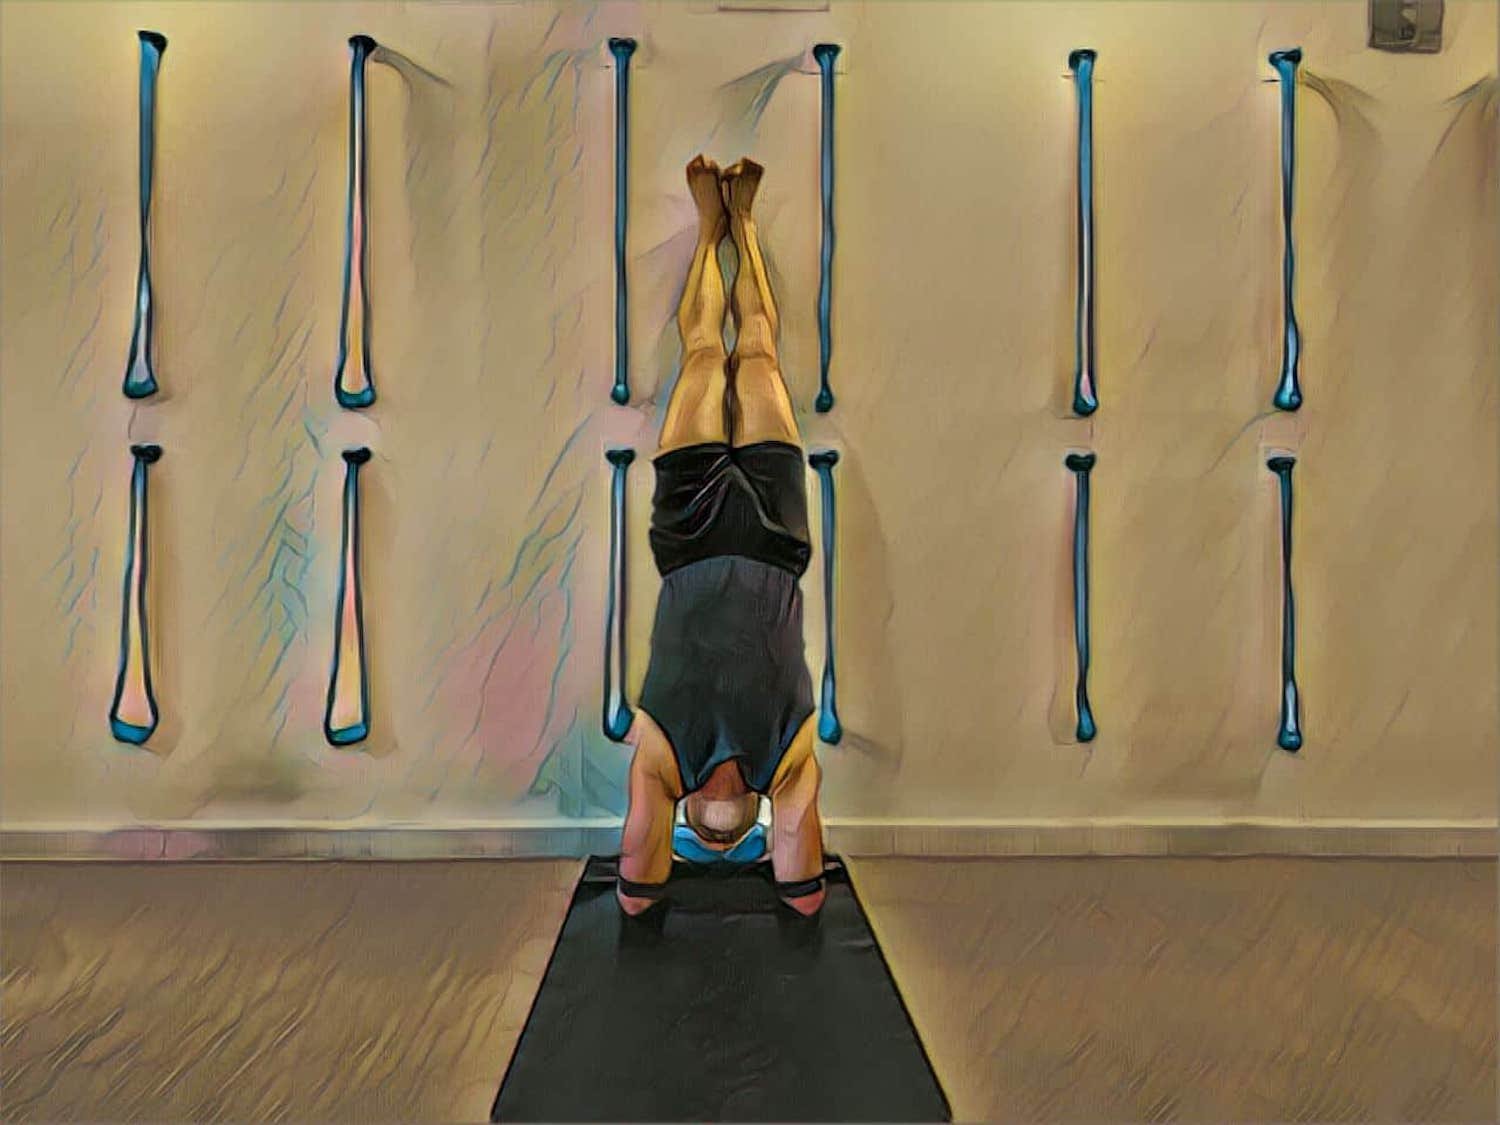
Place the forearms on the floor with the elbows shoulder width. Kick up. Press the forearms and extend up through the legs. Hold for 45 seconds. Come down and rest. Repeat. Learn to alternate the leg you lead with when going up and coming down. Use a brick between the hands to keep the wrists apart, and a strap around the upper arms to keep the elbows in. If the full pose is not viable, keep the feet on the floor and walk in. Take the hips over the shoulders while pressing the forearms to keep the shoulders over the elbows.

8psbo

12. Triang Mukha Eka Pada Paschimottanasana

Start in dandasana (sitting on the floor with both legs extended straight). Bend the left leg into virasana keeping the right leg in dandasana. Raise the arms and extend forward, catching the foot. Lift up and maintain this for some time before extending forward along the thighs. Hoid for 1 – 2 minutes before coming up and changing sides. Return to dandasana between sides and after completing the second side. Make sure you support the straight leg buttock with a well folded blanket to prevent tilting to the straight leg side. Use a strap to connect to the foot if hamstrings are tight, and work more on the lift than the forward bend.

heqir

13. Janu Sirsasana

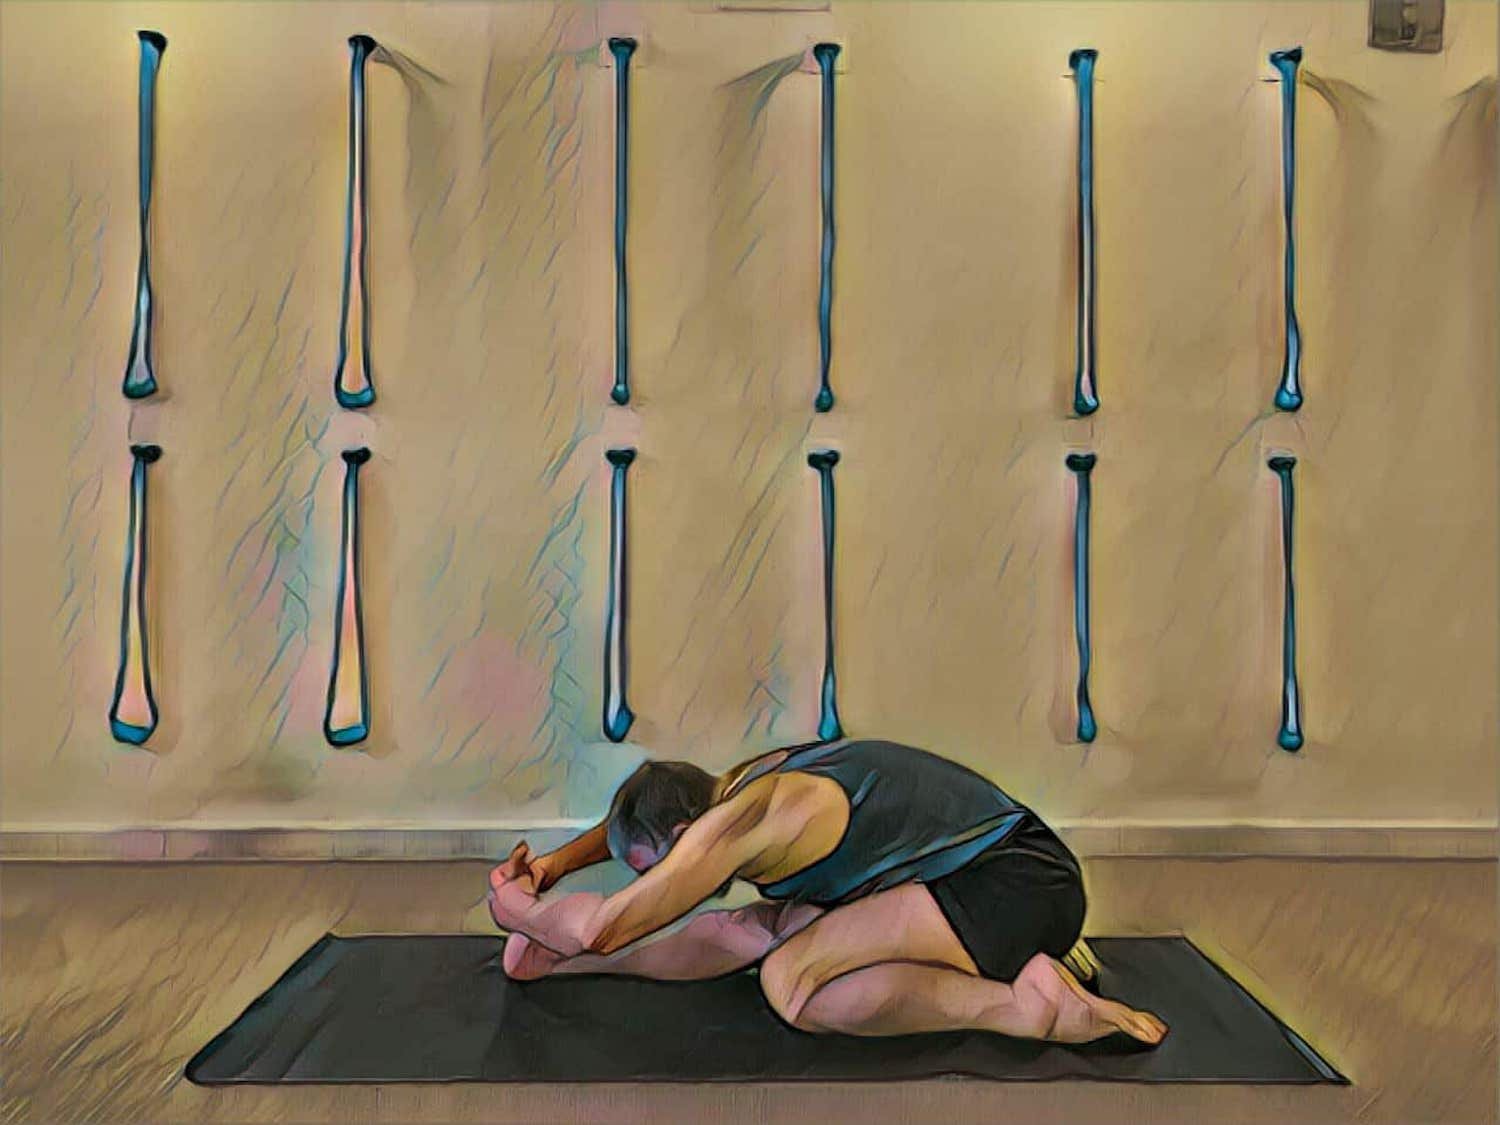
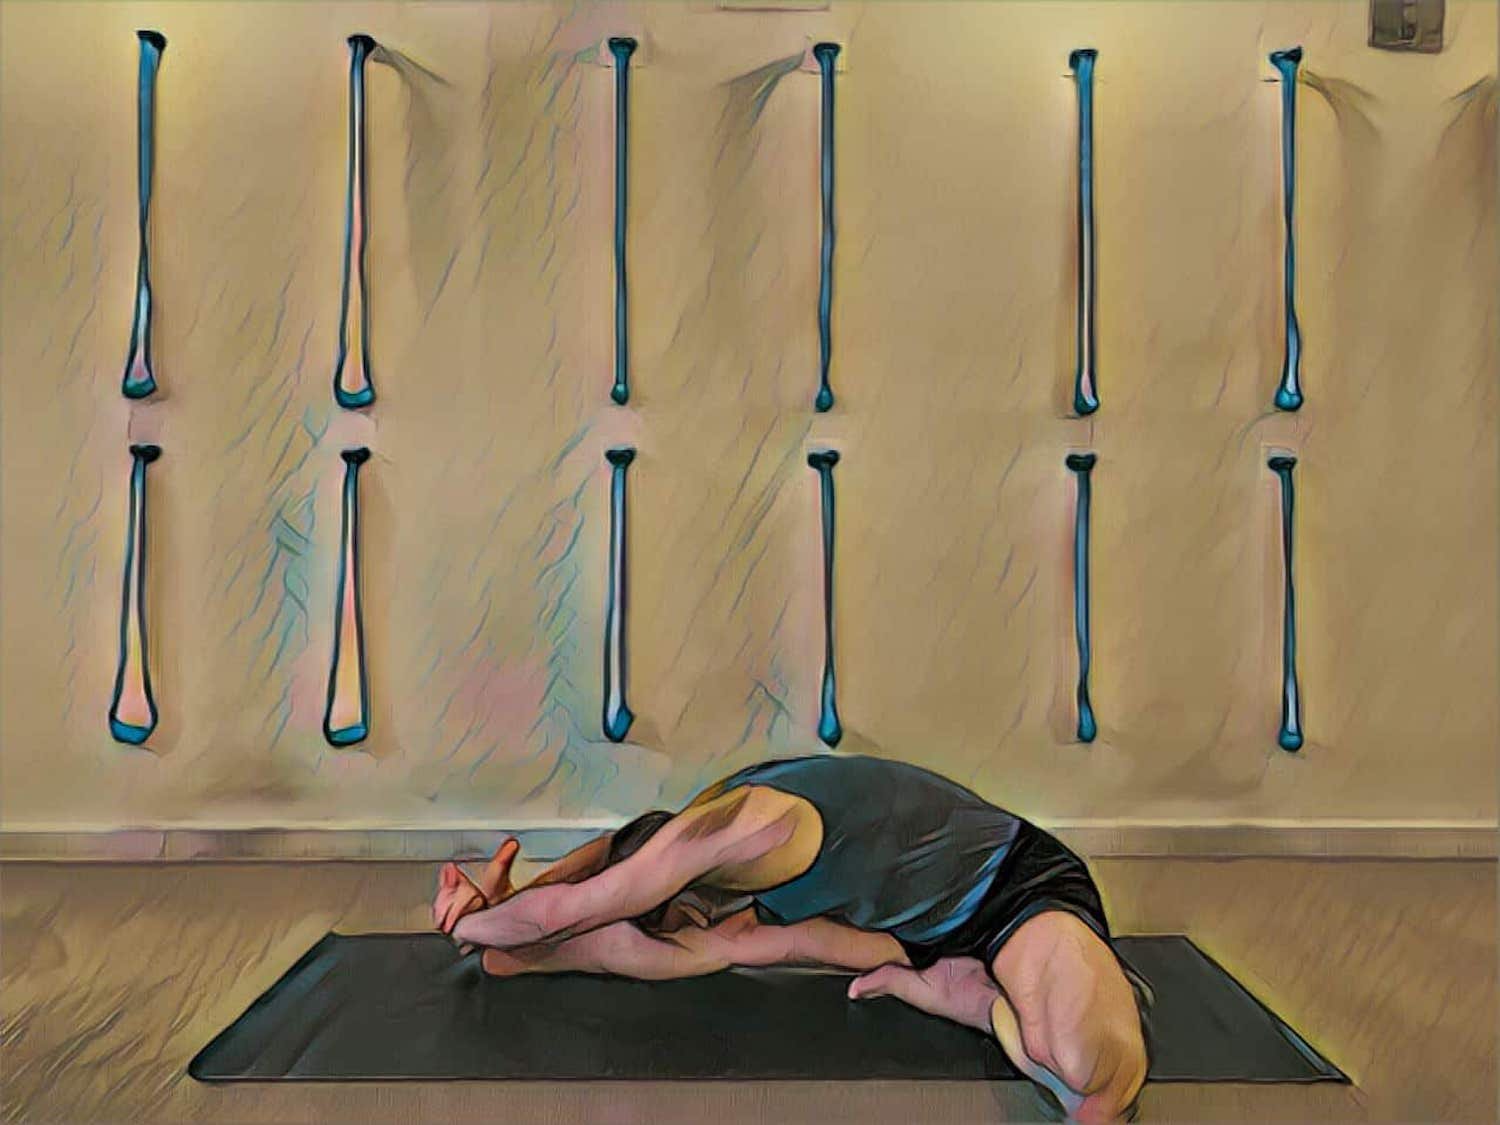
Start in dandasana. Bend the left leg out to the side. Raise the arms and extend forward, catching the foot. Lift up and maintain this for some time before extending forward along the right leg. Hoid for 1 – 2 minutes before coming up and changing sides. Return to dandasana between sides and after completing the second side. A folded blanket can be placed under both buttock bones to facilitate the lift of the torso out of the pelvis. Use a strap to connect to the foot if hamstrings are tight, and work more on the lift than the forward bend.

e64qi

14. Bharadvajasana I

Start in dandasana. Sweep the feet to the right, crossing the right foot over the left. Swing the left arm behind to catch the right arm from behind. Take the right hand to the outside of the left thigh down toward the knee. Lift the chest and turn to the left, looking over the left shoulder. Stay in the pose for about 60 seconds. Return to dandasana between sides and after completing the second side. Place a folded blanket under the buttock of the side you are turning toward to prevent over tilting of the hips. A stronger twist can often be attained when the binding of the arms is not taken.

x7y84

15. Marichyasana III

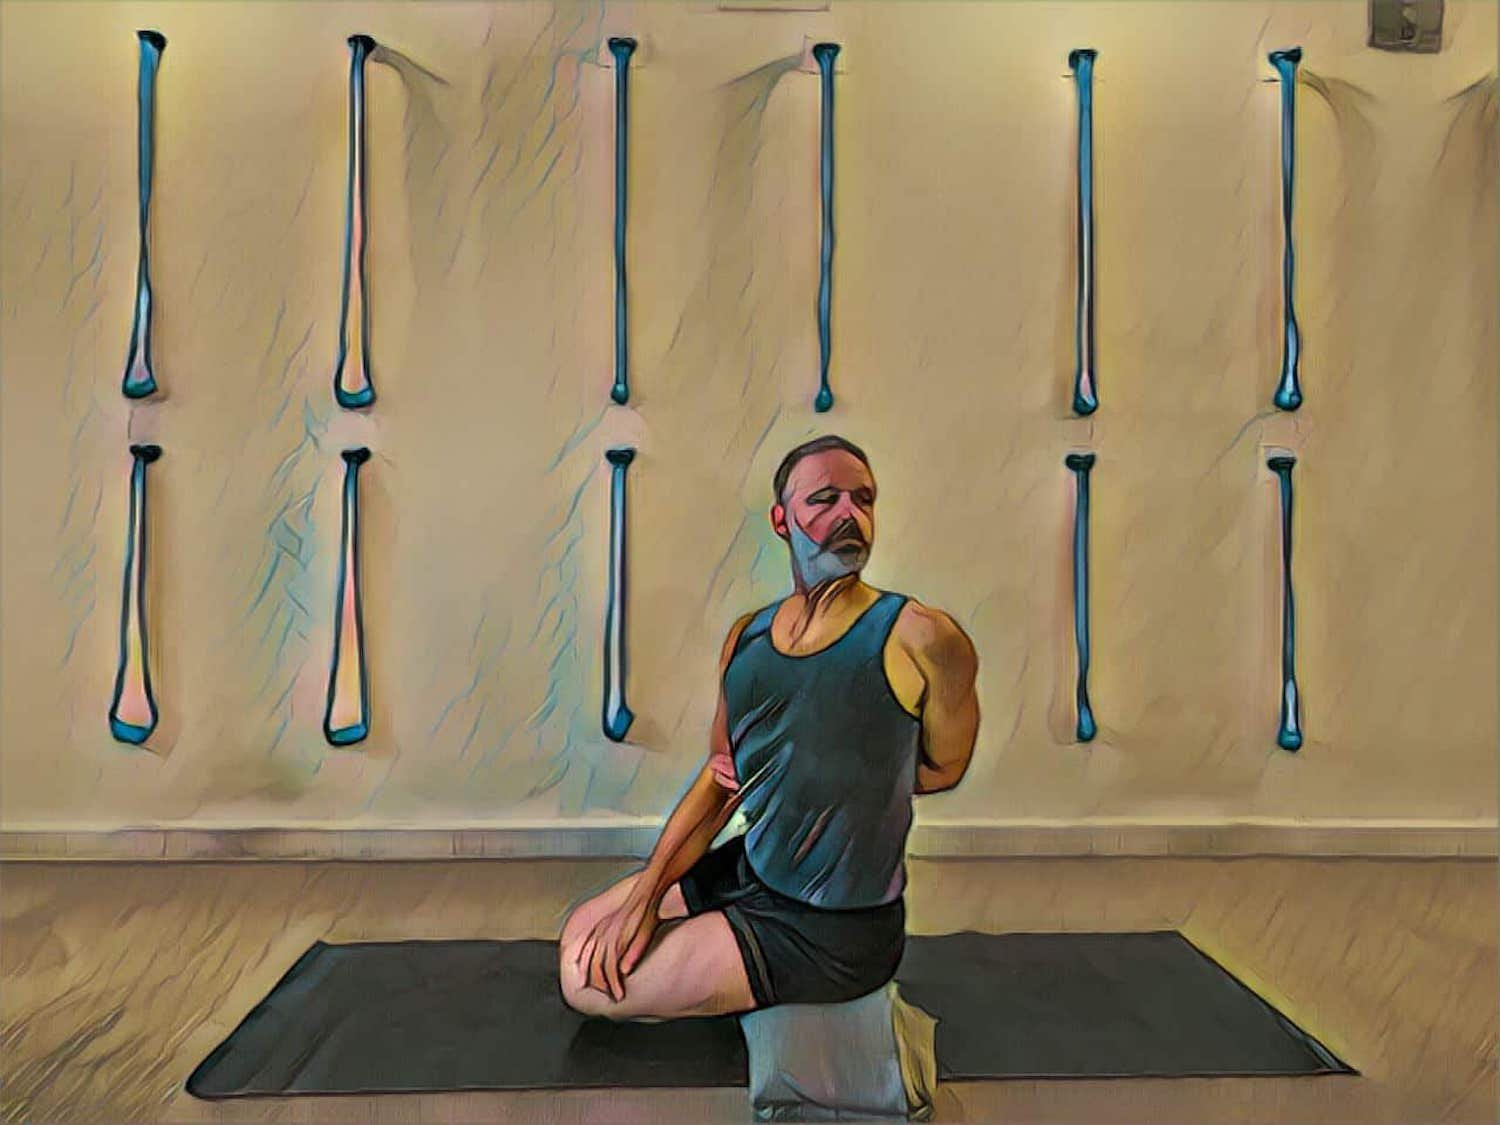
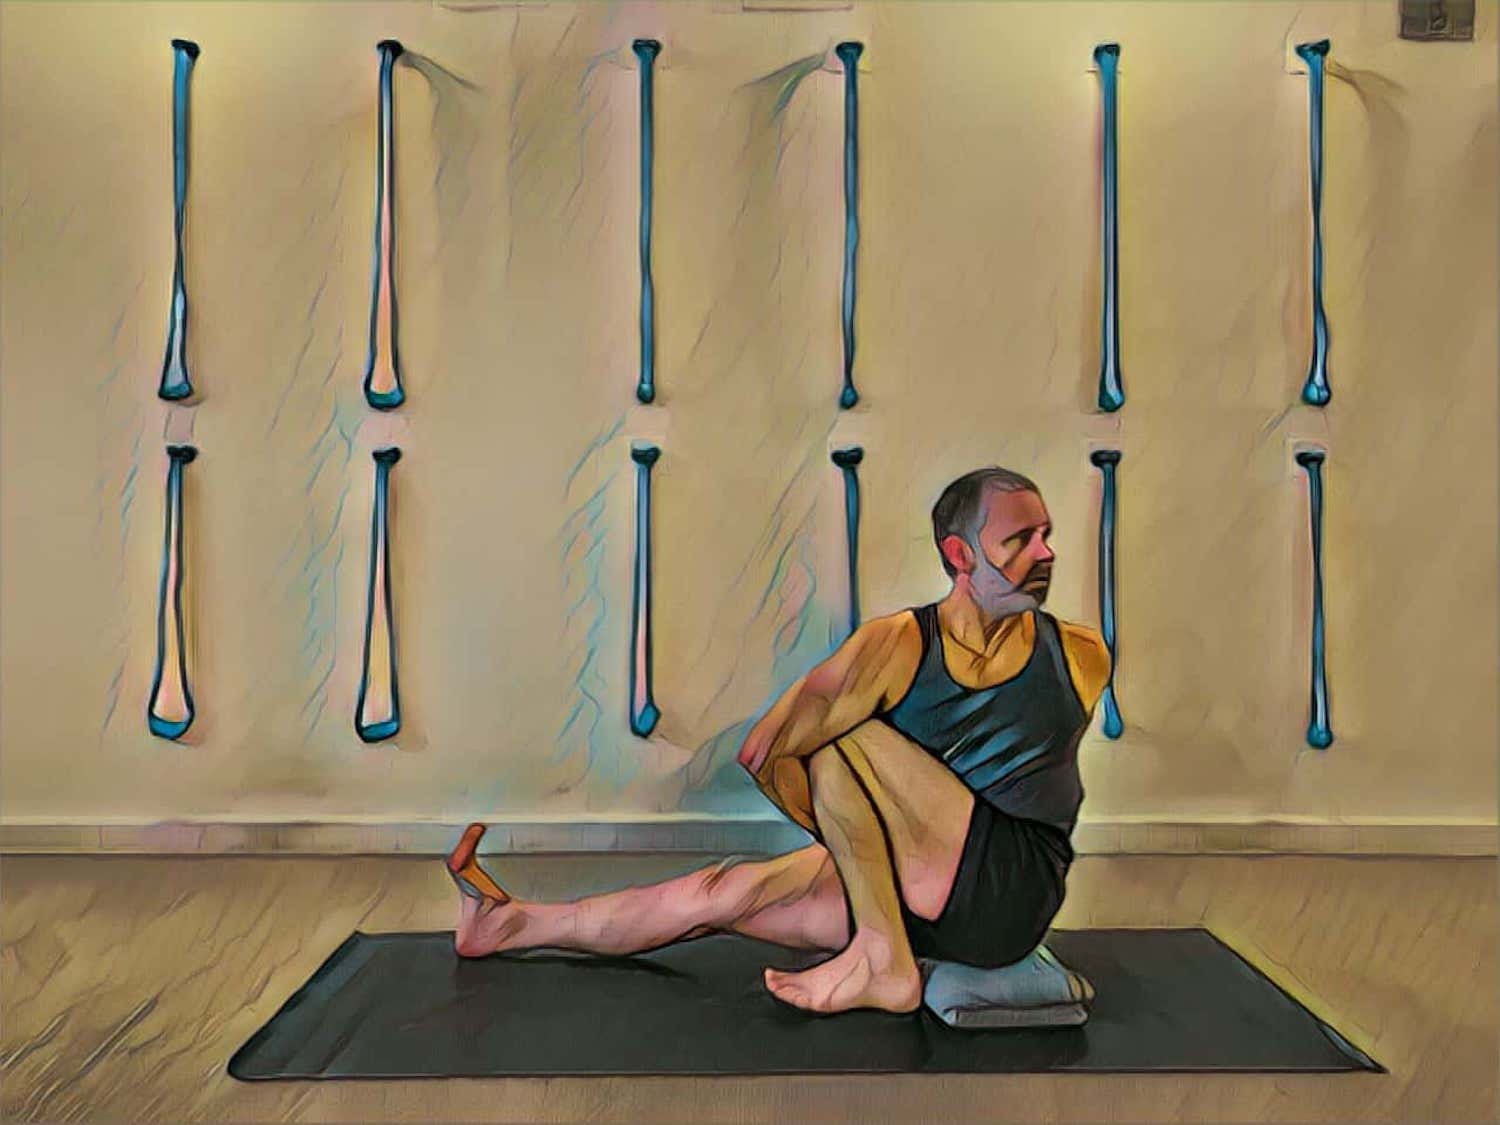
Start in dandasana. Bend the left leg into a marichyasana orientation. Swing the right arm across the left leg and use this leverage to turn the torso to the left. Rotate the arm around it so that you can take the left arm behind and bind. Lift the chest and turn more to the left. Stay in the pose for about 60 seconds. Return to dandasana between sides and after completing the second side. Place a folded blanket under the buttocks to enhance the torso lift. As in bhradvajasana I, often a better twist can be gained by not binding. Use the fingers of the arm you are turning towards to take the sacrum in and lift the spine. Use the other arm as a lever against the leg you are turning towards to generate the rotation.

ybxtg

16. Dhanurasana

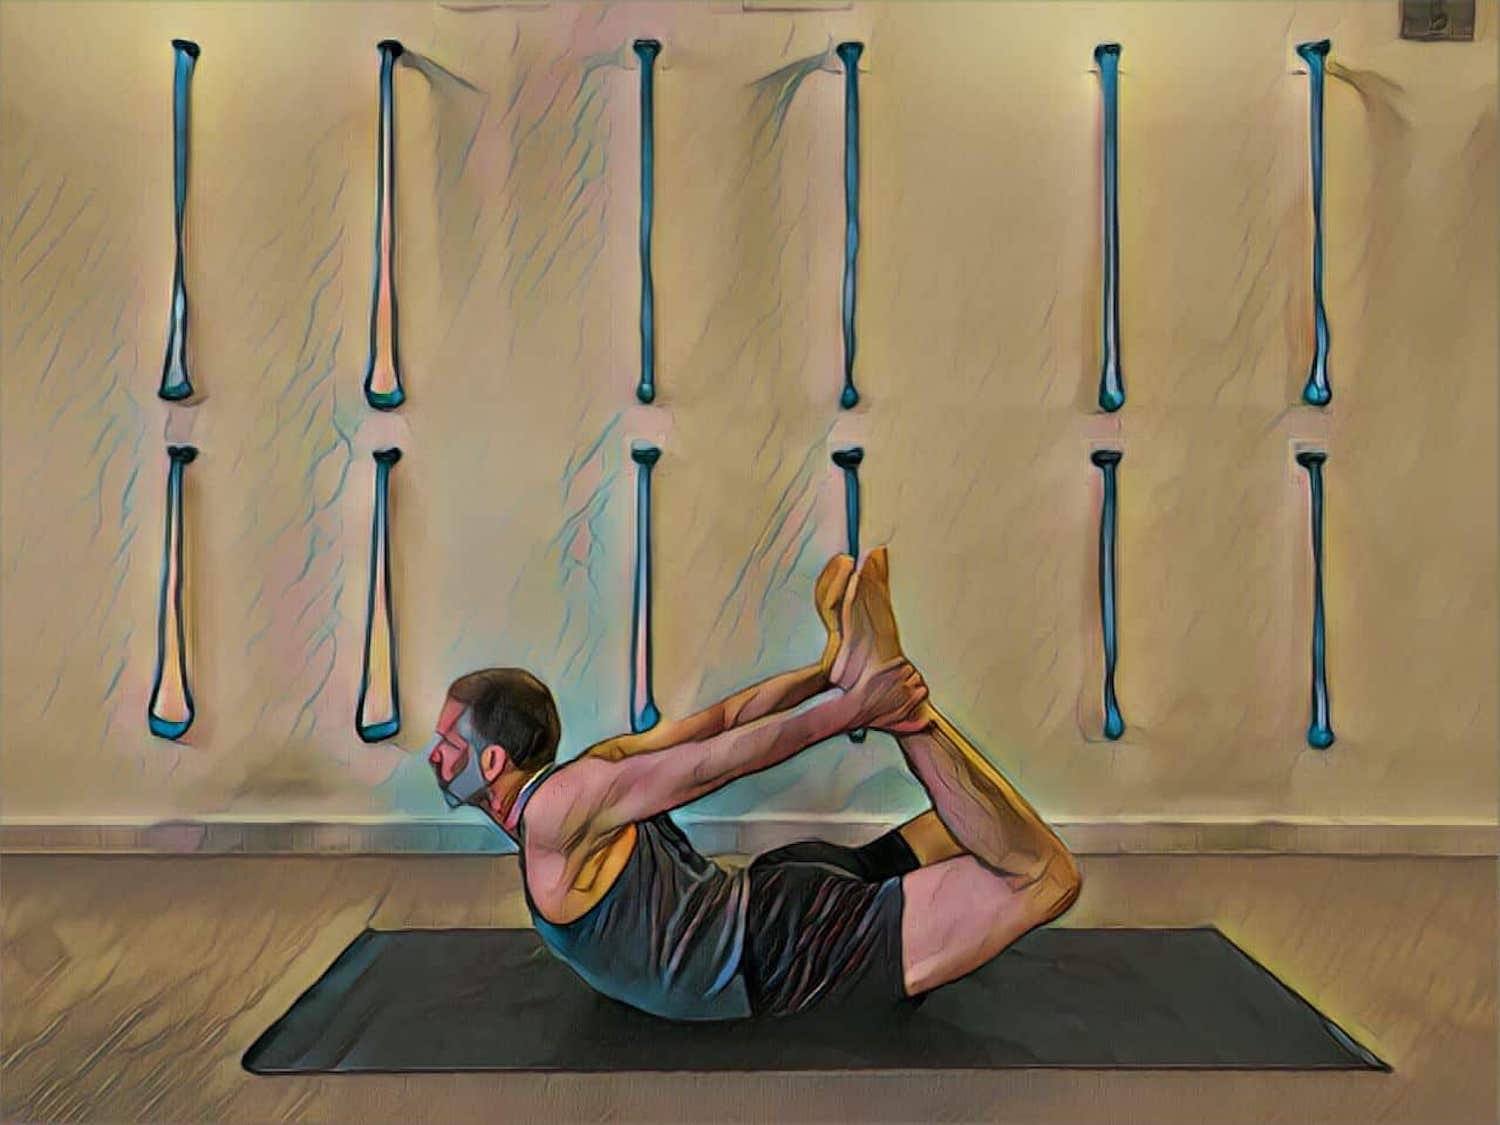
Start in a prone position. Bend the legs and catch the ankles from the outside of the legs. Press the sacrum down and lift the ankles. Draw the outer thighs in, roll the shoulders back and open the chest as you raise your gaze. Stay for 30 seconds. Release and rest in a prone position. Repeat.

7d8sb

17. Urdhva Mukha Svanasana

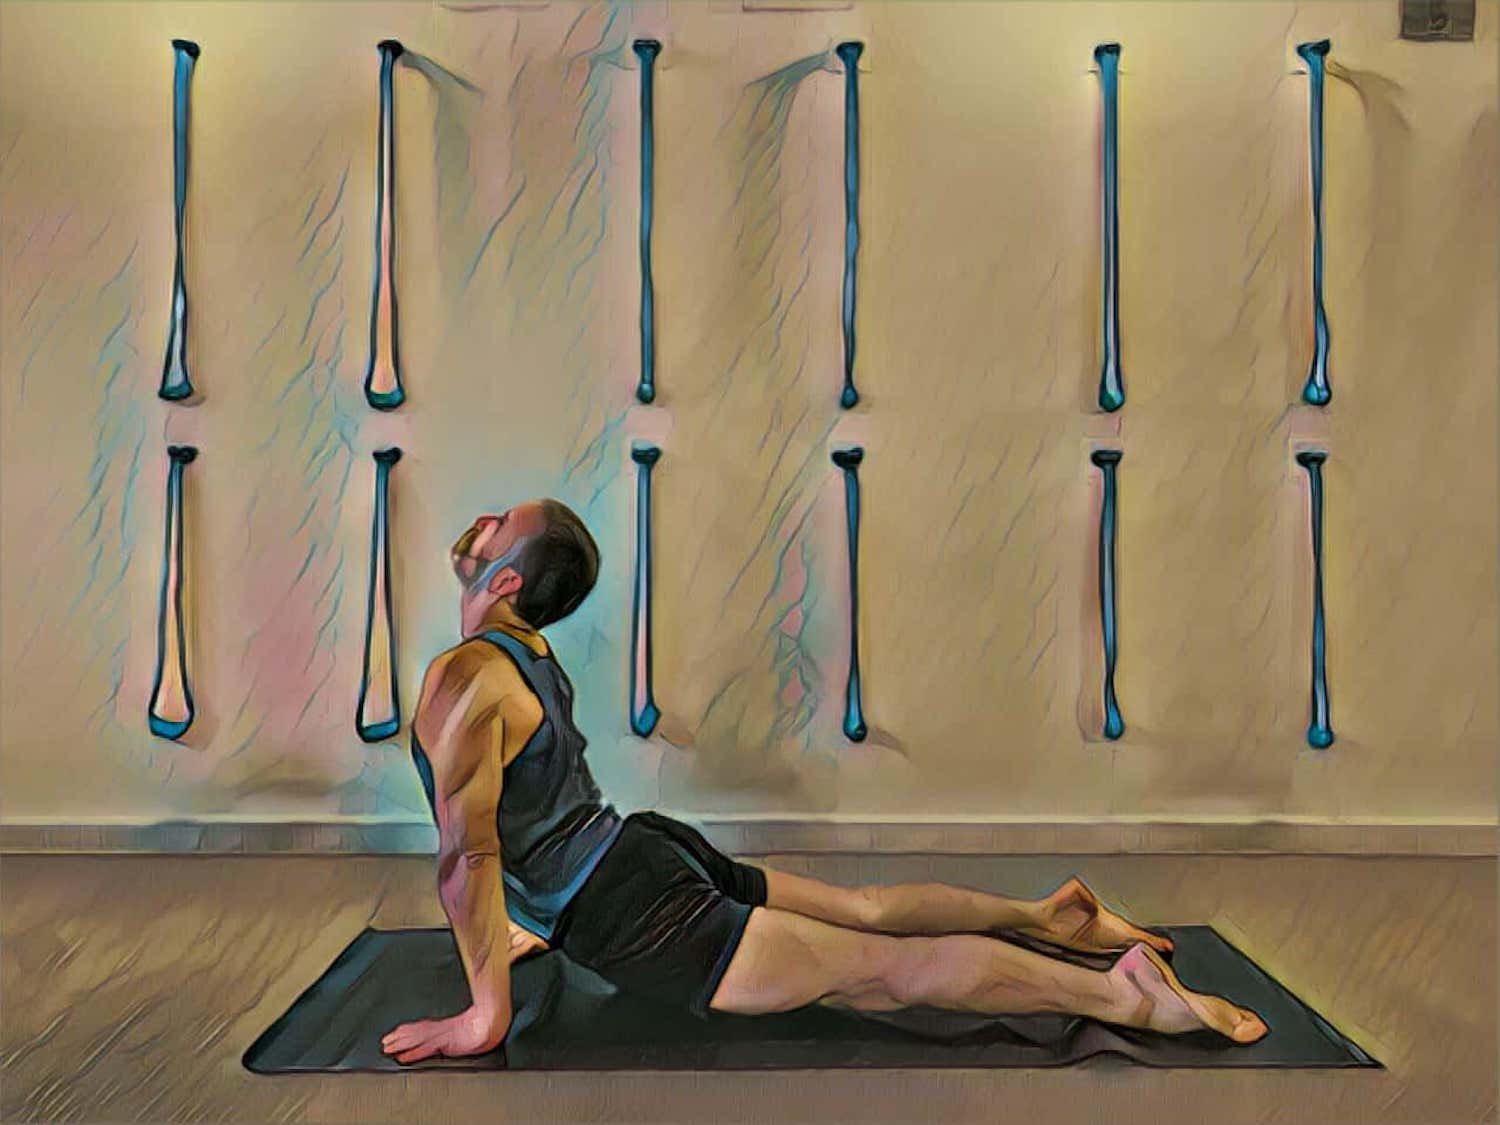
Start in a prone position. Place the hands beside the chest. Press the hands to lift the torso and draw the chest between straight arms as you extend back through the legs. Draw the shoulders over the wrists. Stay for 30 seconds. Release and rest in a prone position. Repeat. Place the hands on bricks or a rolled blanket to enhance the chest lift. Tuck the toes under and extend back through into the heels if lower back pain is acute.

5fdc8

18. Ustrasana

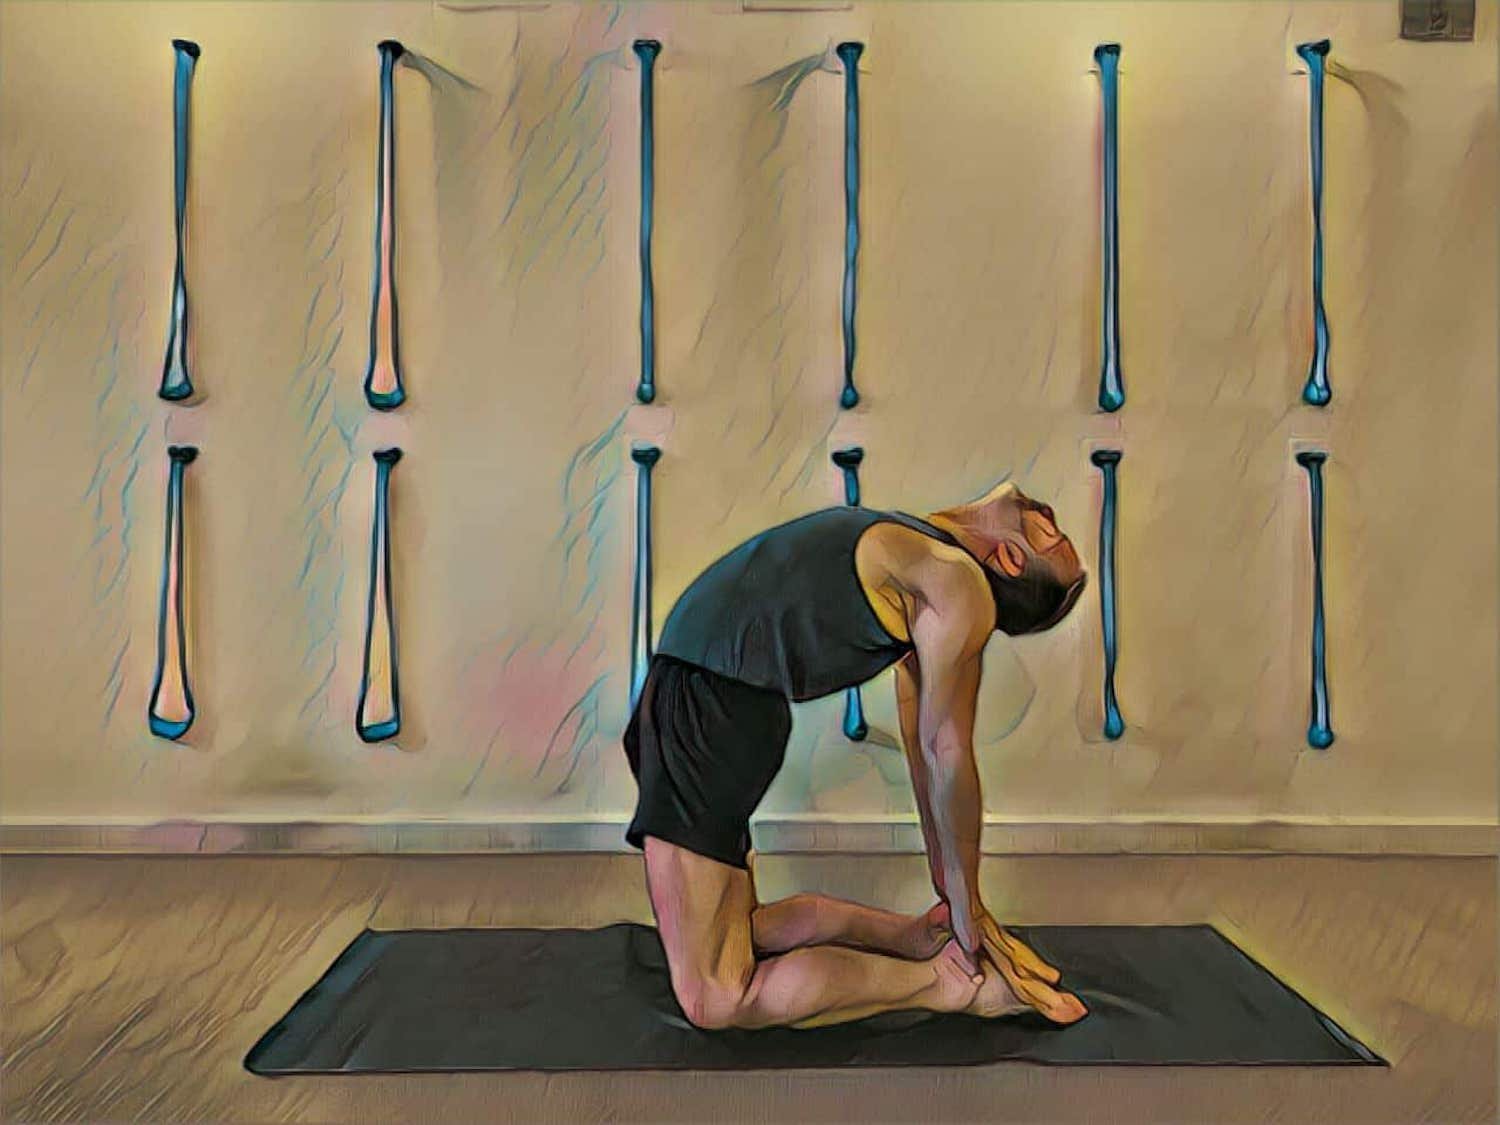
Stand on your shins. With hands on hips arch back as you lift through your lumbar spine. Take the back ribs in to support the lift of the chest as you look back. Take the hands onto the heels and keep the shins pressing so the thighs remain vertical, hips over the knees. Stay for 30 – 45 seconds. Lead with the chest when you release to come up. Sit on the heels and rest. Repeat twice. Take the hands onto upright bricks either side of your ankles, or place a bolster across the heels if it is too much to reach the heels with the hips over the knees.

pflr7

19. Supta Padangusthasana I

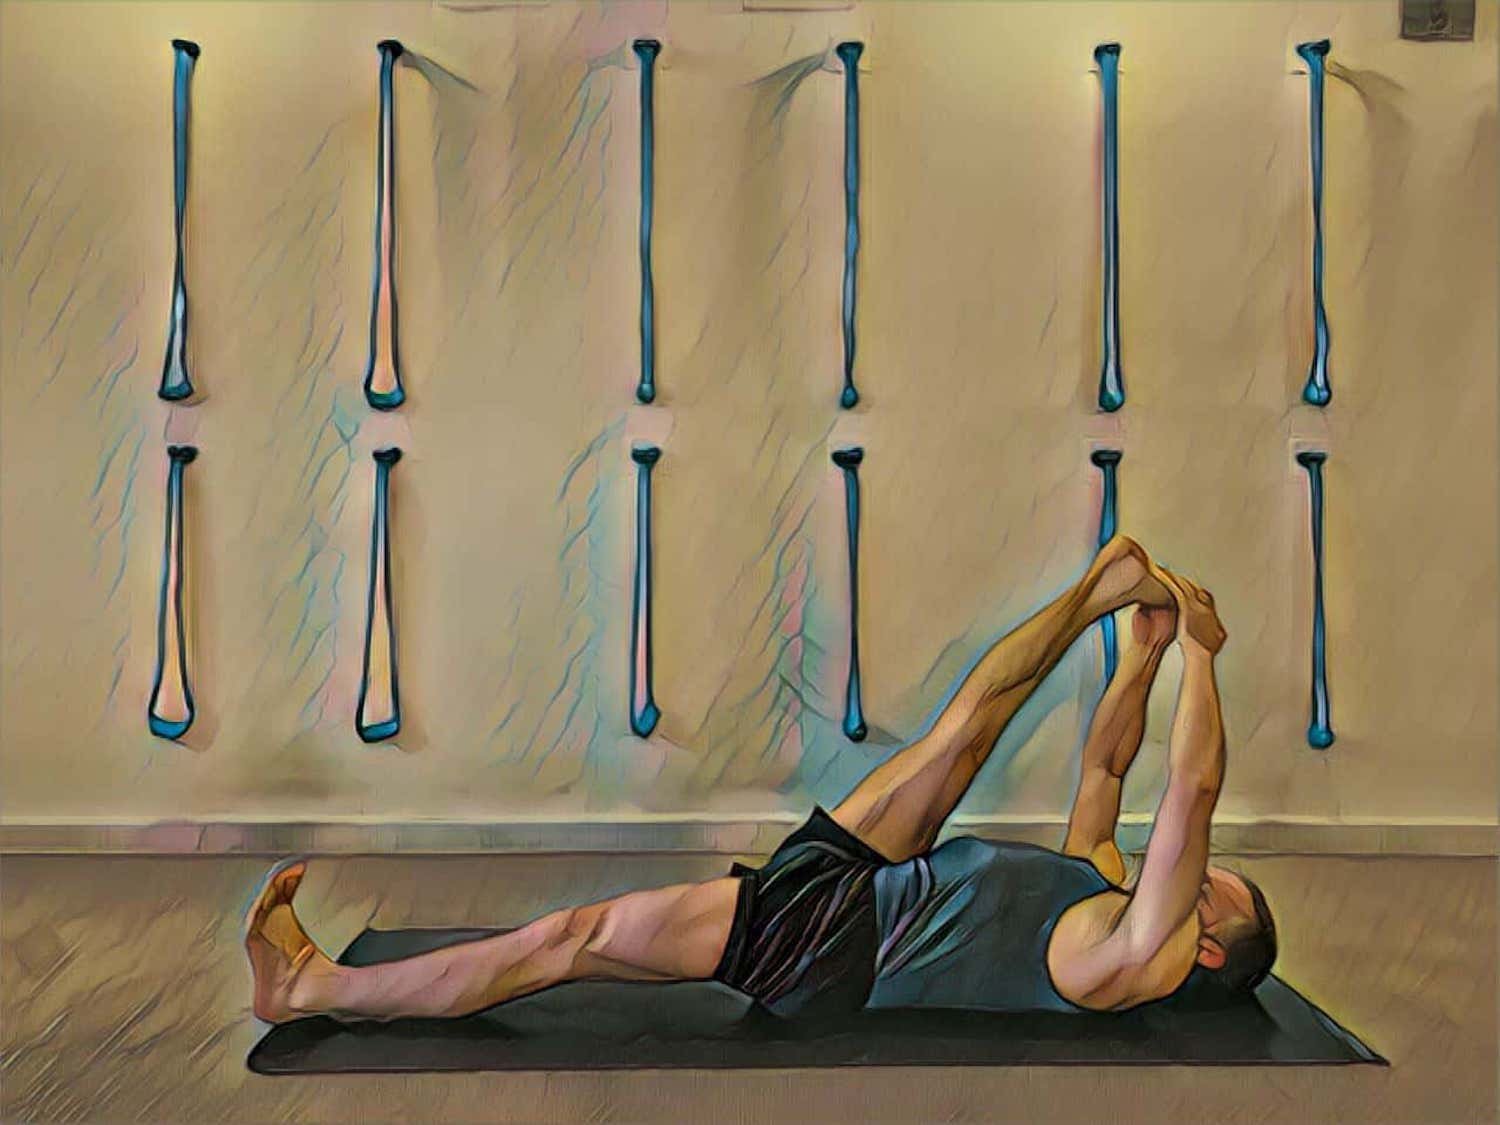
Lie on your back. Bend your right leg, raise your right foot, and clasp your shin with interlocked fingers. Draw the shin towards the thigh and squeeze the thigh towards your torso. Catch the right foot and extend the leg straight. As you work the thigh back to keep the leg straight draw the foot towards the head side. Stay for 1 – 2 minutes. Release the leg and repeat on the other side. Use a strap to connect the hands to the foot if required.

nqv00

20. Halasana

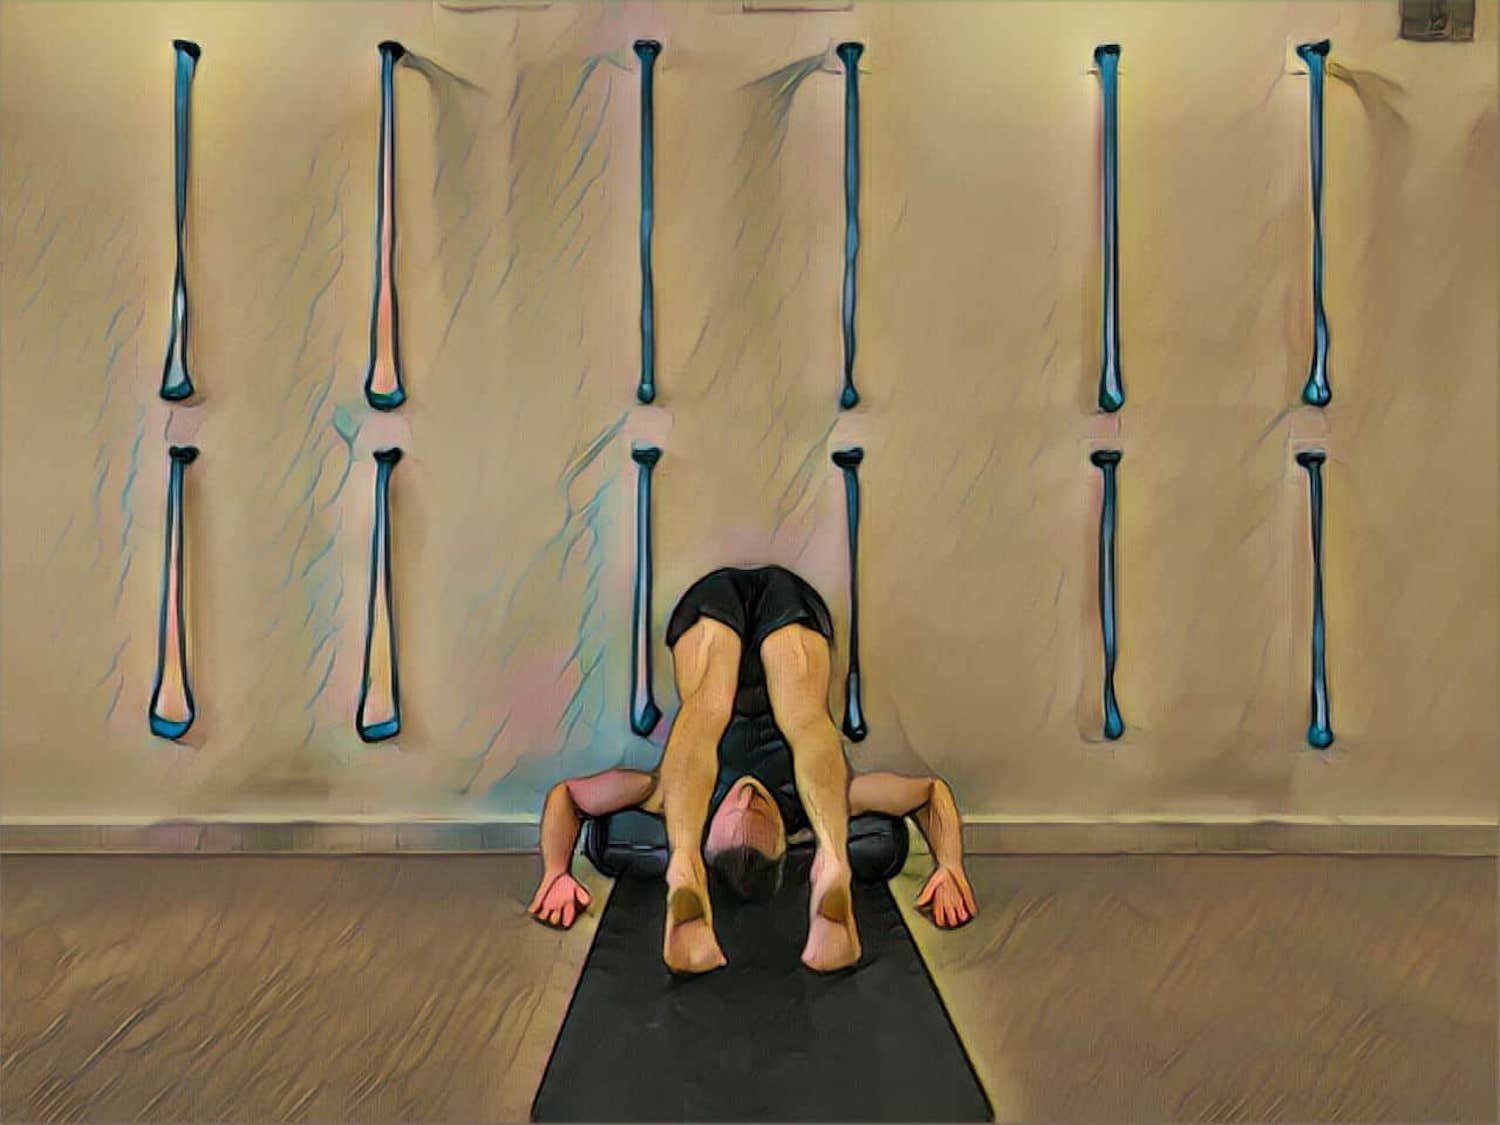
Place a bolster lengthways into a wall. Place the crown of your head on the floor in front of the bolster with the back of the skull right up against it. With palms supporting either side of the head a little further away from the wall, raise the knees and roll onto the bolster so that the top of the shoulders are supported on the bolster and the back of the skull is on the floor. Rest the forearms on the bolster with the arms bent at a right angle. Space the feet hip width and slightly suck the heads of the thighs into the hip sockets. Stay for 5 minutes before rolling into the next pose. Do this pose in the traditional manner with feet against the wall or toes tucked under on the seat of a chair if required and the necessary props are available.

m5j0q

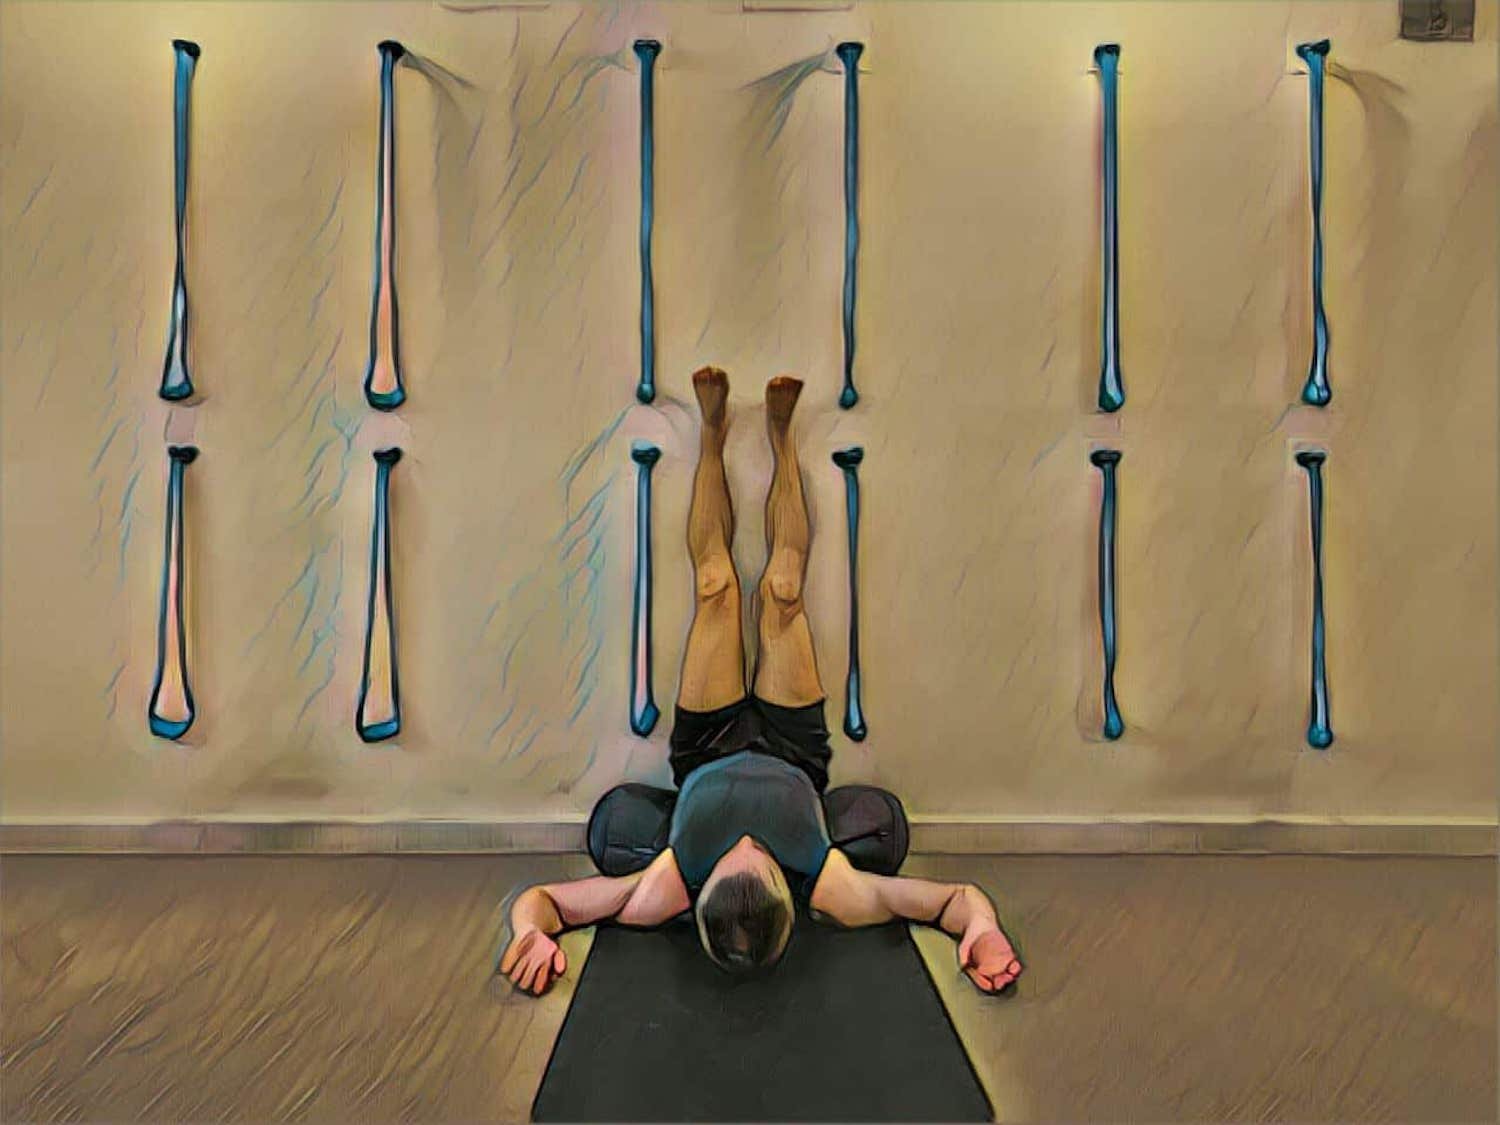
21. Viparita Karani

From halasana roll into viparita karani. Keep the buttocks flush to the wall but create a small gap between the bolster and the wall for the buttocks to slightly dip into. Stay, with legs slightly separated, for 3 minutes with eyes closed. Then slowly bend both legs simultaneously and roll over to the right side.

no6zx

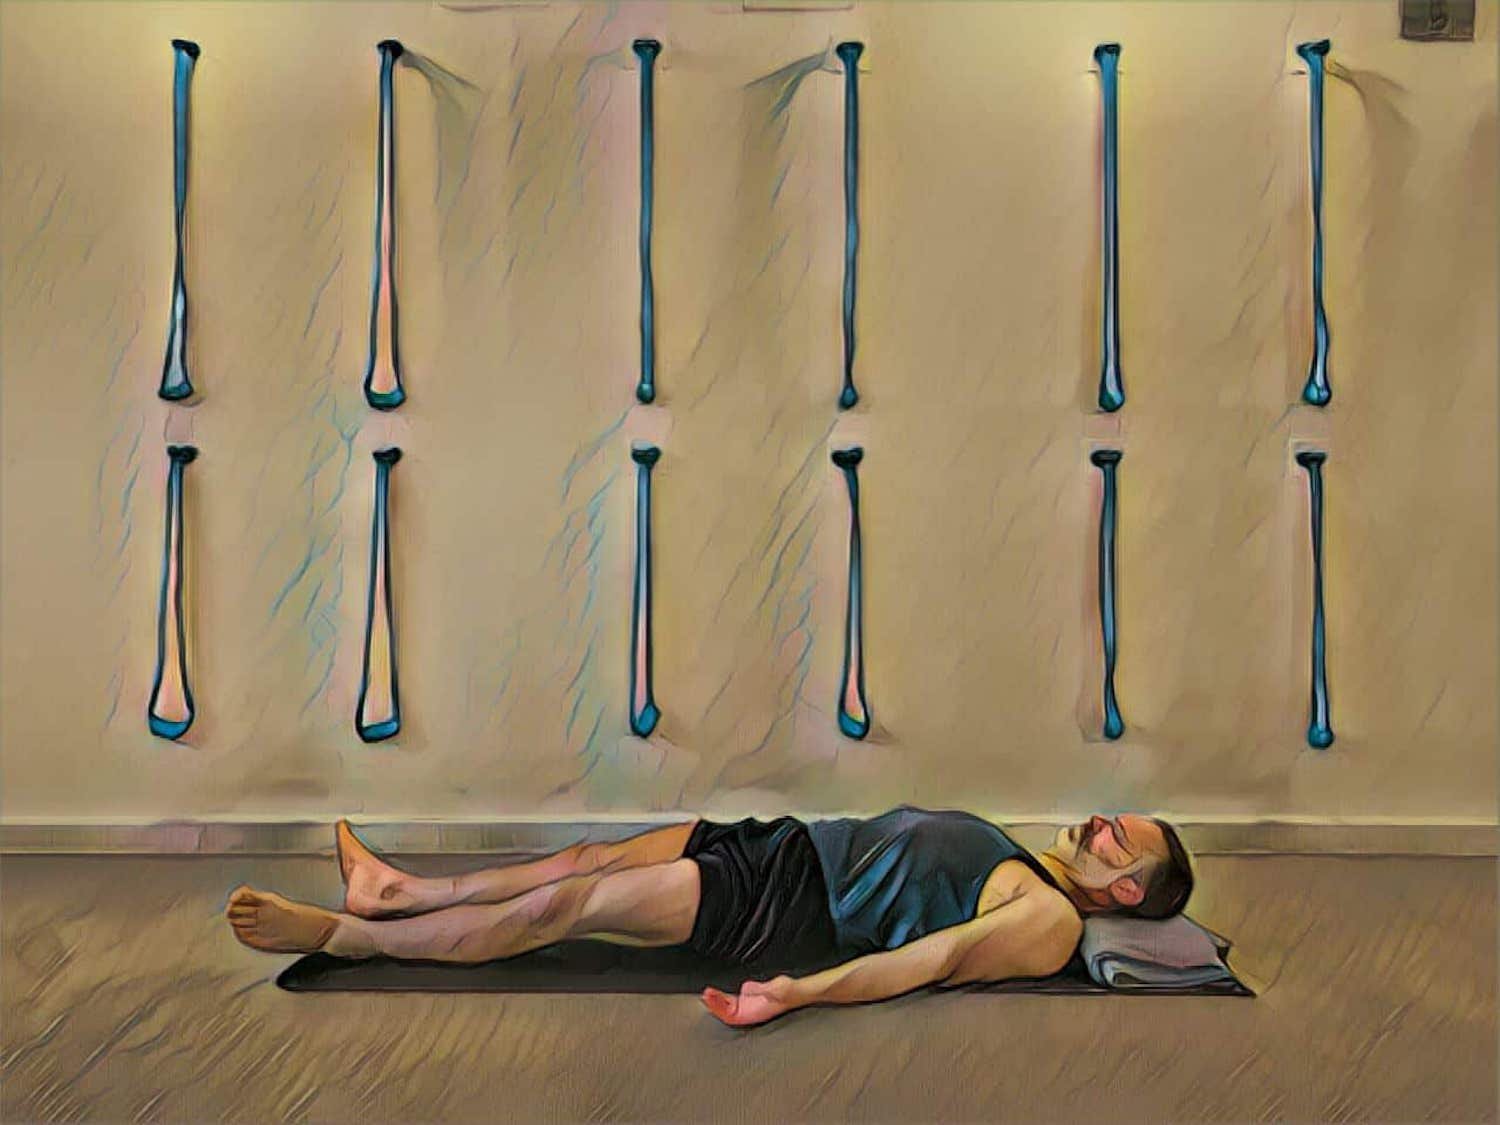
22. Savasana

Lie out on your mat with a folded blanket supporting the back of the skull. Align yourself with your mat and make sure the legs and arms are evenly spaced. Close the eyes, draw inwards, and savour the effects of your practice. Stay for at least 5 minutes.

[……]

Read more