Anusara Yoga: Good alignment with balanced action is good therapy

5l3hf

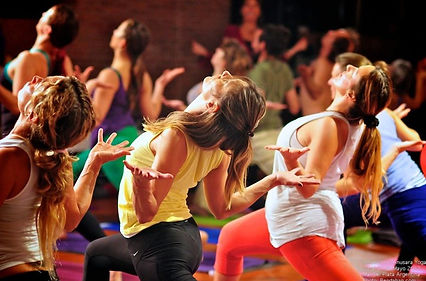
Anusara® Yoga is a system of Yoga rooted in the non-dual tantric philosophy that affirms the cycles of Life. It is based on a tantric perspective that an intrinsic beneficent energy underlies everyone and everything. Oriented around the heart and the application of precise bio-mechanical Universal Principles of Alignment™, Anusara can empower you to skillfully align your inner and outer body to fully awaken to your highest potential and divine essence.

The majority of my 20 year yoga teaching path has been through the lens of Anusara Yoga. In the company of a diverse group of like hearted yogi visionaries, Anusara’s Universal Principles of Alignment™ are skillfully instructed in the poses of the physical yoga practice. Precise application of the alignment principles encourages tangible openings, the experience and recognition, a remembrance of their natural Spirit. These revelatory moments can bring experiences of healing, freedom, joy and celebration of your unique divine nature.

dha5l

I am grateful to have had the opportunity to travel the world studying with, apprenticing and assisting master the founder of Anusara Yoga, John Friend. Although he has left the Anusara yoga world and I am no longer studying with him, it is with great honor that I have been one of the principle co-founders in the collaboration of the now “not for profit, teacher-led global Anusara® School of Hatha Yoga™.”

It has been a courageous test of the soul and a challenging labor of love to help carry the non-dual and alignment teachings of the Anusara lineage forward in the structure of ASHY. I still hold licensing as a Certified teacher as well as a Certified Advanced Teacher Trainer and all classes and trainings with me count towards licensing with the Anusara School of Hatha Yoga and teacher trainings are Yoga Alliance RYT200 hr. I have been integral in introducing Anusara yoga in South America, am fluent in Spanish and have had the privilege of teaching thousands of hours training teachers in the Anusara Yoga method.

I feel deeply grateful to my family, my teachers, all of their teachers and to our ancestors whose voices echo through all of my classes.

[……]

Read more

Everything You Need to Know About Aerial Yoga

What is Aerial Yoga?

nvv5w

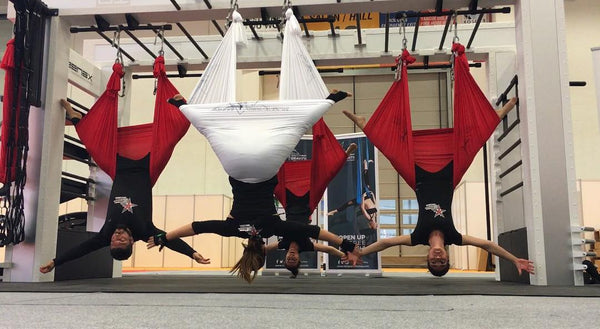
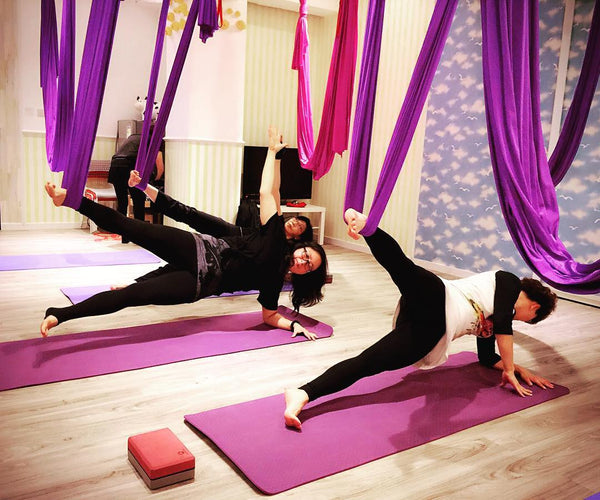
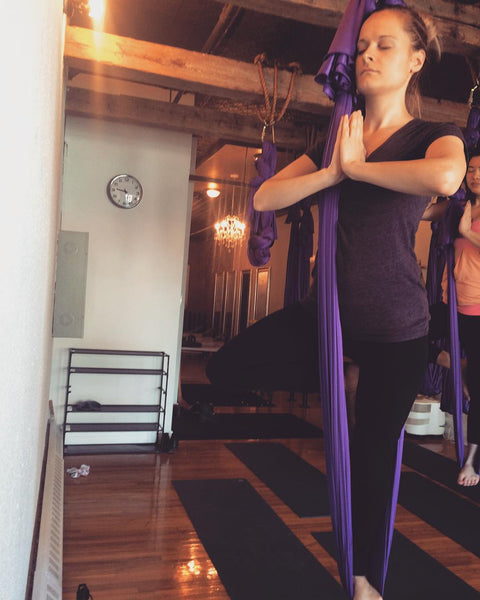
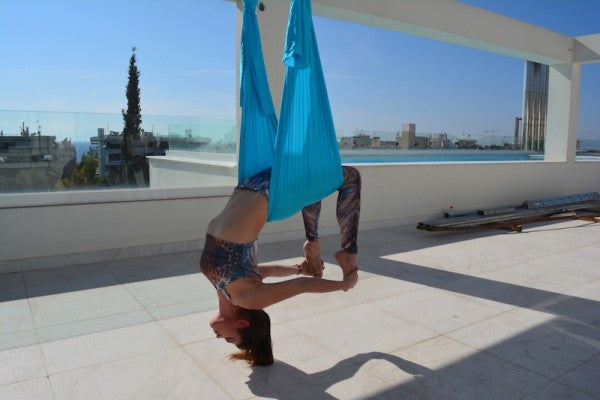
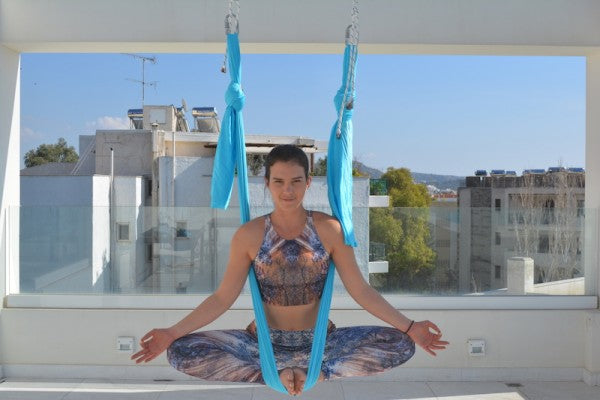
Aerial Yoga is a hybrid yoga practice which combines traditional Hatha Yoga poses, aerial acrobatic arts and body conditioning exercises performed with the aid of an aerial hammock. Classes can range from gentle and restorative to very demanding depending on how the hammock is used, making it suitable for people of all levels of experience and physical ability.

Aerial Yoga Benefits

9ghp3

Aerial Yoga has all the same benefits of regular yoga with some added extras, including:

Decompression and alignment of the spine

Strengthening and lengthening of the body

Upper body strengthening

Core strengthening

Improved balance

Body awareness

Increased spacial intelligence

Relieving stress and anxiety.

rv5wm

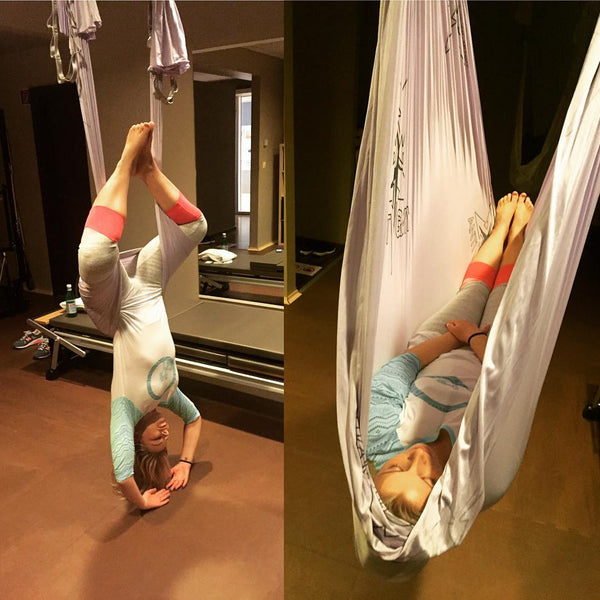
(Image via @nirvanayogavihara)

Using an aerial hammock makes inversions obtainable to everyone regardless of experience or physical condition. Our bodies get better oxygenation through increased blood flow to the brain during inversions which have many health and anti-ageing benefits such as:

Improved digestion and elimination

Improved blood circulation

Improved lymphatic drainage

Improved skin tone

Relief of spinal pain

Helps with insomnia

Energises the body and mind.

Aerial Yoga also helps to build confidence and self-esteem. “I’ve noticed most Aerial beginners are under the impression they can’t or won’t be able to perform the inversions or acrobatics in the class,” Melina tells us. “I have seen the look of pure joy on my students’ faces when they overcome their fear and try and actually accomplish it… sometimes they even tear up – as do I; it’s really an amazing experience for both the student and the teacher.”

How Does The Aerial Yoga Hammock Work?

w8qmy

(Image via @caro_msk)

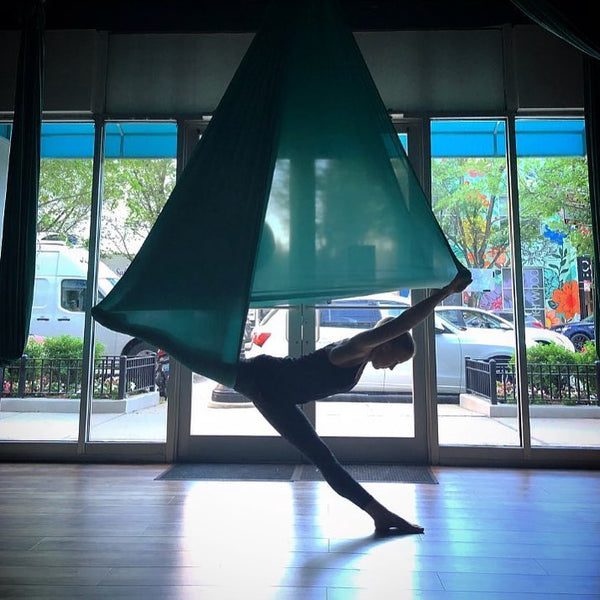
The Aerial Yoga Hammock is made from a specific type of synthetic fabric, that is both soft and durable. The Hammock is hung from the ceiling, ending close to the floor which enables you to aid or add difficulty to certain yoga poses, while also being able to explore acrobatic movement in the air.

Differences between a Hammock, Aerial Yoga Swing and Frame

2wrmz

There is a big difference between Aerial Yoga and Swing. First of all the swing was originally designed just as a product along with a users guide which one could use on their own to aid in certain stretches/strengthening exercises and inversions. Aerial Yoga is a whole yoga practice adapted to the use of the hammock, taught by certified yoga teachers. The fabrics are also completely different; Aerial yoga hammocks are made of a soft, slightly stretchy fabric which is at least 6 meters long and 2 meters wide.

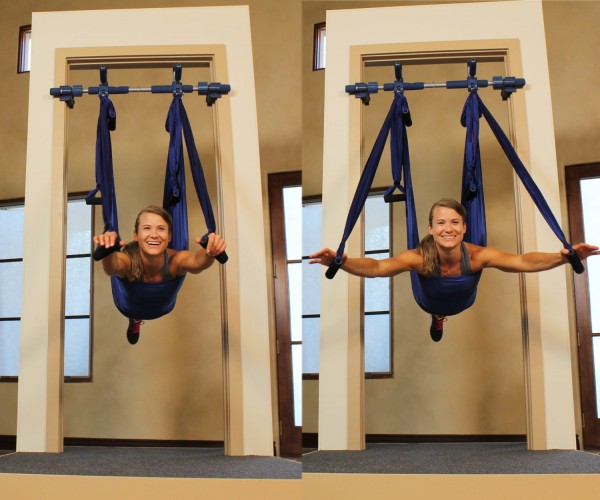
The Swing has handles on it and is made out of parachute material which has no stretch and is much shorter, limiting the range of movements one is able to explore. You can not step on the swing or fully get into it as you can with the Aerial Hammock.

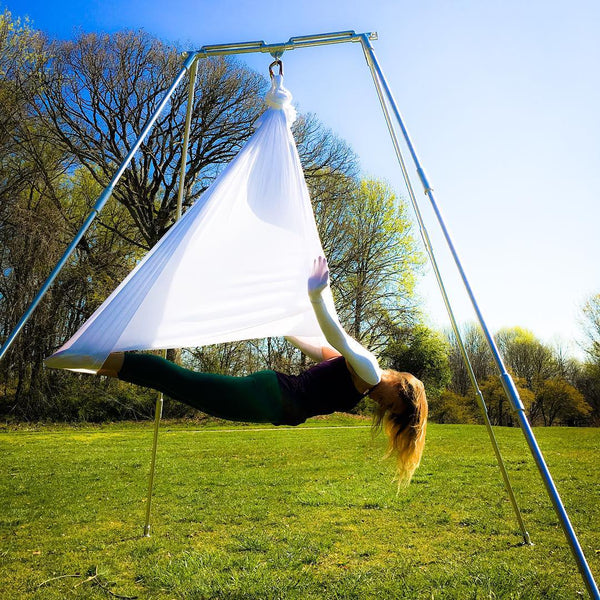
The frame is a metal frame that you can buy and set up at your house to hang the Aerial hammock or swing from if you don’t want to (or can’t) hang it from the ceiling. There is also the handy doorway frame, that doesn’t need screws; it just wedges in your door frame!

6cqfa

Other Aerial Yoga Equipment

tpgv1

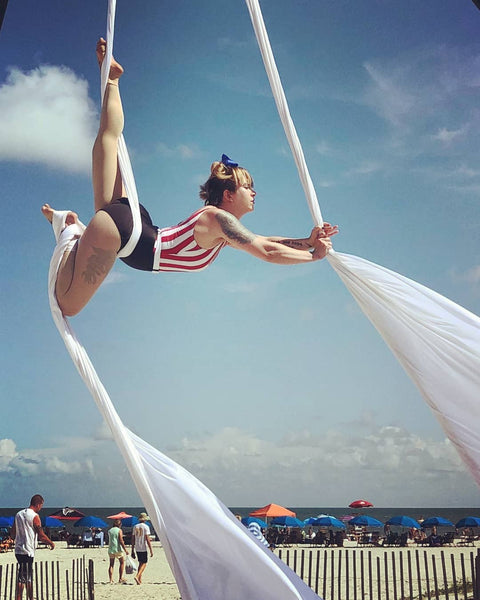
(Image via @aerialkathleen)

There is also another type of aerial exercise called “Aerial Silks” which are a long fabric hung from a very high ceiling. This is more of a dance/acrobatic performance, not yoga. And there are also aerial hoops, which is a hula hoop suspended from the ceiling where you again would perform circus-like acrobatics.

Aerial Yoga At Home

bsikq

If someone wants to do Aerial Yoga at home, we would first recommend they are very familiar with the aerial hammocks and how to safely use them. Taking classes with a certified teacher is a must in order to learn the practice. It’s also best if they are a confident solo yoga practitioner. If you do go the at-home route and buy your own hammock, the ceilings have to be at least 2.70 in height and there should be around 1.5 meters of free space in front and behind and either side of the exercise area, in order to be able to explore the full range of movements safely with the hammock.

10 Aerial Yoga Poses

There are so many Aerial Yoga poses, almost as many as there are regular yoga poses, and we teamed up with Melina and got her to show us 10 of her favourites.

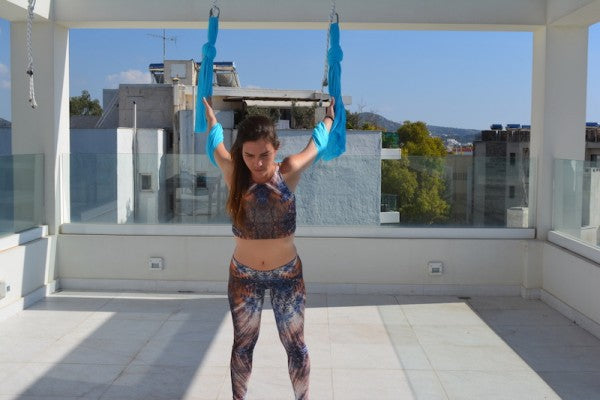
1. Wing Span Shoulder Stretch

rjpim

Stand in front of hammock

Place shoulders through the hammock and wrap hands around it

With the arms wide above eye level, lean forward and enjoy the stretch!

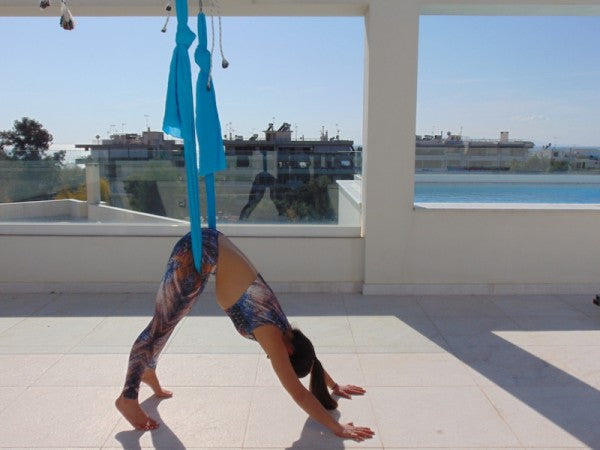
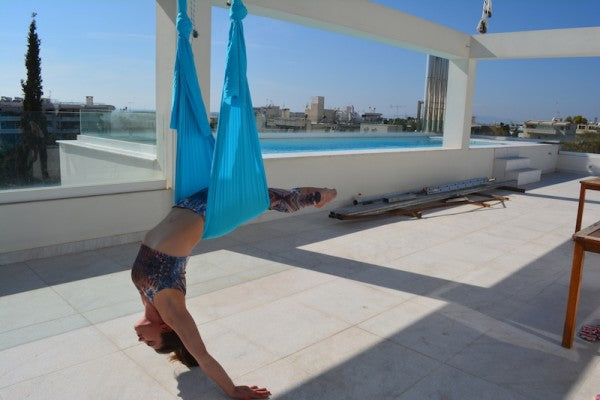
2. Downward Facing Dog

a8psw

Hold the fabric wider than the hips and place it on the hip crease

Bending from the hips, lean the chest down to secure the hammock in place

Walk yourself forward until your heels are touching the floor (or almost)

Stretch arms forward and place on the ground.

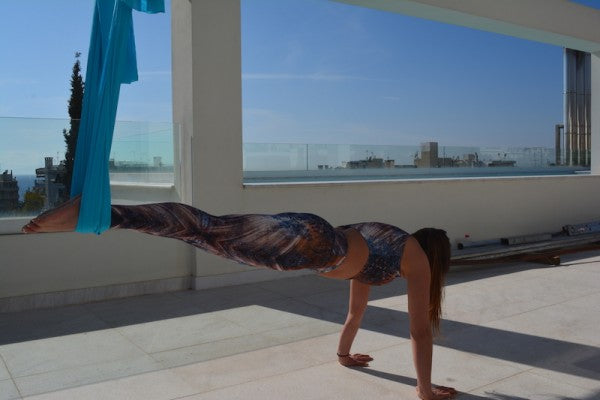
3. Chaturanga Dandasana or Full Plank

97psl

Place both feet in the hammock

Hands are placed under the shoulders

Keep the hips at shoulder height

Engage your core to keep the lower back full.

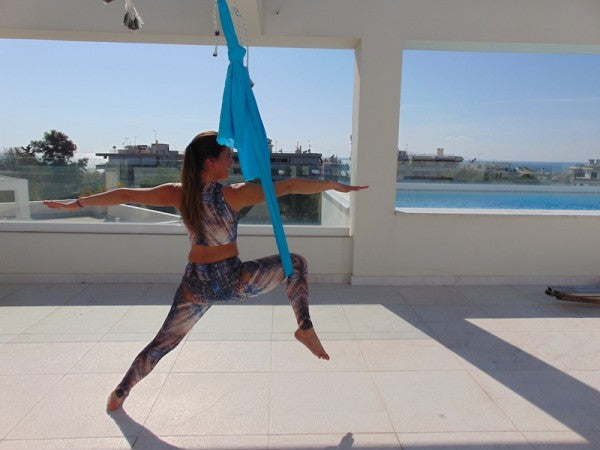
4. Warrior II

zvsxo

Bring the fabric behind one knee

Open the body to the side while keeping a strong back leg

Push front leg into fabric

Lift arms up to shoulder height and extend away from body

Lean weight slightly forward until you come into the position.

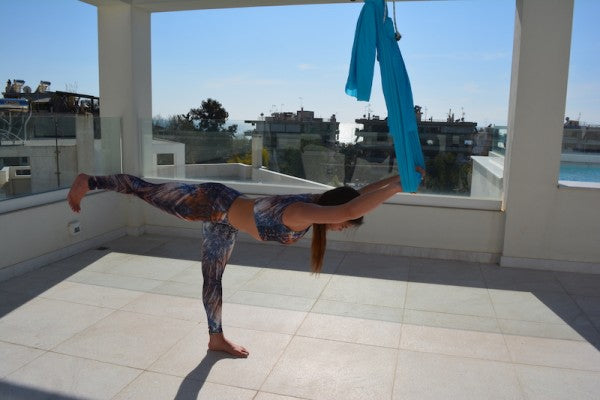
5. Warrior III

w8o0y

Stand with feet hip-width apart

Grab the fabric shoulder-width apart

Push outer edges of hands down to keep wrists level

Bend from the hips lowering torso parallel to the floor

Lift one leg and extend back bringing it parallel to floor

Keep abdomen engaged and tailbone lengthening towards the heels.

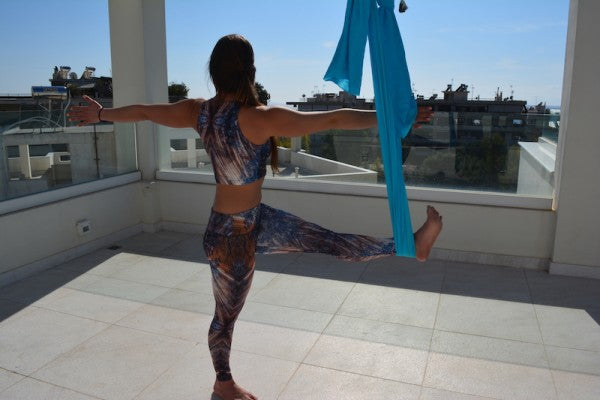
6. Padangushtasana

iriei

Standing firmly on one leg, place the other leg into hammock behind the ankle

Lengthen the spine and twist toward the side of the lifted leg

Extend the arm on that same side out behind you

Push the opposite arm on to the outer side of the fabric.

7. Inverted Backbend

ab4tj

Stand in front of hammock

Gather 1/3 of the fabric into hands and turn to have hammock behind you

Place elbows in hammock and with hands push the hammock down so you can sit

Grab fabric with fingers facing out and gather at the sacrum

Start lowering the torso backwards while sliding the hands further up the fabric

If you feel comfortable, you can let go of fabric and extend the arms to the floor.

8. Hanging Bow Pose

hguvh

Follow the same instructions to enter into Inverted Backbend

Then Bend the knees and grab hold of the feet/ankles.

9. Baddha Konasana (Cobblers Pose or Aerial Bound Angle)

cm2fq

Stand in the hammock with both feet

Keeping hands extended at shoulder height, start lowering your hips until you form a right angle with your body

Bring the knees out to the side and bring the soles of your feet together

Bend the knees and bring the groin to rest against the fabric

Lower your hips until your feet are pointing forward

Bring your shoulders in front of the hammock and rest hands on the knees.

10. Savasana

s1qge

Gather 1/3 of the hammock’s length in your hands and sit in the hammock

Lie down in the hammock bringing your whole body inside of it

Relax the whole body releasing your weight into the hammock and enjoy!

[……]

Read more

What is Acro Yoga? Ultimate Guide to Practice and Benefits

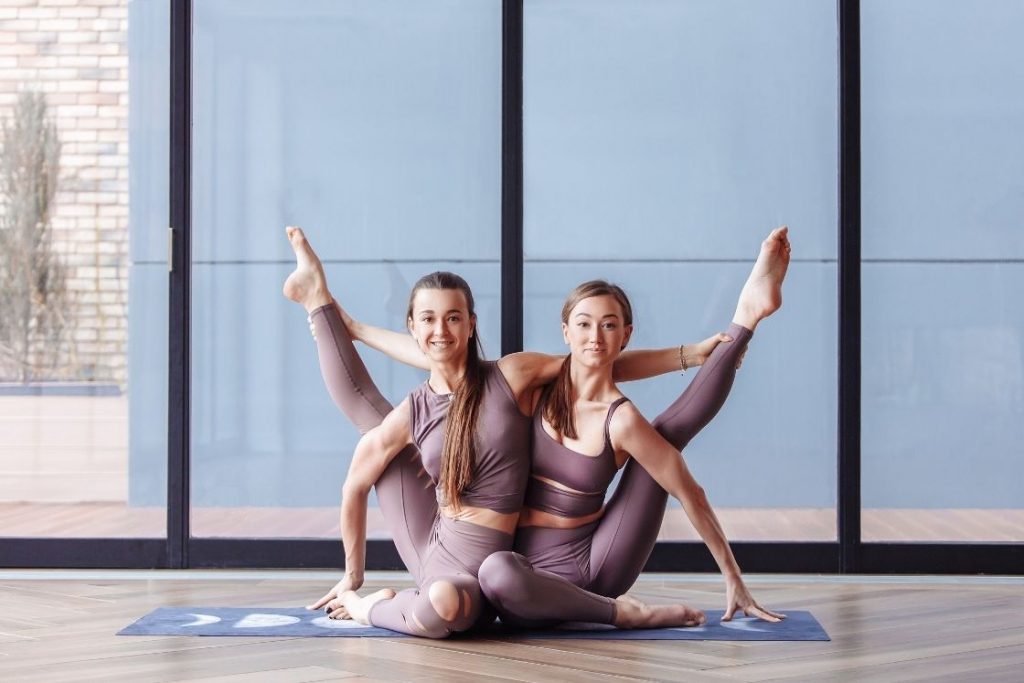
Simply speaking, acro yoga combines the practices, techniques, and benefits of acrobatics and yoga. It merges the Vinyasa and Hatha yoga to produce some fun-filled poses that are not only helpful in building your muscle strength and flexibility but also therapeutic.

Acro yoga poses performed by two people which means a lot of confidence, flexibility, strength, and balance is required to practice this yoga. It also helps build a strong relationship with your yoga partner as there is constant communication, mutual support, physical contact required to understand each others’ body movements.

This partner-based yoga engages you with your yoga buddy through movement, connection, and fun. Acro Yoga is more of a modern yoga form that has been constantly evolving since its introduction.

Origin of Acro Yoga

2q374

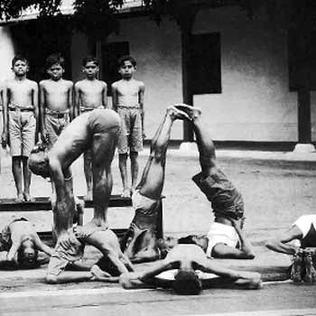
The first traces of acro yoga can be found in 1938 when the ‘father of modern yoga’, T. Krishnamacharya has seen performing a variation of backbend yoga pose with a child. However, it was just a part of his teaching methodology. At that time it was not publicized as a particular yoga style.

Several decades later, in the 1980s, while researching methods to alleviate his back pain, Benjamin Marantz discovered techniques that involved massage and inverted therapeutic techniques and named it as AcroSage.

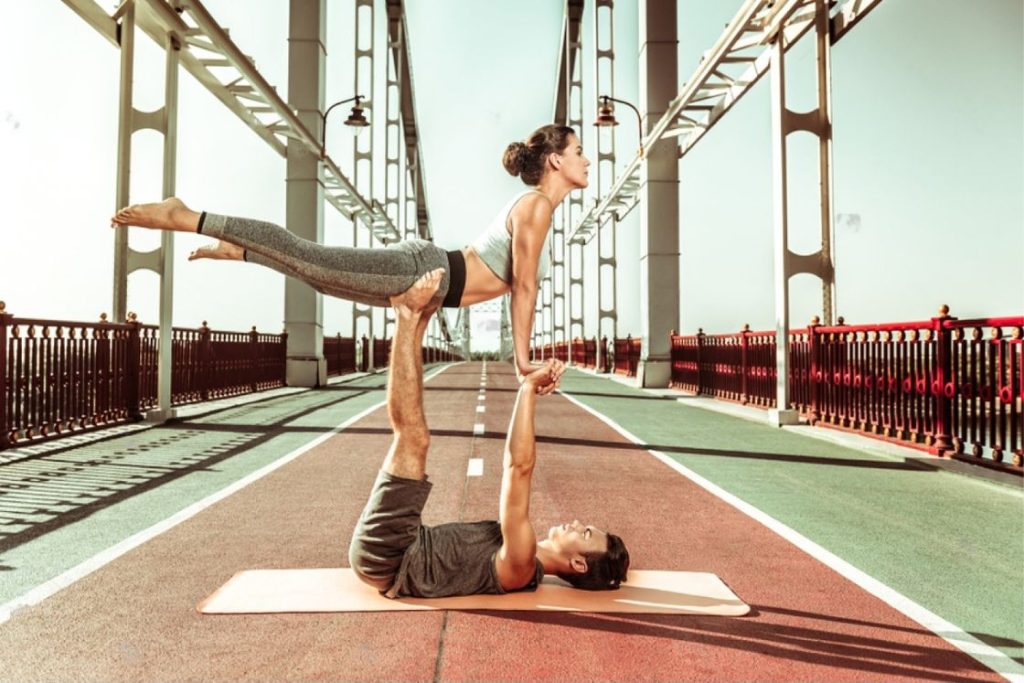
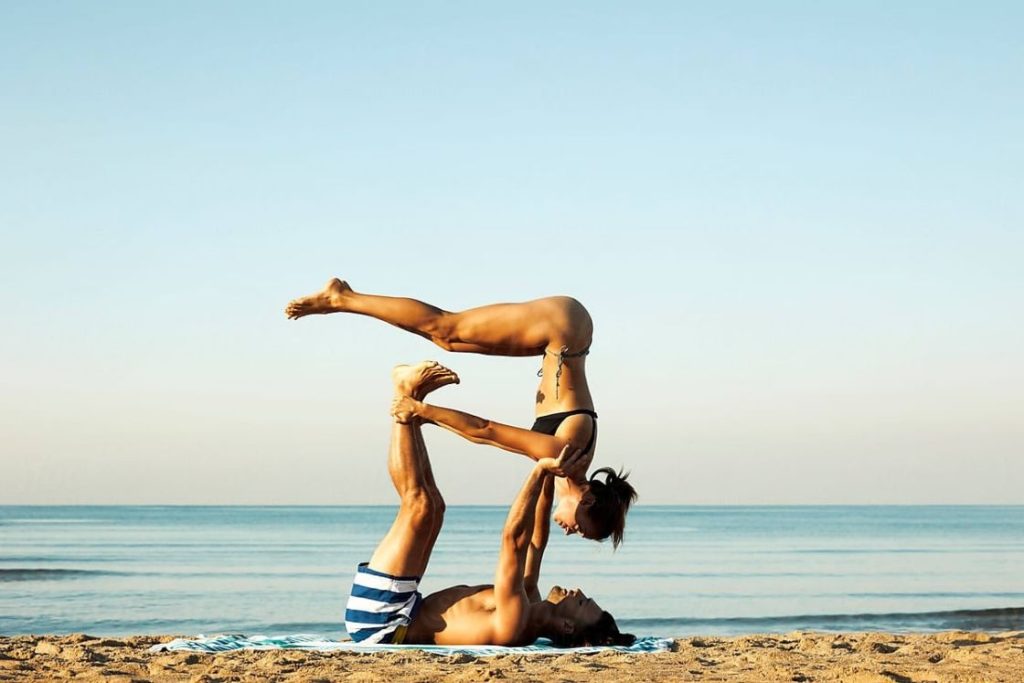
Practising it requires at least two people but works best with three or more. In inversion poses, one person lies on the ground as a base, while another (the “flyer”) balances on their partner’s hands and feet. A third person spots the flyer and keeps everyone safe.

The many poses of AcroSage were the starting point of inversion therapy, many of its flying versions can be seen in today’s acro yoga classes.

It wasn’t until 1999 that the name AcroYoga was used. Dancers Euguen Poku and Jessie Goldberg of Canada established “Acroyoga Montreal (AYM)”. The blend of dance, acrobatics, and yoga came to be known as AcroYoga Fusion and was a hit among the audience.

The modern Acro Yoga terminology and usage was publicized by Jason Nemer and Jenny Sauer-Klein who founded AcroYoga International in 2003. Later they also developed a training program to educate the yoga teachers about Acro Yoga and safely teach to their students around the world.

Common Acro Yoga Terminology

The basics of Acro Yoga consist of 2 main roles, the base and flyer. The third component is the spotter, who is equally important but not directly active in performing Acro Yoga.

The base is the person who lies on the ground or yoga mat firmly and can be said as the foundation of the Acro Yoga pose. The engagement of their core strength along with arm and leg muscles is what keeps the magic and creativity of the practice. The base is instrumental in transferring the weight of the flyer to the floor by keeping the arms and legs bones-stacked.

The flyer is the person who is elevated by the base. The trust of the flyer on the base is extremely important when practising the poses of Acro Yoga. Though it doesn’t mean that all the work is being done by the base, the flyer also needs to find their balance and use core strength. The flyer needs to constantly communicate, verbally in the initial stages and later through body language once the trust and connection are built.

The spotter is the person who helps in “safe-landing”. Essentially, the job of the spotter is to support the base and flyer in improving the poses through suggestions and keeping them safe. They are essential during the initial stages of Acro Yoga when you are just learning the tips and tricks.

What to expect from Acro Yoga class?

2u7n6

Acro Yoga is an intense yoga style that involves a lot of muscles and strengths and it is important that before getting down to performing the actual poses, you do some warm-ups. And since it involves a partner, you also need to get acquainted or break the ice between the people present in the class.

Hence, we have listed the typical way an Acro Yoga class proceeds.

The class usually begins with a circle ceremony, it is performed to open up the hearts and minds of people to each other and build the flow of communication. It is done with all the participants in a group.

Then everybody does warm-ups like stretching to prepare the muscle for all the pushes and pulls you are about to do. This is one of the most important steps as proper warm-up exercises can ease the flow of each pose and can prevent any injury.

Next, you choose a partner and practice a few stretches and asanas with them before going into the actual acro poses. This is known as partner flow. It is done to facilitate communication and build a sense of trust with them. You also do some inversions which will further enhance the level of trust.

Now is the time to perform the actual Acro Yoga poses. Based on your level of expertise, you will be guided by the instructor. There are many beginner, intermediate and advanced level acro poses you can choose from.

And once all the poses have been perfectly performed, the session ends.

Can Acro Yoga be performed at home?

If you have a trustworthy partner who is also substantially experienced in Acro Yoga, then you can definitely practice it at home.

However, since Acro Yoga involves two people who are performing acrobatic-style yoga, it is always recommended that you attend a class initially. With the help of an expert, you will be guided properly and be given suggestions for improvement.

The Acro Yoga poses require a great level of trust and open communication between the base and flyer and this can only be achieved in a professional environment.

Benefits of Acro Yoga

Just like any other yoga style, Acro Yoga also comes with a range of physical and mental benefits. Some of which are as follows:

Acro Yoga is a great tool for spinal decompression. It lengthens your spine and also helps in strengthening the back muscles.

Since this is an intense form of yoga, your cardiovascular system is positively affected.

You will gain flexibility, a stronger core, muscles, and joints.

When you perform Acro Yoga with the same person, your relationship with them improves. And with an improved relationship comes understanding. You will easily be able to decipher body signs and achieve a higher sense of professionalism.

It helps in improving your concentration as both the base and the flyer are focused on each other’s safety by being present in the moment.

Through Acro Yoga, you will get trained to enhance your self-control in adverse situations and take quick decisions without any rigidity as you have your and your partner’s safety in mind constantly.

You will learn to completely surrender yourself as you learn to give and take in equal proportions.

It is also a fun activity hence will boost the secretion of happy hormones, thus, acting as a mood-booster.

When you’re performing inverted poses, it helps in improving the blood and oxygen circulation to your brain.

Tips to Practice Acro Yoga Successfully

It is due to substantial attraction towards the fluidity and dance-like motions that has probably led you to pursue Acro Yoga. We have listed a few tips that will get you to perform yoga in a safe way.

The first and obvious step is to find an Acro Yoga group. Once you connect with the community, you will be able to establish a relationship with the people who will constantly motivate you and provide you with invaluable experience and support.

Just as trust between a base and a flyer is important, trust in your spotter is also essential. They will be your guide and motivator throughout the duration of the class and you have to trust in them to keep you safe and teach you well.

Even if you have previous knowledge in acrobatics or yoga, you have to stay humble and start from scratch. Build the courage to unlearn everything and learn from your instructor.

Do not skip any warm-up sessions as they are essential in preventing any form of cramps or muscle injury during Acro Yoga practice. Some stretches and Sun Salutation are extremely effective.

Have constant communication with your base and spotter at all times. Communication during the transition of poses, your comfort level, feelings regarding a pose, or intention behind a pose. Keep communicating!

Keep taking breaks to keep a healthy pace in the initial stages and switch roles to experience both sides of the roles.

Do not hurry in learning everything in a short time. Build a strong foundation of your basics and a strong communication level with your yoga partner.

Investing in honest self-assessment will take you a long way. Be honest with your feelings towards the yoga poses or whether you have learned something new in the session.

If you’re the base, you should not arch your backs to get a good hamstring and lower back stretch. You can also use a folded mat or a blanket for additional support.

If you’re the flyer, you should be cautious of not making any sudden movements. They should find a balance and their center of gravity before making any movements.

Contraindications

People with the following conditions should avoid Acro yoga style.

high blood pressure,

recent surgery or injury,

vertigo,

joint problems,

Skin related problems

Open wounds

Pregnant ladies should also avoid it since it may cause discomfort to the abdomen.

5 Best Beginner Acro Yoga Poses

1. Stacked Plank Pose

7e4lg

It is one of the introductory poses of Acro Yoga. It helps in building the core and arms muscles of the base and the flyer.

How to Do it?

The base should come in the standard plank position – shoulder stacked over the wrists, arms straight and core engaged. To distribute the weight of their arms, their palms should be firmly placed on the ground and fingers should be spread.

Now the flyer will gradually grab the ankles or calves of the base. Slowly, the flyer will place one foot on one shoulder and do the same with the other. They can also tuck their toes on the base’s shoulder blades.

2. Fish on the rocks Pose

36wvt

This restorative Acro Yoga pose is a great hip opener for the base and the flyer. It also helps in stretching the back for the base and a chest opener for the flyer.

How to Do it?

The base should come to the Child’s pose, with their hands stretched out in front of them. Their knees are outwards and their forehead is touching the ground.

The flyer completely lies on their back on top of the base, with a nice arch and stretch to their back. Here the flyer can stretch their legs and let the hands spread either to the side or towards the base’s hands to completely surrender to the pose.

3. Partner Forward Fold Pose

8gm4y

You must have often seen athletes or a few sports people performing stretches by picking up their partners on their backs. This pose is a fun way to deeply stretch the back and hamstrings of each other.

How to Do it?

The base and the flyer need to stand with their backs facing each other. Their legs should be spread hip-width apart and their elbows hooked, base’s elbow below the flyer.

Keeping the back straight, the base will start bending forward, bringing the flyer up with them. The base will stop bending when the upper body is parallel to the ground. The flyer has the option of bending their knees to their chest, straightening the legs towards the sky, or spreading them wide in a straddle stretch.

4. Front Plank Pose

jnvkj

This is another pose that is recommended for beginners as the clasping of hands will give a more stable foundation to the flyer’s plank pose. Also called an Airplane pose, this gives the flyer an opportunity to balance their body and core when ‘flying’

How to Do it?

The base lies firmly on the ground and bends their knees to place their feet on the flyer’s hips. By connecting the hands with the base, the flyer now starts bending forwards, transferring the weight onto the base’s feet.

With the flyer’s and base’s core engaged, the base starts ro straighten their legs and brings them perpendicular to the ground, not leaving the flyer’s hands. The flyer should keep their legs straight so that their body is now parallel to the ground.

5. Folded Leaf Pose

hbwp7

This pose is great for releasing stress and tension of the back muscles as well as in the spine. It is one of the therapeutic poses in Acro Yoga and a base for a few intermediate to advanced poses.

How to Do it?

The base lies on his back and pulls up his legs with a slight bend of their knees. The toes should be placed on the hips of the flyer at a 45-degree angle to create a ‘V’ shape.

By engaging the abdomen muscles, the flyer bends forward and ‘hang’ on the base’s legs.

The base and the flyer hold hands for support as the base now extends the legs to make them straight. The flyer’s upper body is now draping the front of the base’s legs and their legs are more or less parallel to the floor.

The spotter usually will be standing behind the flyer to support the hips.

Conclusion

Acro Yoga is a great way to make friends, build your communication, engage with the community and challenge yourself. Some people start getting monotony by performing the same yoga poses and Acro Yoga may just be the right calling for them. It is a fun way to practice yoga all the while reaping the benefits of enhancing your core strength and building your arms and legs muscles.

[……]

Read more

How to practice Yoga Nidra

xbsql

Now, the most crucial part – How to achieve this state of relaxation? It is simple. Follow the steps mentioned below:

Step 1: Lie down on your back and keep your limbs straight. Do not curl up or tighten your body and make sure you are on a smooth surface. You can keep a pillow under your head for support.

Step 2: Close your eyes and choose a clear intention. Think about what you intend to achieve through the practice.

Step 3: Take deep and long breaths. Try to rotate your awareness throughout your body, slowly and steadily. Feel the awareness of every part of your body. It will be like giving a separate identity to each part, as if all of them are different individuals, following the commands of your mind.

Step 4: Think of your body as wholesome existence. Repeat the process until you can feel each part of your body and the space around it, without actually moving.

Step 5: Feel the thoughts passing in and out of your mind at their own pace, without letting them affect the equilibrium you’ve created.

Step 6: Think about your clear intention again.

Step 7: Prepare your mind to reach its normal consciousness now.

Step 8: Move your fingers slowly, take deep breaths and slowly open your eyes. Your Yogic Nidra is complete.

You can also follow the steps mentioned in this video to get a better idea of how to practice psychic sleep.

[……]

Read more

8 Tips For Teaching A Yin Yoga Class

When it comes to Yin Yoga, it’s important to recognise how different it is from Vinyasa or Bikram Yoga, especially when teaching classes. Our tips are tailored to this practice, helping you to get the most out of students when teaching these classes.

Tip #1 – Use Traffic Light Systems To Monitor Comfort Levels During Each Yin Yoga Pose

u9w2d

Our first piece of advice for Yin Yoga teachers is to consider using a traffic light system to monitor student pain levels.

Yin Yoga involves a slower and more meditative practice. Clients hold poses for much longer than during Vinyasa Yoga – this can be from 3 minutes up to 20!

With this in mind, you want students to stretch deeply enough for it to be felt over time but not so hard they overstrain their muscles or injure themselves.

This is where the traffic light system comes in and can be done verbally or by holding up flashcards:

Green – Students should feel no discomfort at all and can easily hold the pose.

Amber – Students feel the stretch and mild discomfort but can hold it for the duration.

Red – This is the danger zone where students will find a pose very painful.

Using this system, you ideally want students to be in the amber zone. This means they can feel their bodies adapting to the pose but shouldn’t be experiencing serious pain.
zetre

Minor discomfort is reasonable as it means their bodies are working hard and getting the most out of their practice. However, If your students are in the red zone they risk injury and may set themselves back in their practice.

Always remember ‘no pain, no gain’ has no place in teaching Yin Yoga. This can produce a negative mindset and students may develop the idea they are only reaching their goals if they experience pain.

On the other hand, easy and simple poses offer no room for improvement and students may find these classes boring.

Tip #2 – Use Yoga Props To Help Students Make The Most Of Different Yin Yoga Poses
puz8f

Props can make a huge difference when deciding how to teach each Yin Yoga pose, especially if you learn to use them effectively.

Props for Achieving a Yin Yoga Pose
65qm0

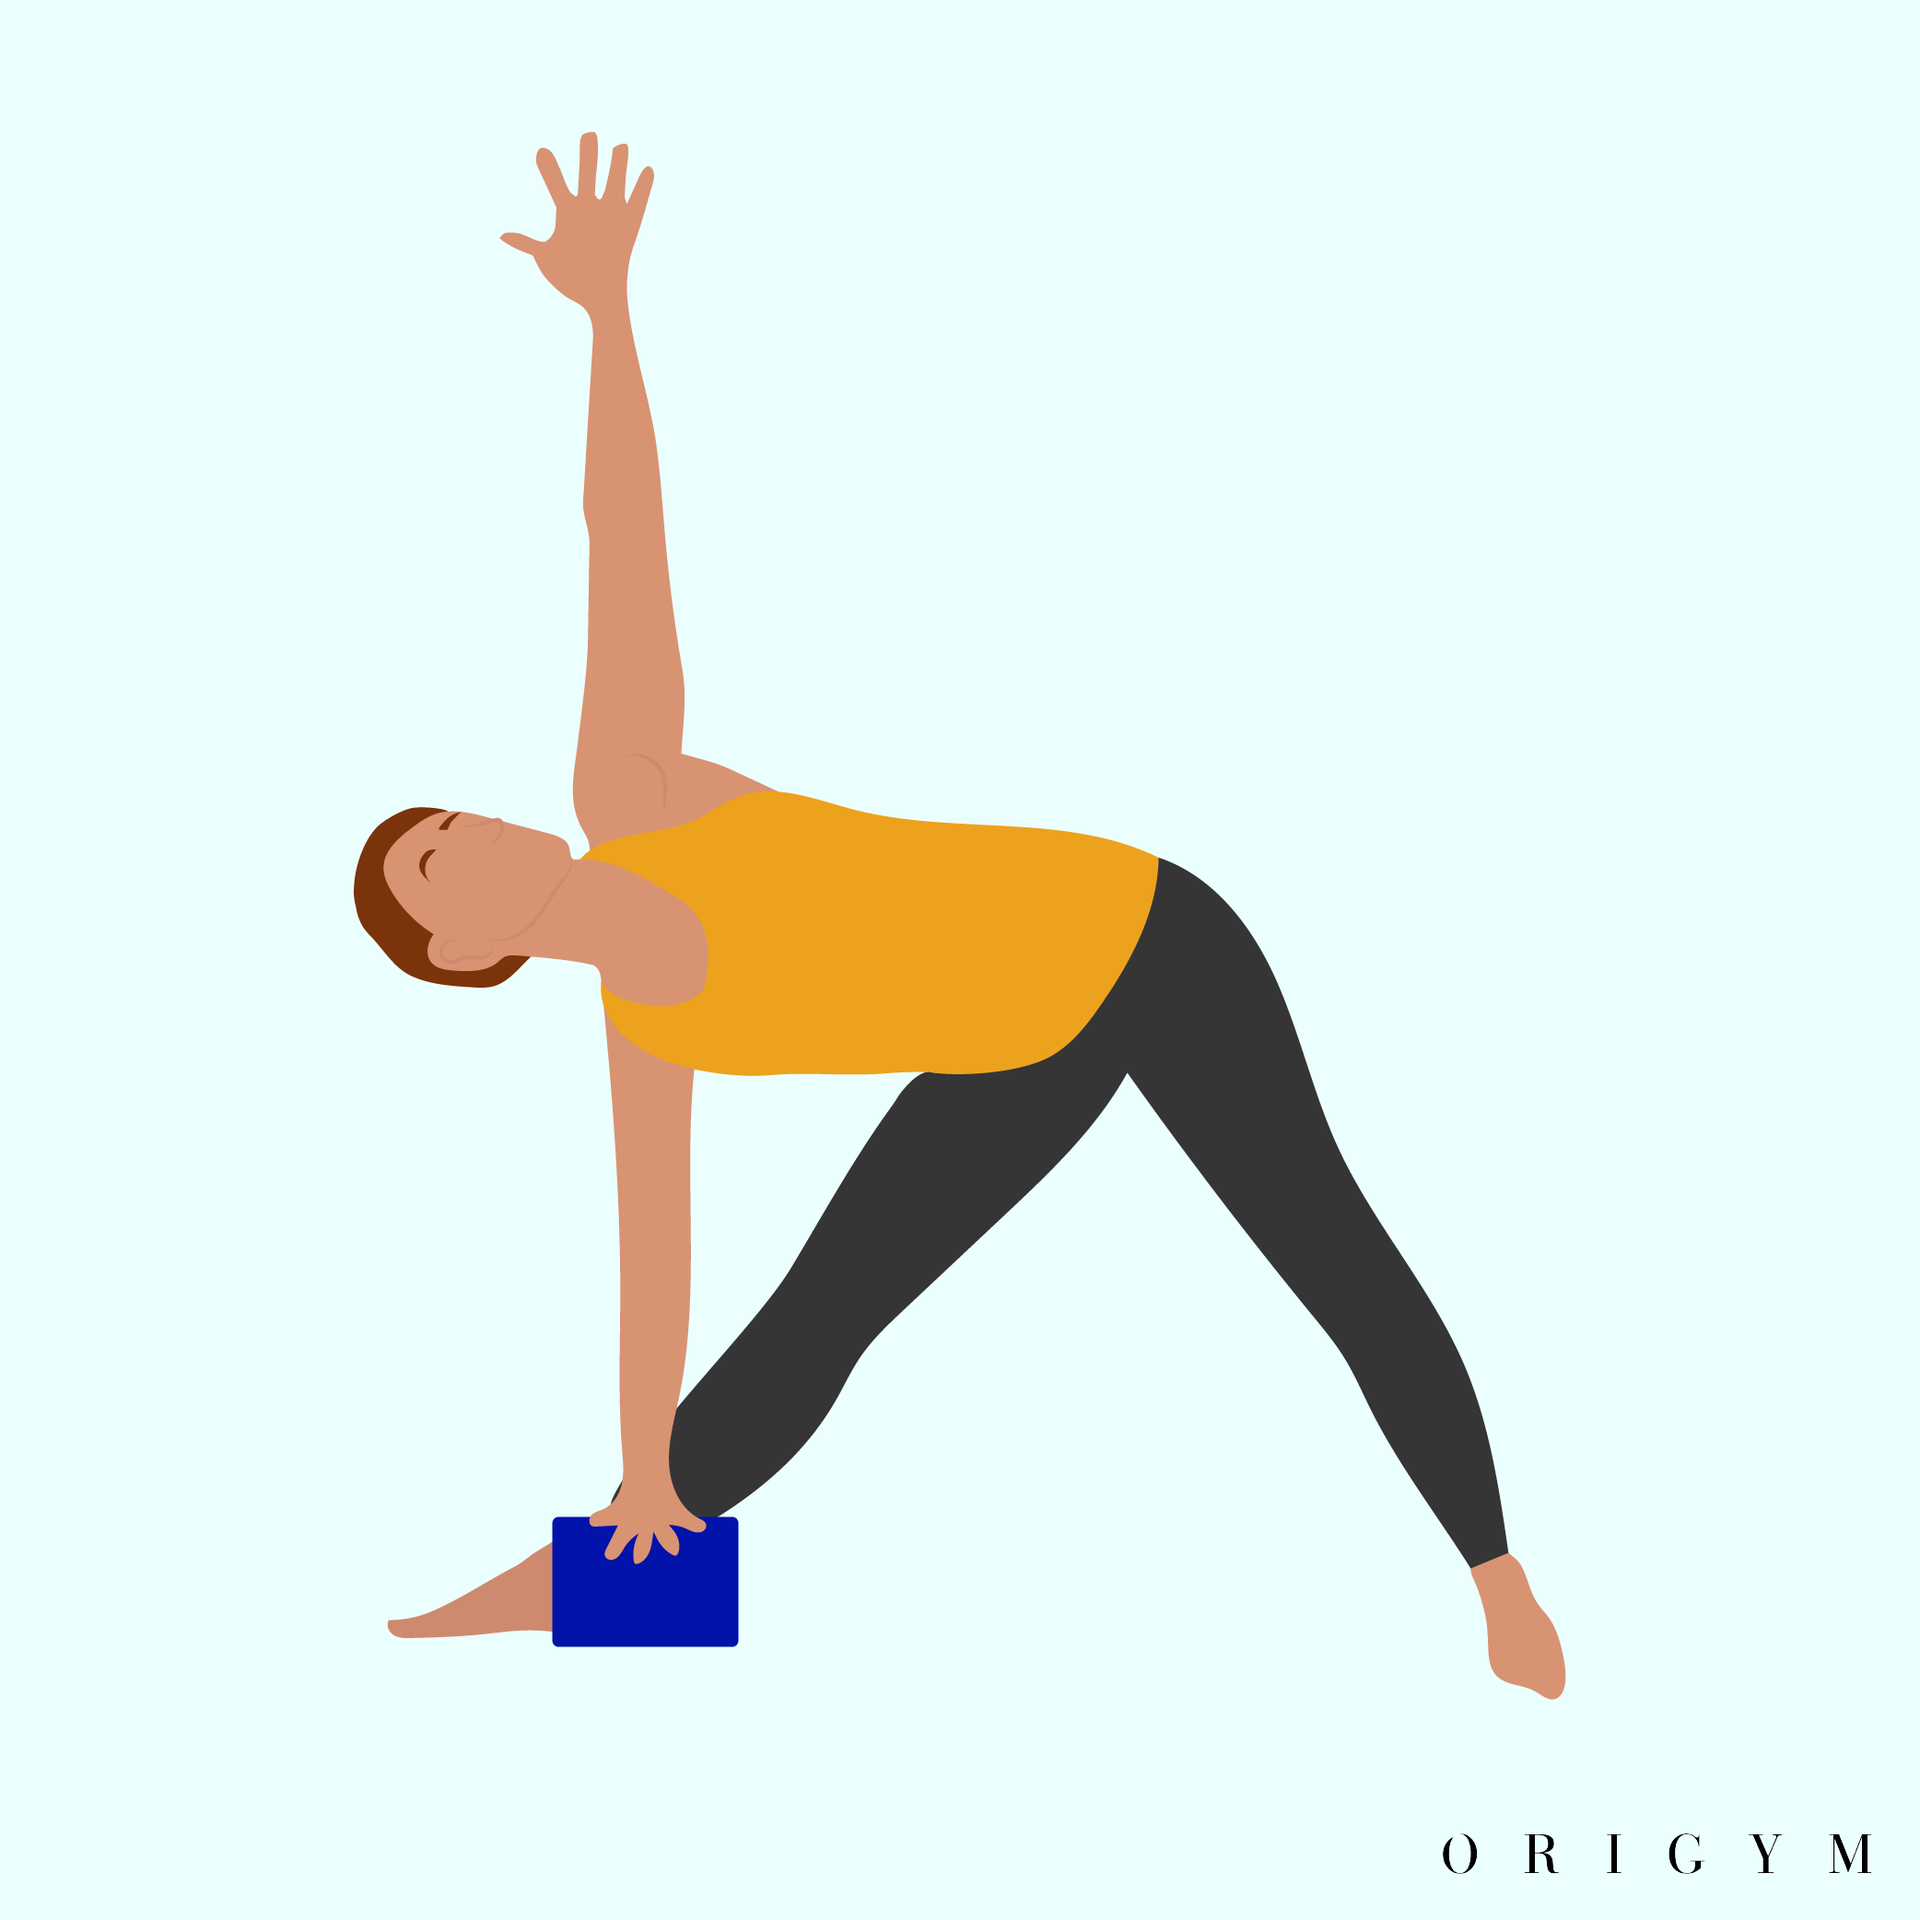
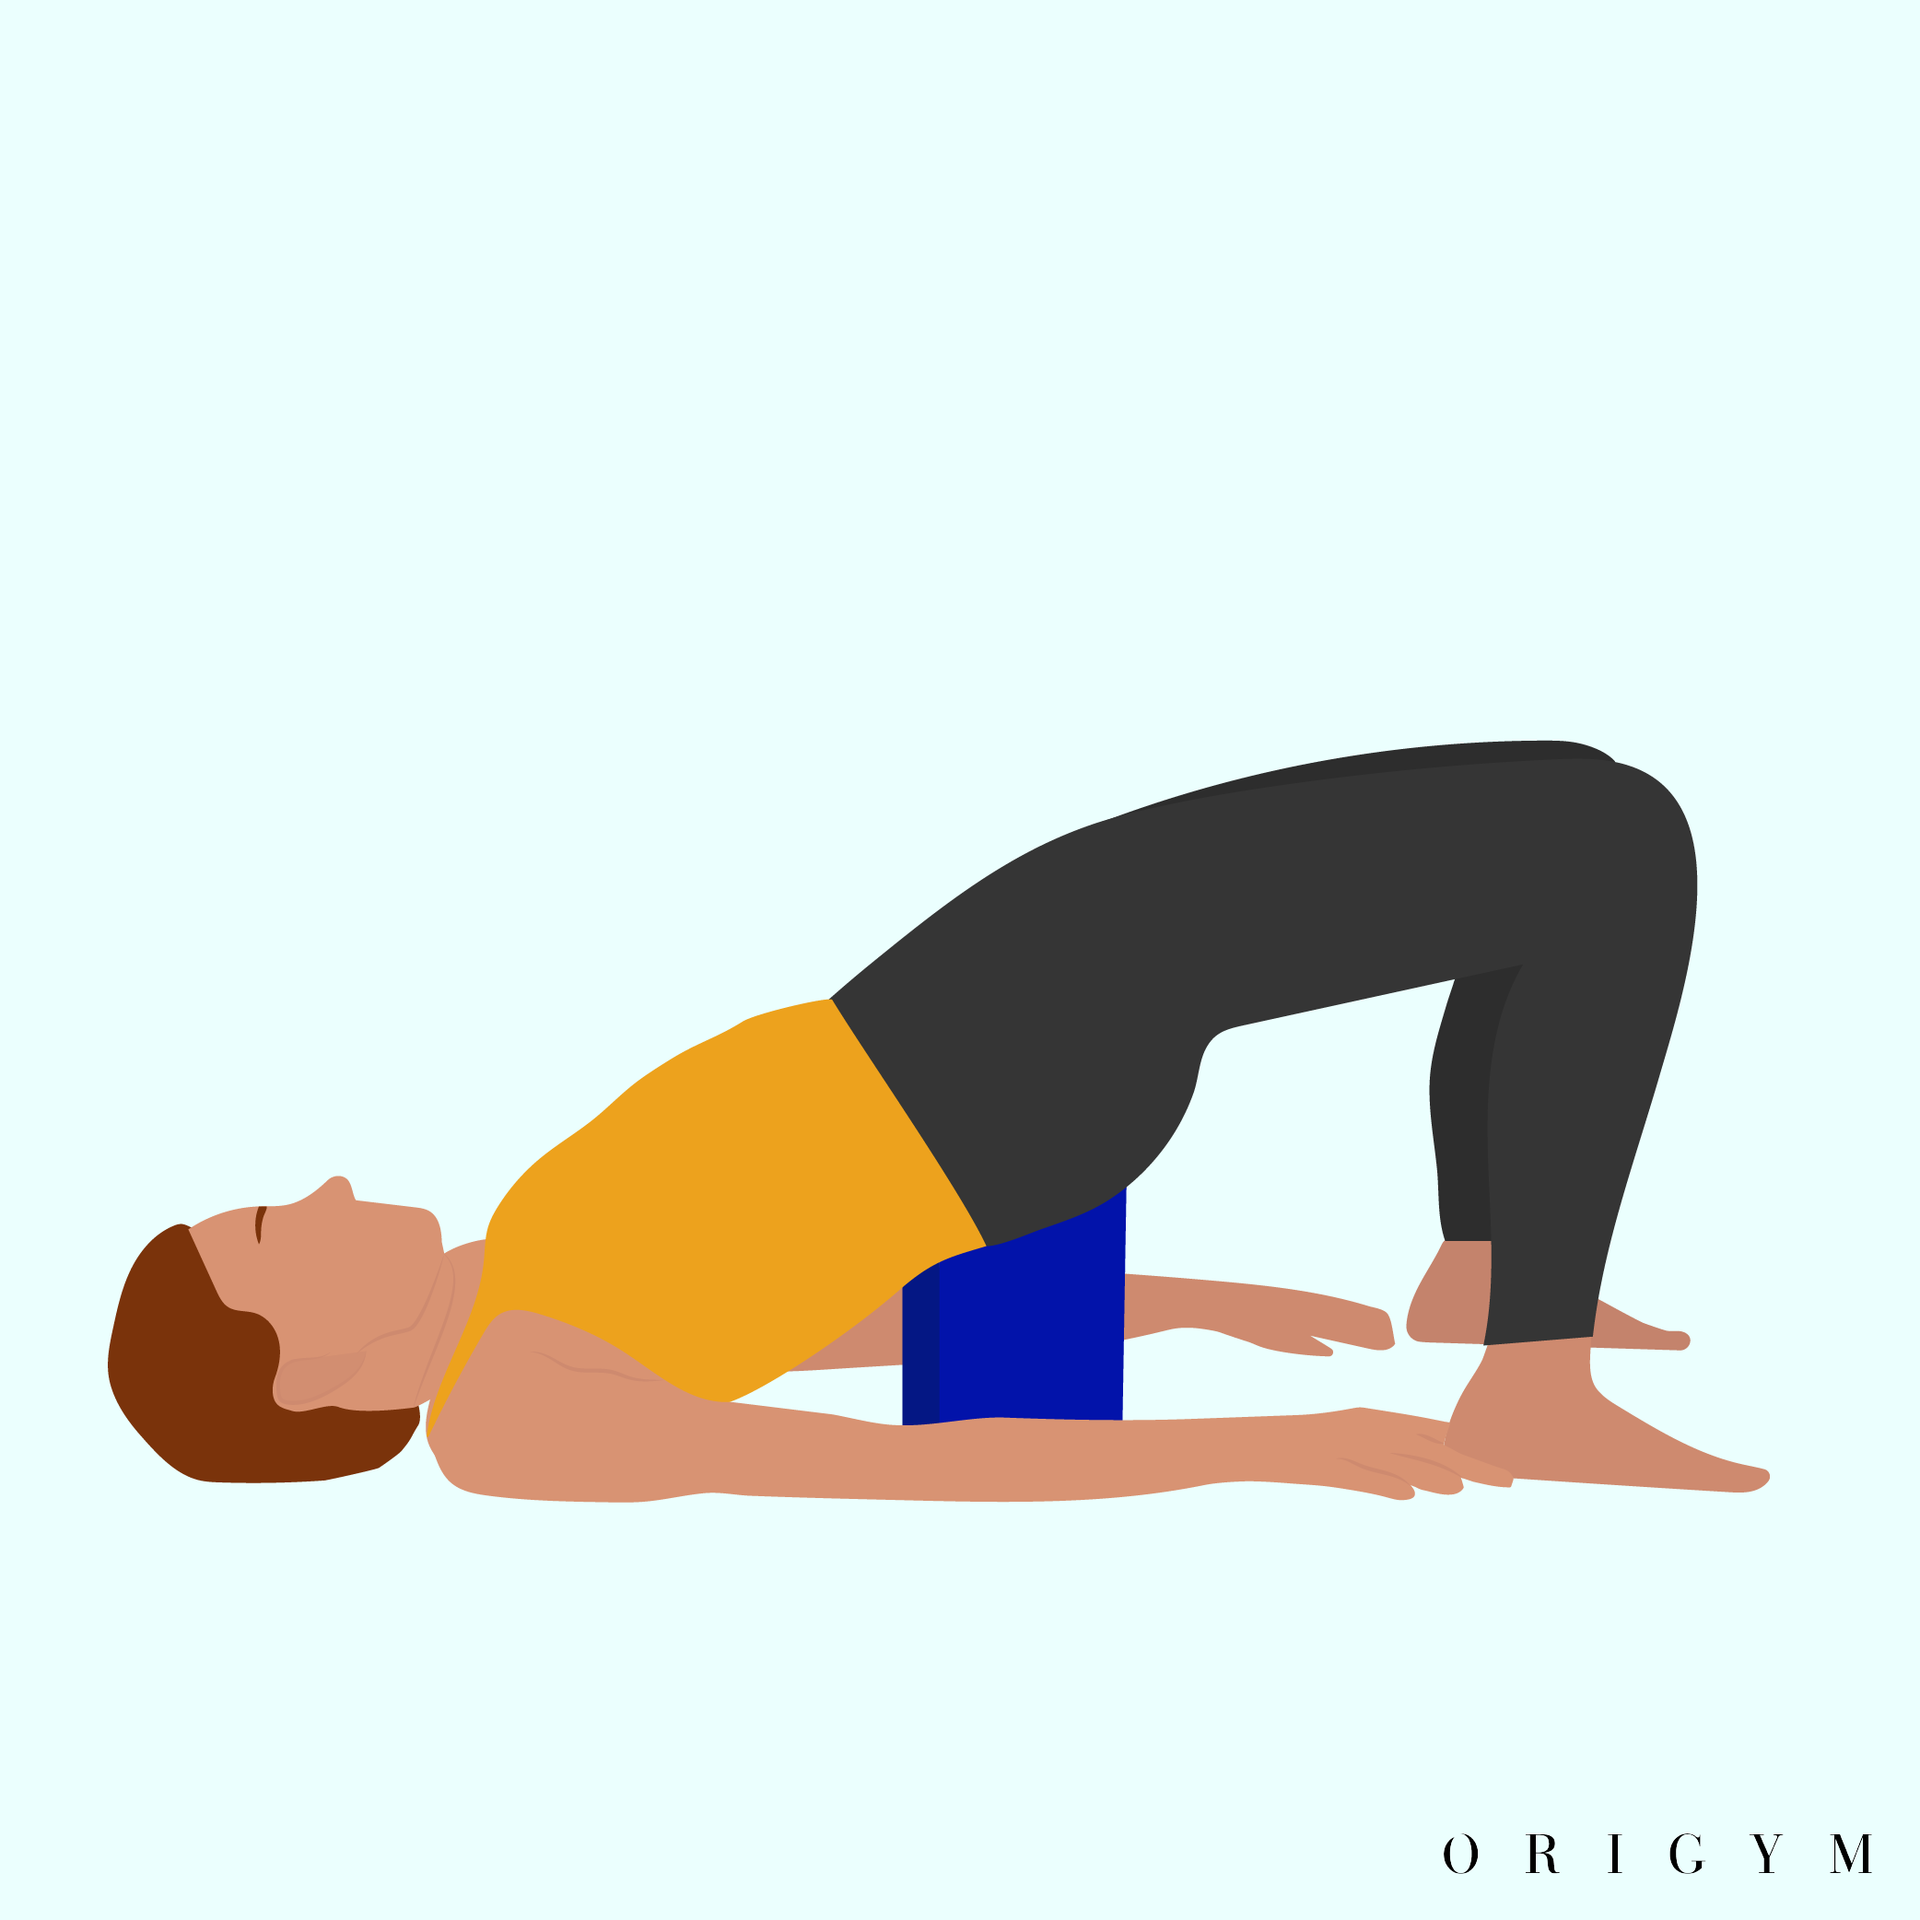
Yin Yoga encourages relaxation and releases your muscles as you stretch. Using props appropriately can help students stay still and relaxed for extended periods of time.

Your props can range from simple yoga blocks to blankets and bolsters. These can all be used to make different postures more achievable or effective depending on the student.

For example, if you have a client who can’t comfortably achieve the pose long enough to hold it as they’re in the red zone, you could use a bolster to support their bodies and make the posture easier.

On the other hand, you could also use a yoga block to get a deeper stretch, bringing some clients out of the green zone and into amber.

It all depends on how a student can fit into each posture and working with them to ensure they’re getting the most from the class.

Using a prop to support a posture isn’t ‘cheating’ – there’s no shame in a student needing something extra to reach different poses.

One key piece of advice for Yin Yoga teachers is to encourage students to listen to their bodies and do what feels right. If that means using a block to make things easier, that’s perfectly fine!

Props for General Comfort During Yin Yoga Poses
o3qrp

When instructing a Yin Yoga class, you can use props to make things more comfortable. In Yin Yoga, it’s likely you’re going to be holding a pose anywhere between 3 to 10 minutes which can be uncomfortable on a hard floor.

Using extra yoga mats or blankets can go a long way in ensuring your students are comfortable during each posture. This allows them to fall into the pose and concentrate on relaxing or slipping into a meditative state.

Tip #3 – Consider How And When Is Best To Speak Vs Staying Silent
507of

Yin Yoga is arguably among the most meditative of all different types of yoga styles. Knowing how to speak properly during class is important for setting the mood.

Tone of Voice

rm02i

When learning how to teach a Yin Yoga class, one thing you should bear in mind is your tone of voice.

In terms of modulating your voice, our tips for Yin Yoga teachers is to be firm yet soft. A soft speaking voice will help keep the relaxed mood you want for the class.

Keeping your tone light and friendly will also help students stay within the meditative mindframe and make your clients relate more with your teaching style, making them more likely to come back to class.

However, you should still be assertive so your students listen and respond positively to your authority.

Speaking Up Vs Staying Silent

lxku5

Another key point to consider when you start thinking about how to instruct a Yin Yoga class is learning when it’s appropriate for you to speak and when you should stay quiet.

If you want to keep a relaxed atmosphere where your students feel comfortable enough to meditate, you can’t speak too much and break their concentration.

As a loose guideline, try not to speak for more than 30 seconds for each minute your class is being held. This should be enough time to explain the posture and how to transition into the pose.

This isn’t a hard and fast rule, but it’s a great place to start when you’re learning what will work best for your class.

When you’re helping clients individually, keeping a low voice won’t disturb others in the class so feel free to take your time with each student as you need to help them get the best from each posture.

Tip #4 – Think About The Atmosphere You Want To Create In The Yin Yoga Studio

l59tg

Another of our ‘how to teach Yin Yoga’ tips involves carefully considering the mood in your studio and what you can do to create the best atmosphere for your class.

There are several methods you can use which we’ll briefly go through below.

Using Music or Ambient Noise During Yin Yoga Classes
noupt

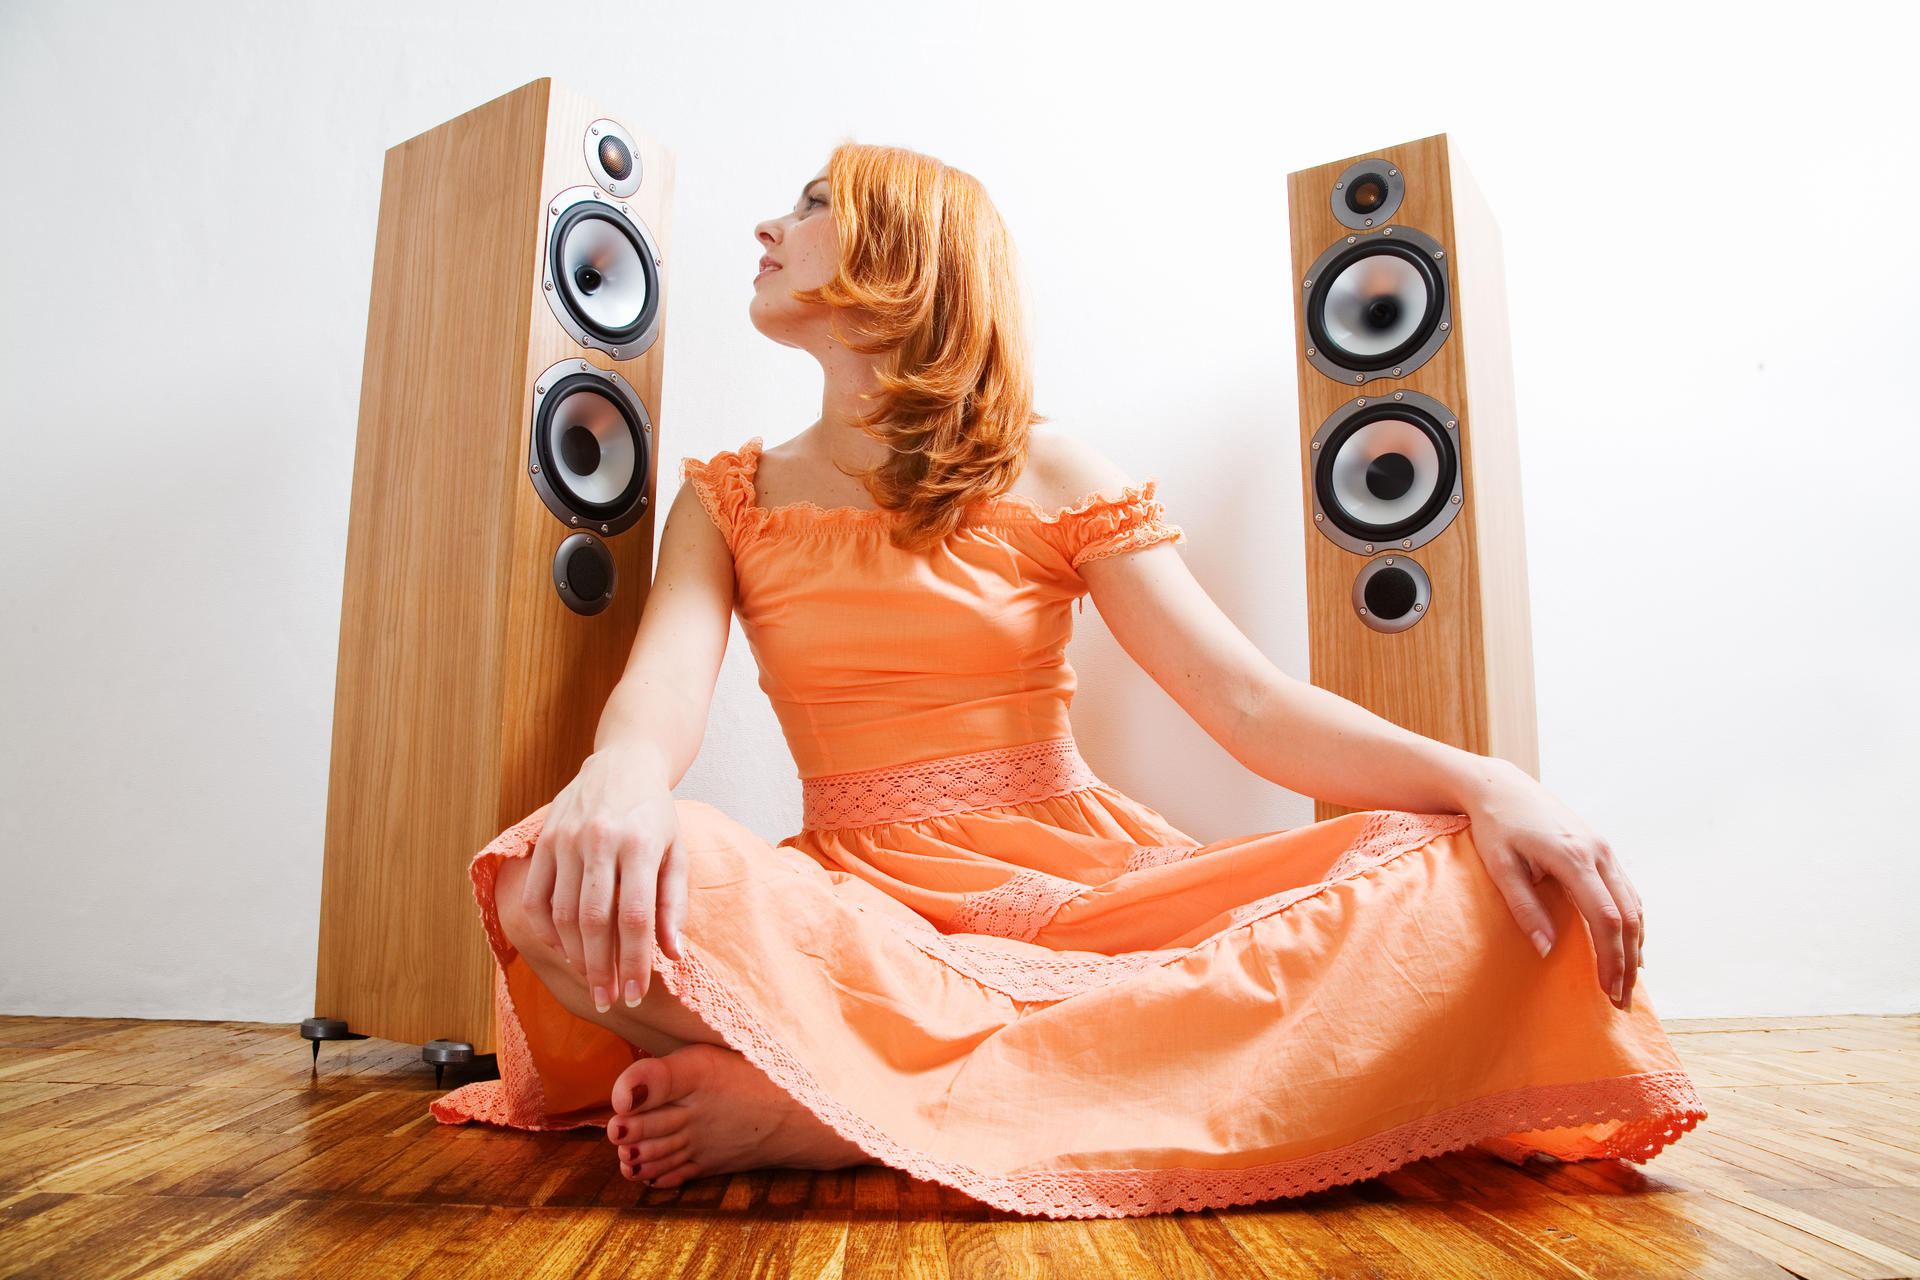
One way to create a mood within a space is by using music! Different backing tracks can relax or energise a studio, meaning it’s important you choose the best sounds for your class.

A Yin Yoga class should be calm and relaxed. Quiet classical music or gentle acoustic guitar songs are definitely one way to go. You can create a yoga Spotify playlist to provide background sounds for your class without being too loud or complicated.

However, some advice for Yin Yoga teachers is to be careful when choosing anything with lyrics. This could distract your students while instructing your Yin Yoga class.

These tracks will easily slip through the ears of your class, providing stimulation without distraction.

Using Scents to Create Atmosphere During Yin Yoga Classes

rd5hl

If you want to increase the relaxation factor of your Yin Yoga class, aromatherapy is a simple extra that can make a big difference.

In terms of scents, our best ‘how to’ for teaching a Yin Yoga class is to choose earthy or subtle floral scents.

Flowers like lavender or jasmine and herbs like sage and rosemary are commonly used in relaxants, making them a great option to choose from for your studio.

We do recommend you avoid strong citrus smells as these tend to be stimulating, which doesn’t fit the mood you want.

Scents are an easy way to set the right tone for your class from the beginning and a great way to show your individual taste and personality during class.

Create An Atmosphere Using Temperature During Yin Yoga Classes

23jr3

When you learn how to teach a Yin Yoga class, one thing you should remember is the temperature of your studio is cooler than Vinyasa, and much cooler than Bikram.

This is because warmer temperatures encourage the muscles to feel the stretch whereas in Yin Yoga you want the feeling to go deeper into the connective tissues. Cooler temperatures allow the stretch to deepen through the body.

One thing to remember when you’re designing the mood for your class is to make sure the studio is on the cooler side to make sure your students get the most from their session.

Tip #5 – Plan Your Yin Yoga Sequences So They Flow Smoothly
5fklq

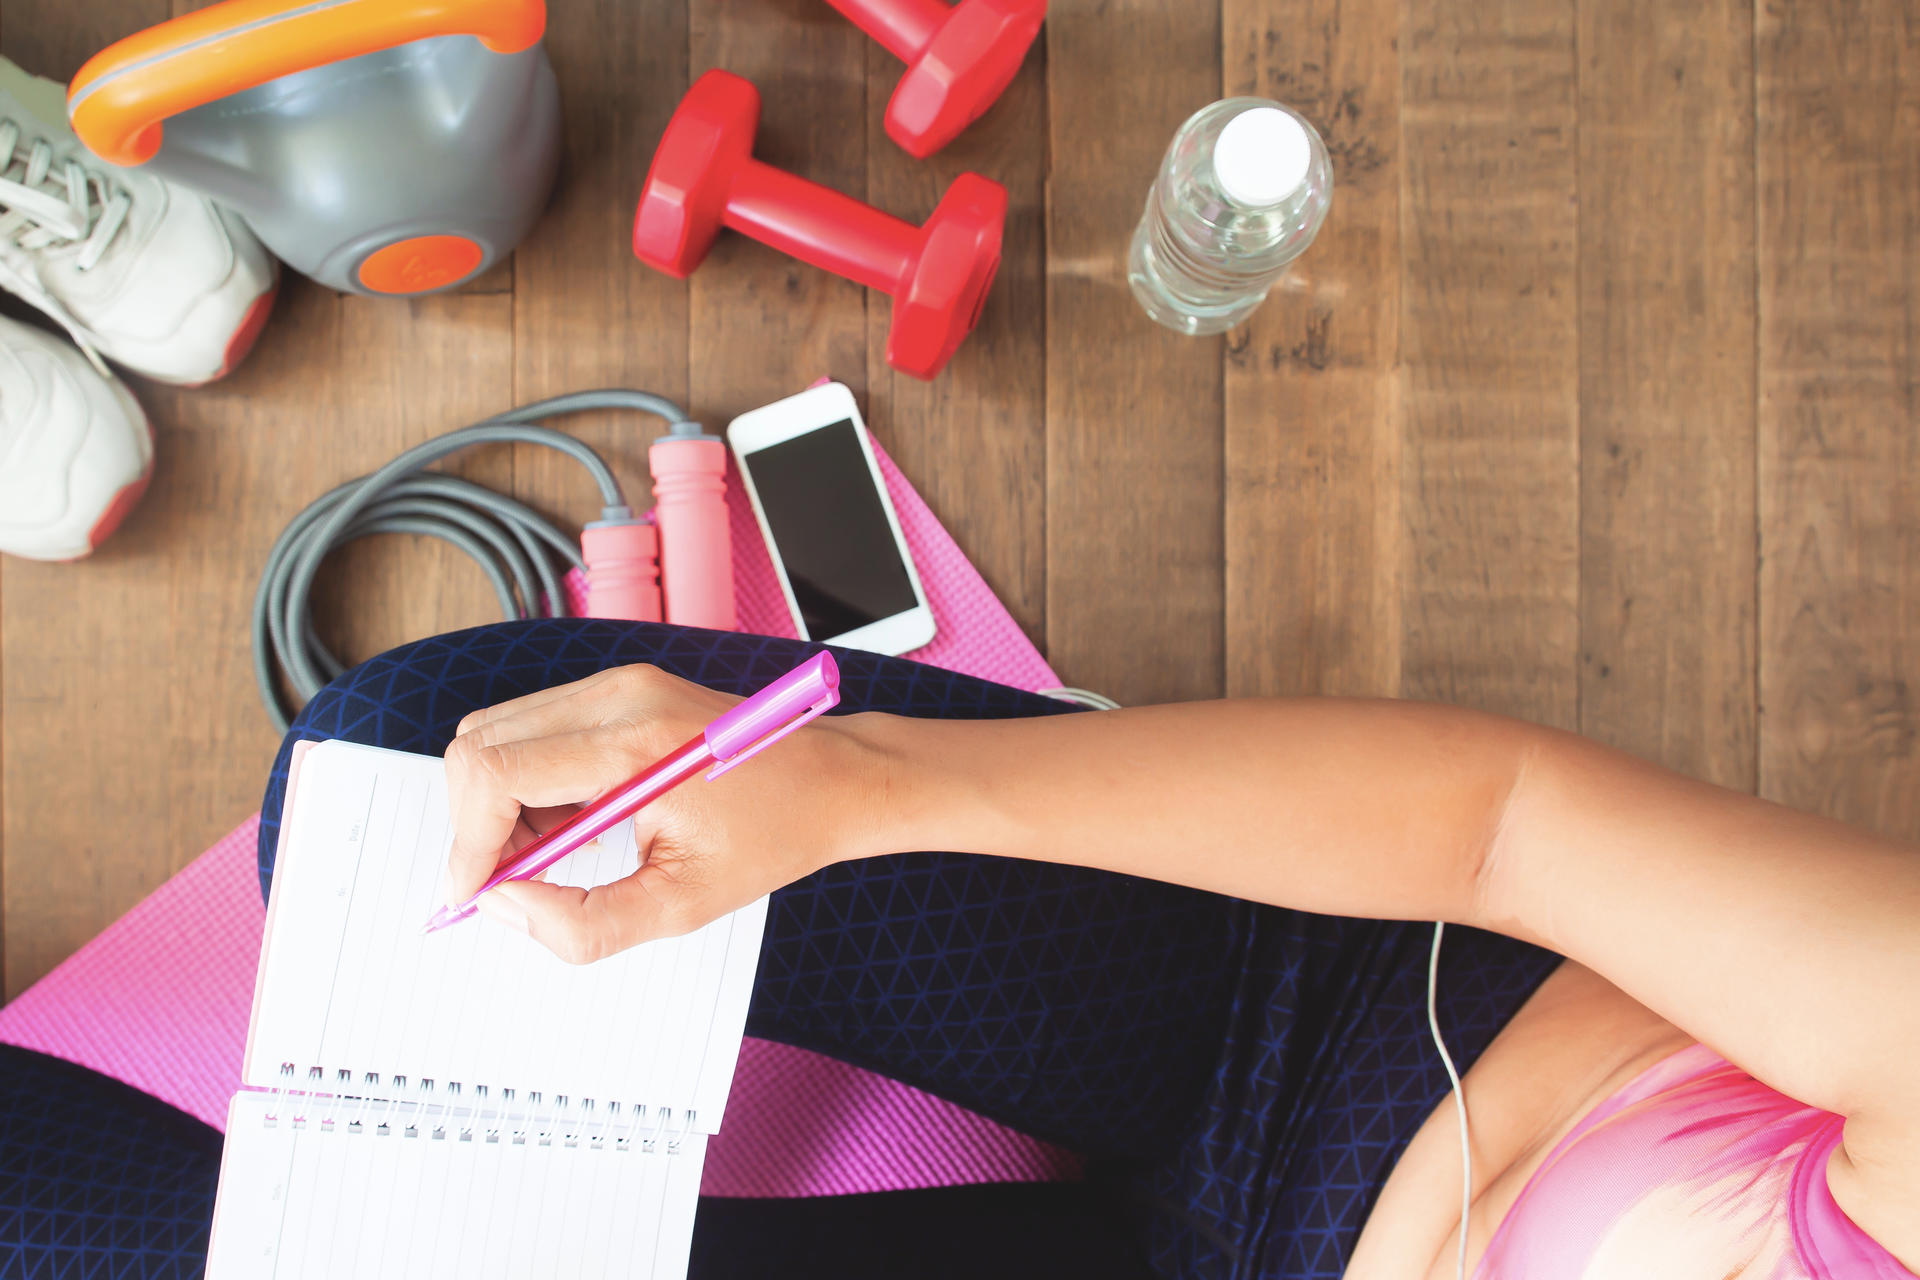
Knowing how to sequence a Yin Yoga class properly is an incredibly important skill because it helps the class feel professional.

The right sequence ensures students will be able to work in a logical way around the body and are less likely to overtrain an area or skip over it entirely during their workout.

Depending on the theme of your routine, students may be focusing on a more specific area of the body, so it’s important you have the right variety of poses to work through this area without repeating the same muscle group too often.

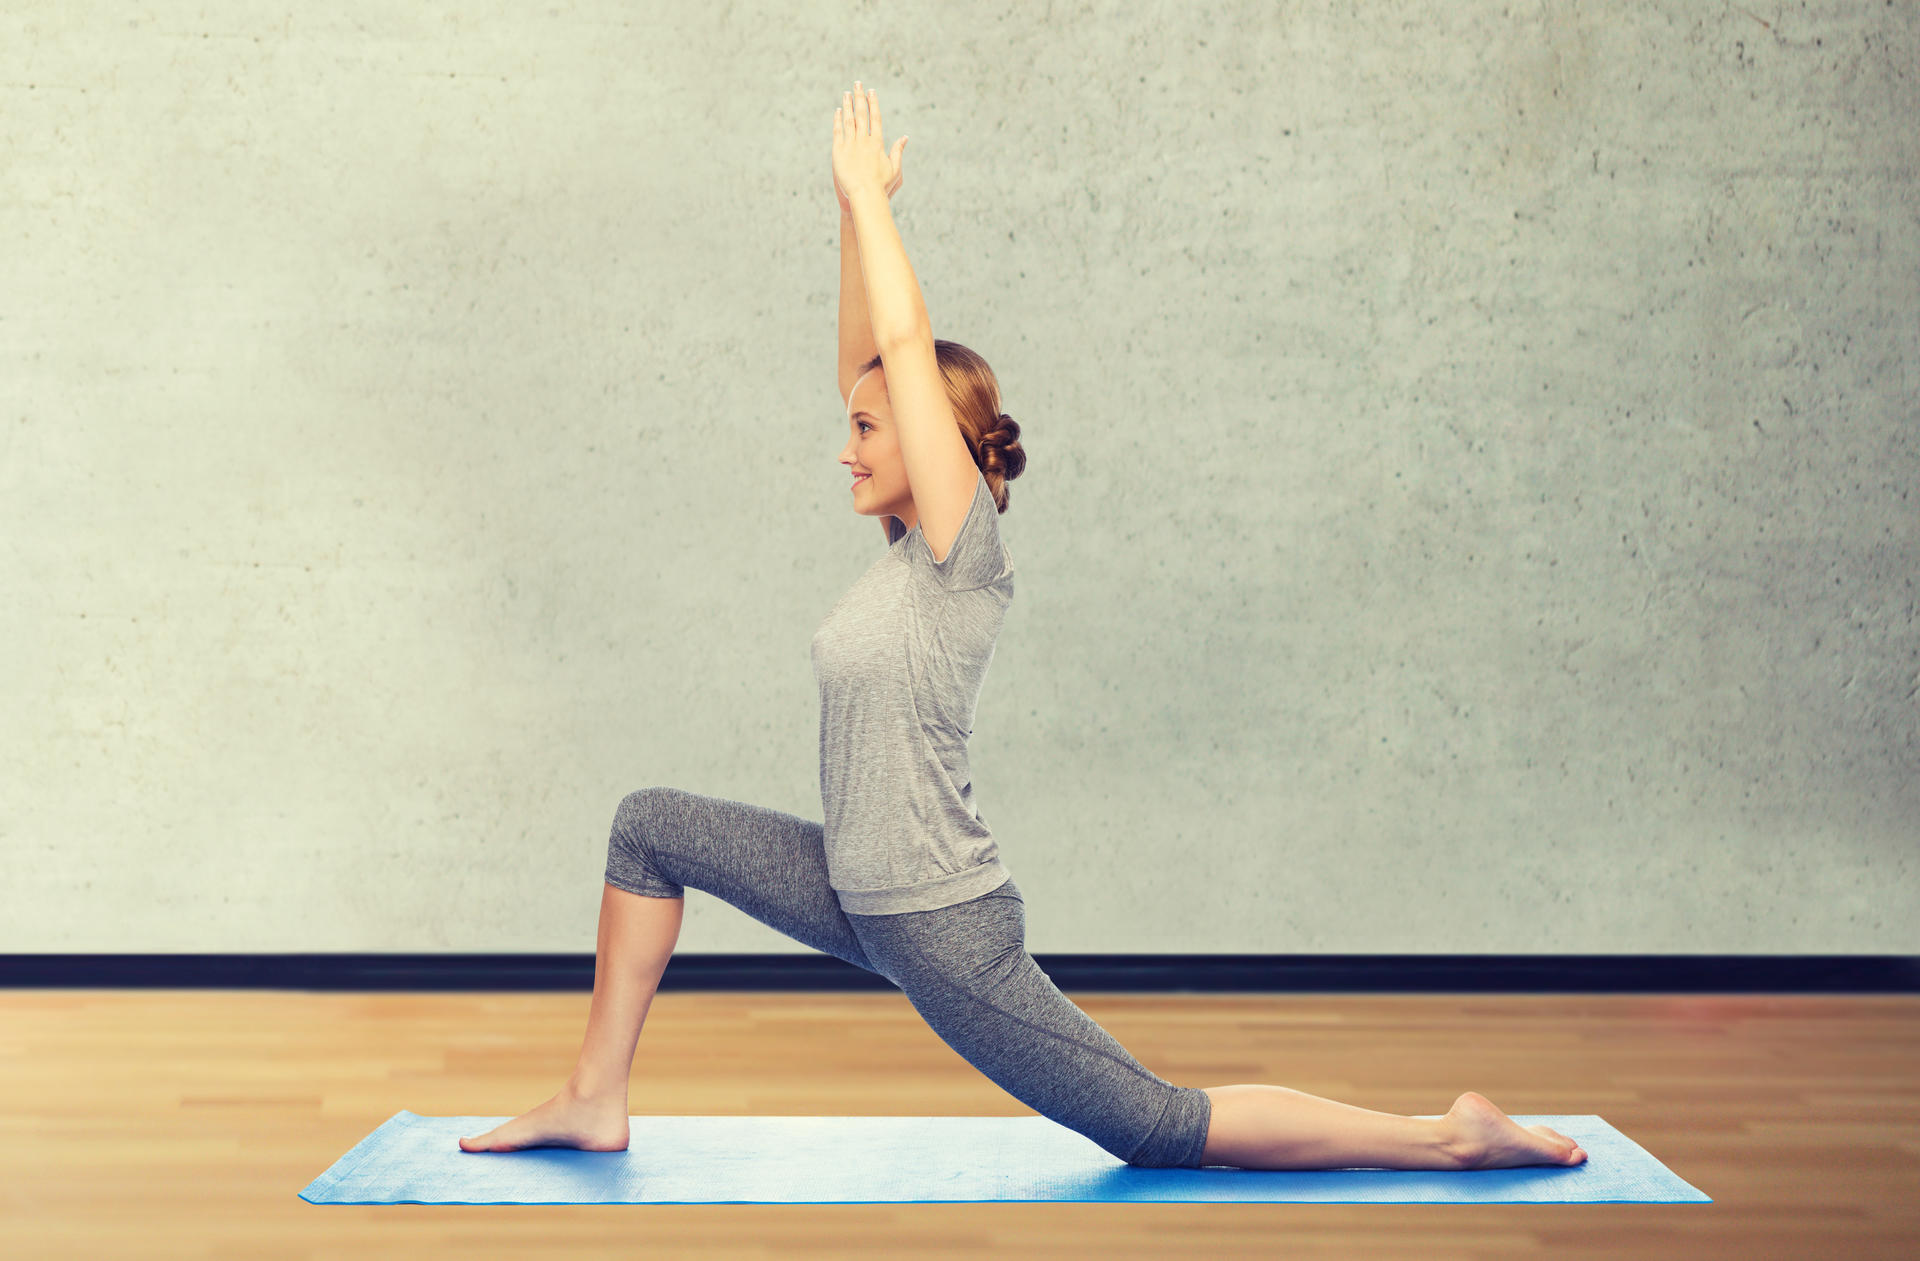
In a lower body routine, you’ll want to choose poses that cover everything from hip to foot to provide a full experience for each leg.

These poses work as hip openers at different angles, as well as stretching the quads and hamstrings.
2lw4m

This style of routine means students can work evenly across each leg and get deep into any problem areas they may be experiencing.

Another reason you should know how to sequence a Yin Yoga class routine is because the right routine will create a thorough experience for your students and they’ll be able to flow through the poses easily without getting stuck in the transitions.

Lastly, Yin Yoga as a whole relies on holding a series of poses for an extended period of time, encouraging a deeper stretch in the body.

To this end, you’re going to have fewer poses in your practice as each will be held for a minimum of 3 minutes.

Choosing the right poses becomes doubly important when you’re making a rich and full class experience for your clients. You don’t want students to leave the session feeling like they haven’t made any progress, meaning you need to consider how your routine will flow.

Tip #6 – Consider Function Over Form When It Comes To Yin Yoga Poses

4sx1o

Function over form is one of the most important tips for Yin Yoga teachers.

Remembering this will make you a more attentive and helpful Yin Yoga teacher in the long run. It will also make your classes a fuller experience for your clients.

Yin Yoga is a functional exercise practice. It’s designed to provide a deeper stretch for the body, as well as an opportunity to connect mentally to the self. Students could even slip into a meditative state during select poses.

While the poses are obviously important in terms of function, their overall form is more of a guideline for how they’re done rather than a hard and fast rule.

Teachers and students can often get too invested in achieving the correct form or moving onto the next level of the pose they forget to listen to their bodies.
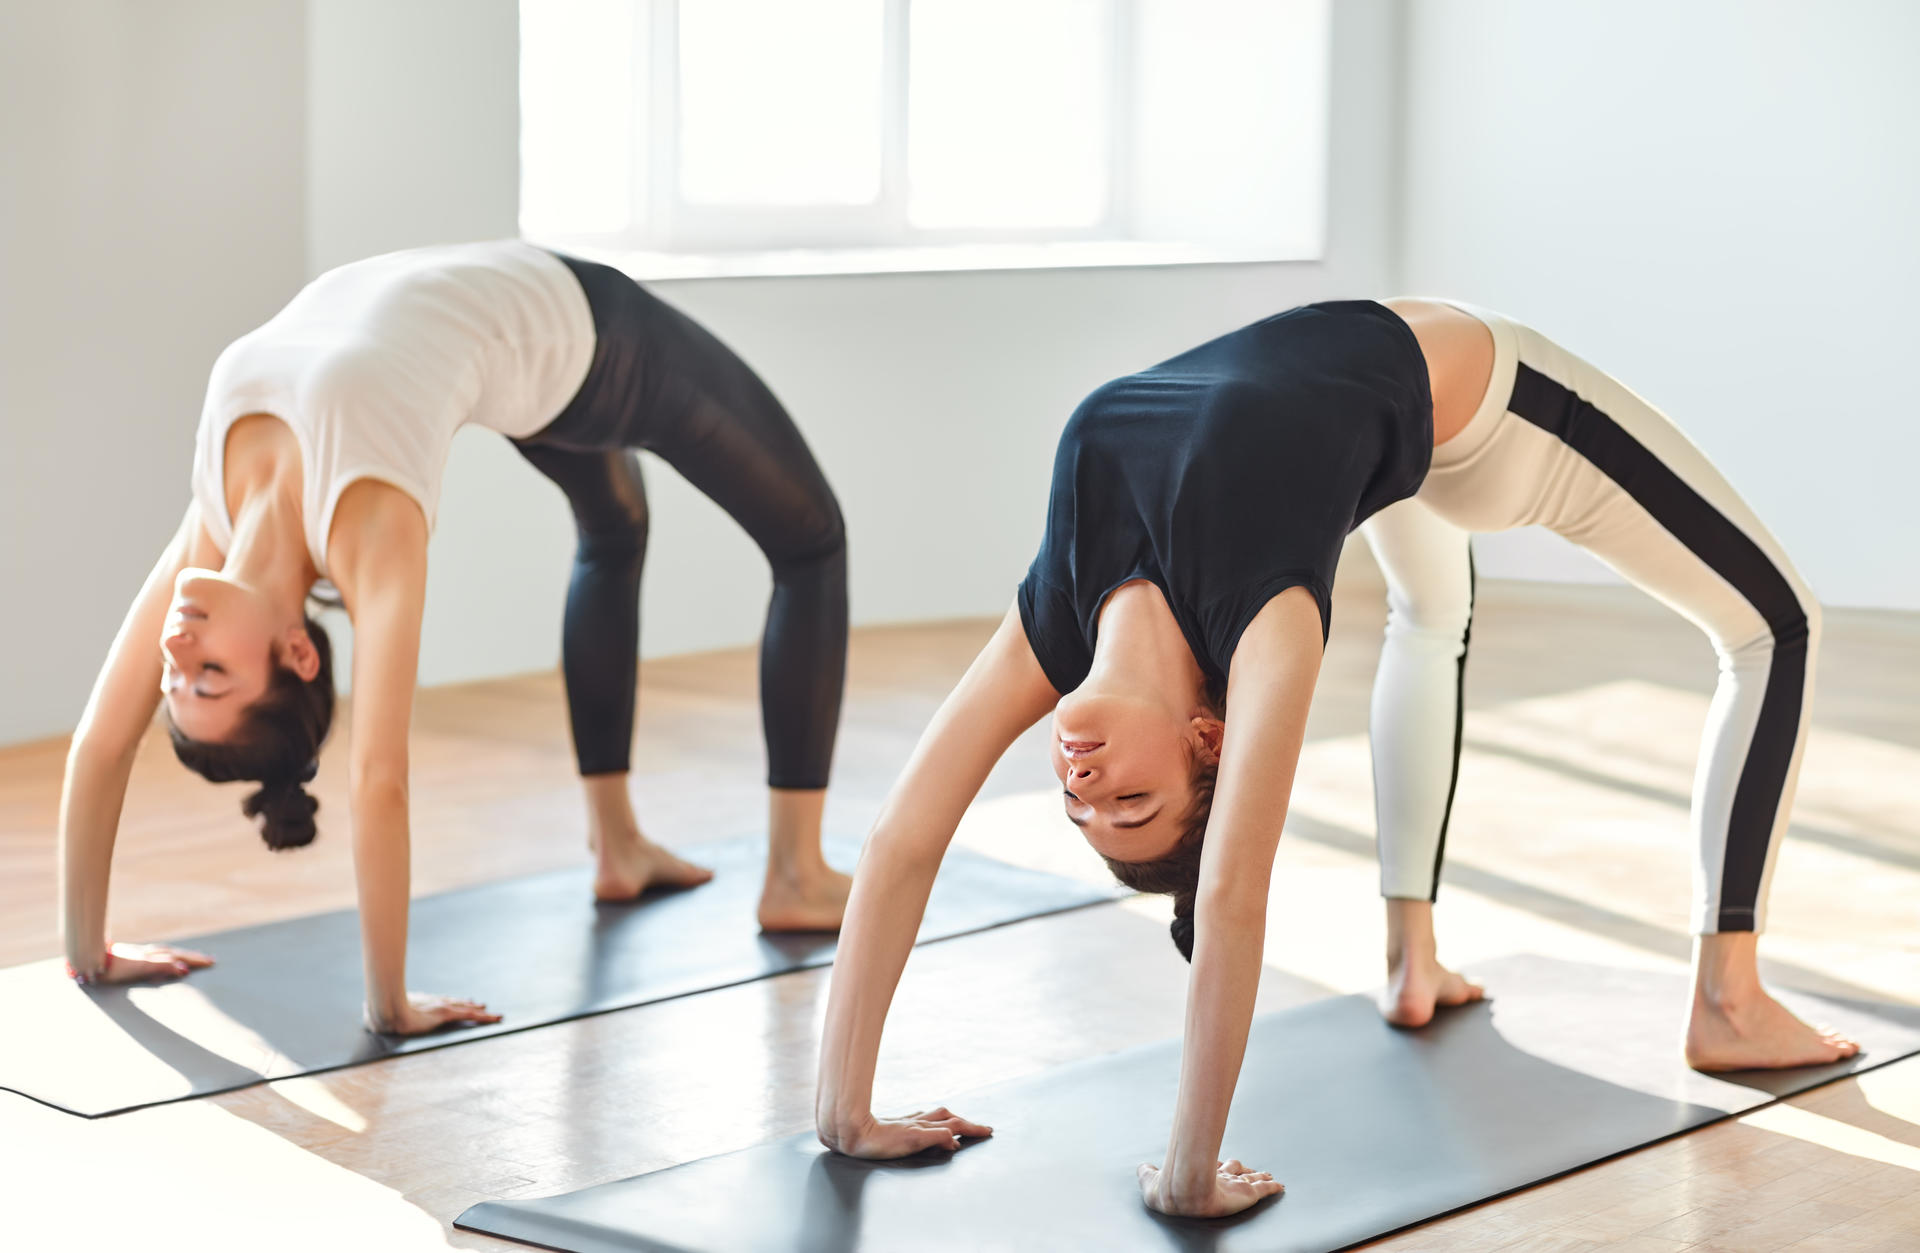
bjzdx

Everyone has their own body structure, meaning poses will look and feel slightly different to each individual.

As someone who is instructing a Yin Yoga class, you need to be aware of this and work with it, rather than forcing your students into uncomfortable or ineffective positions in the name of achieving the correct form.

Instead, you should encourage students to listen to their bodies while you’re teaching Yin Yoga and help them work towards the original function of a pose.

Our advice for Yin Yoga teachers is to see how each student first fits into a posture and how their own body alignment interprets a pose before you offer any assistance or corrections.

Encourage students to listen to their bodies and work with them to achieve a pose, otherwise they risk overstraining their muscles and potentially injuring themselves.

Become a Master Yoga Teacher with Origym

Develop your skills and knowledge to become the ultimate Yin Yoga Teacher with our range of Level 4 Yoga Teacher Training!

Tip #7 – Pay Attention To Transitions Between Yin Yogas Poses
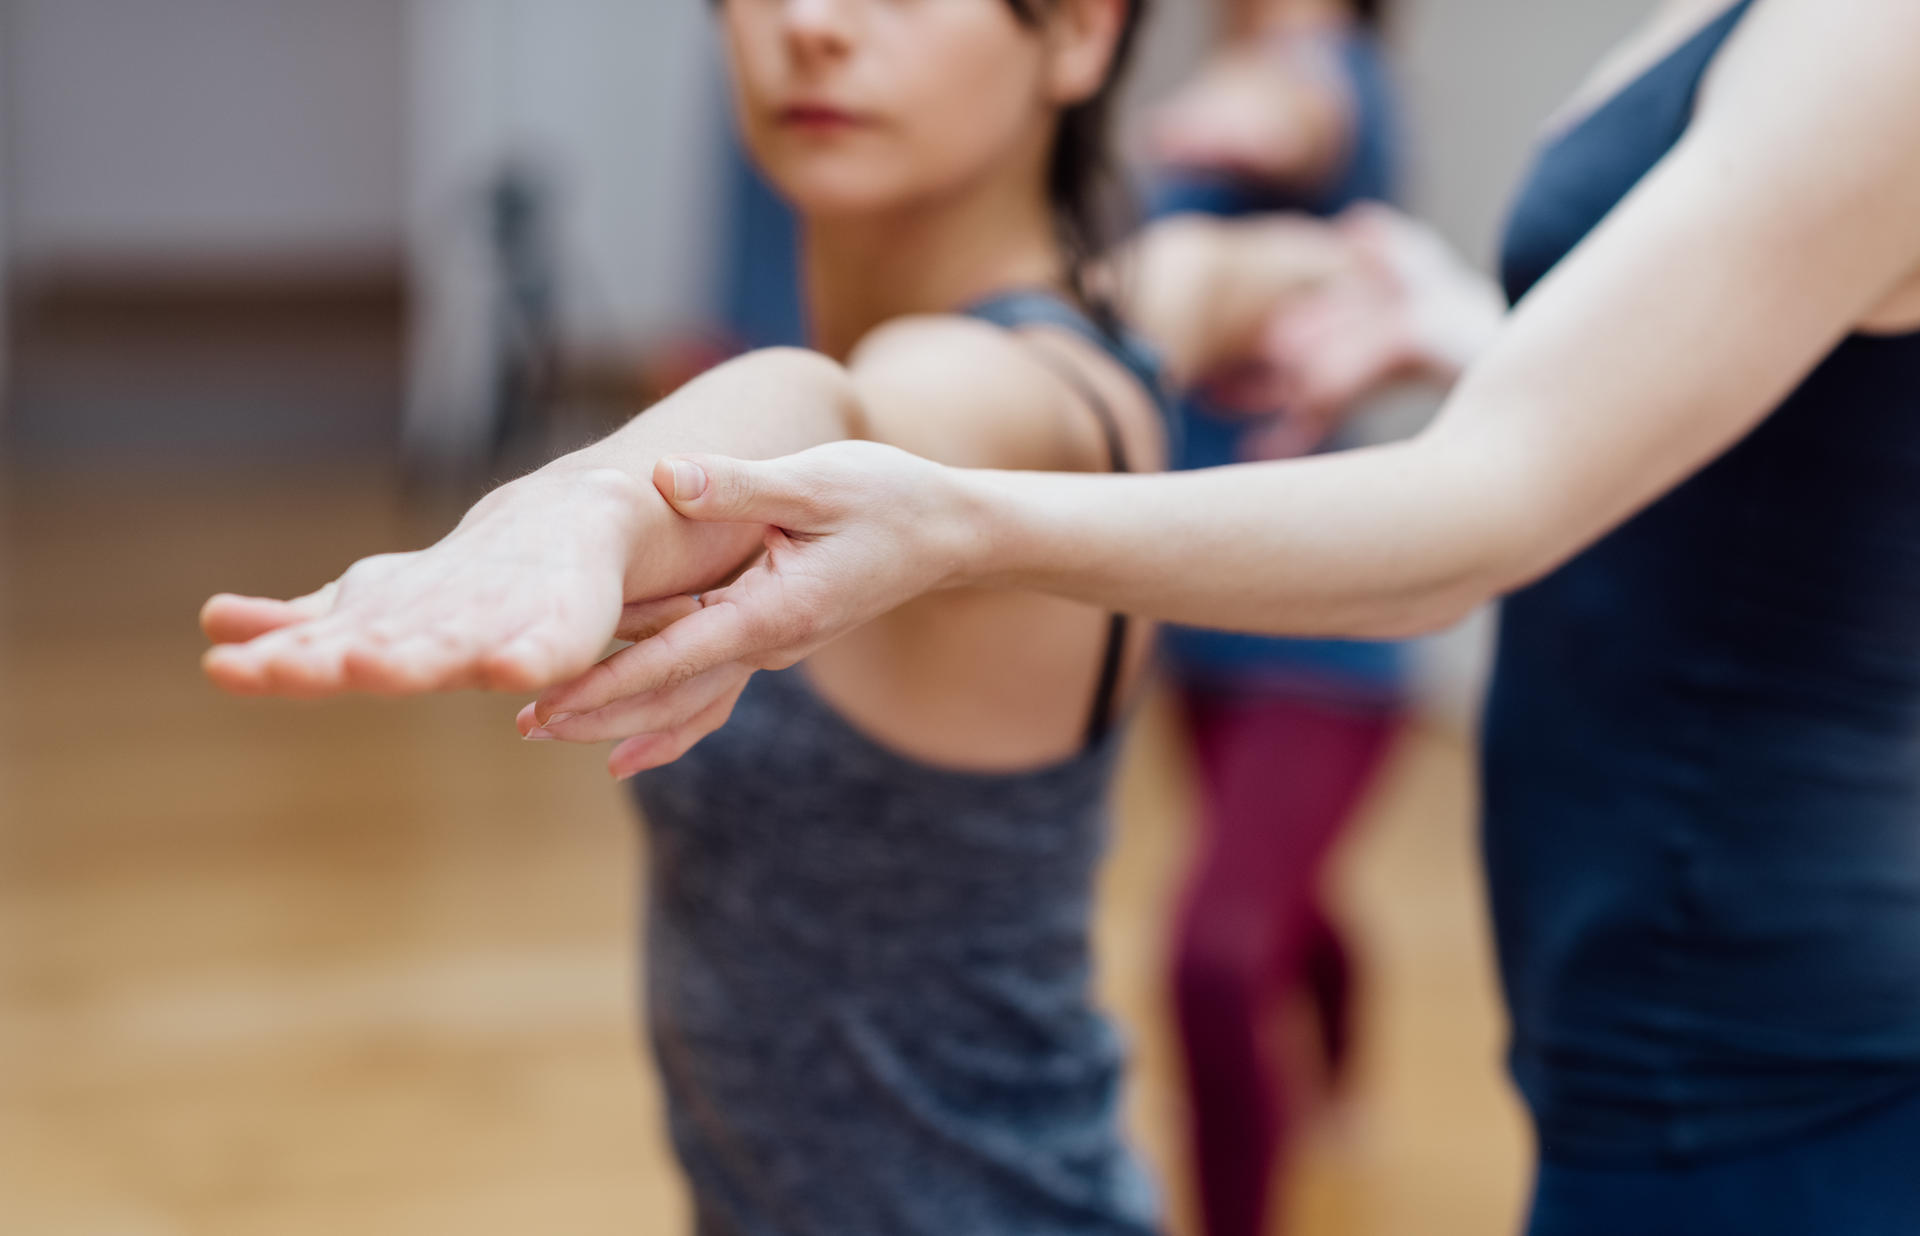
kq968

Part of learning how to sequence a Yin Yoga class is paying attention to the transitions and flow between each pose.

When you’re creating a routine, you want to choose poses that make sense together. These should be ones where you can flow from one to the other without disrupting the mood during the transitional stage.

For example, moving from pigeon pose to swan pose is easier as you just need to:

Sit up in the chest

Bend the back knee

Bring the foot up from the floor

On the other hand, changing from pigeon pose to happy baby makes less sense overall.
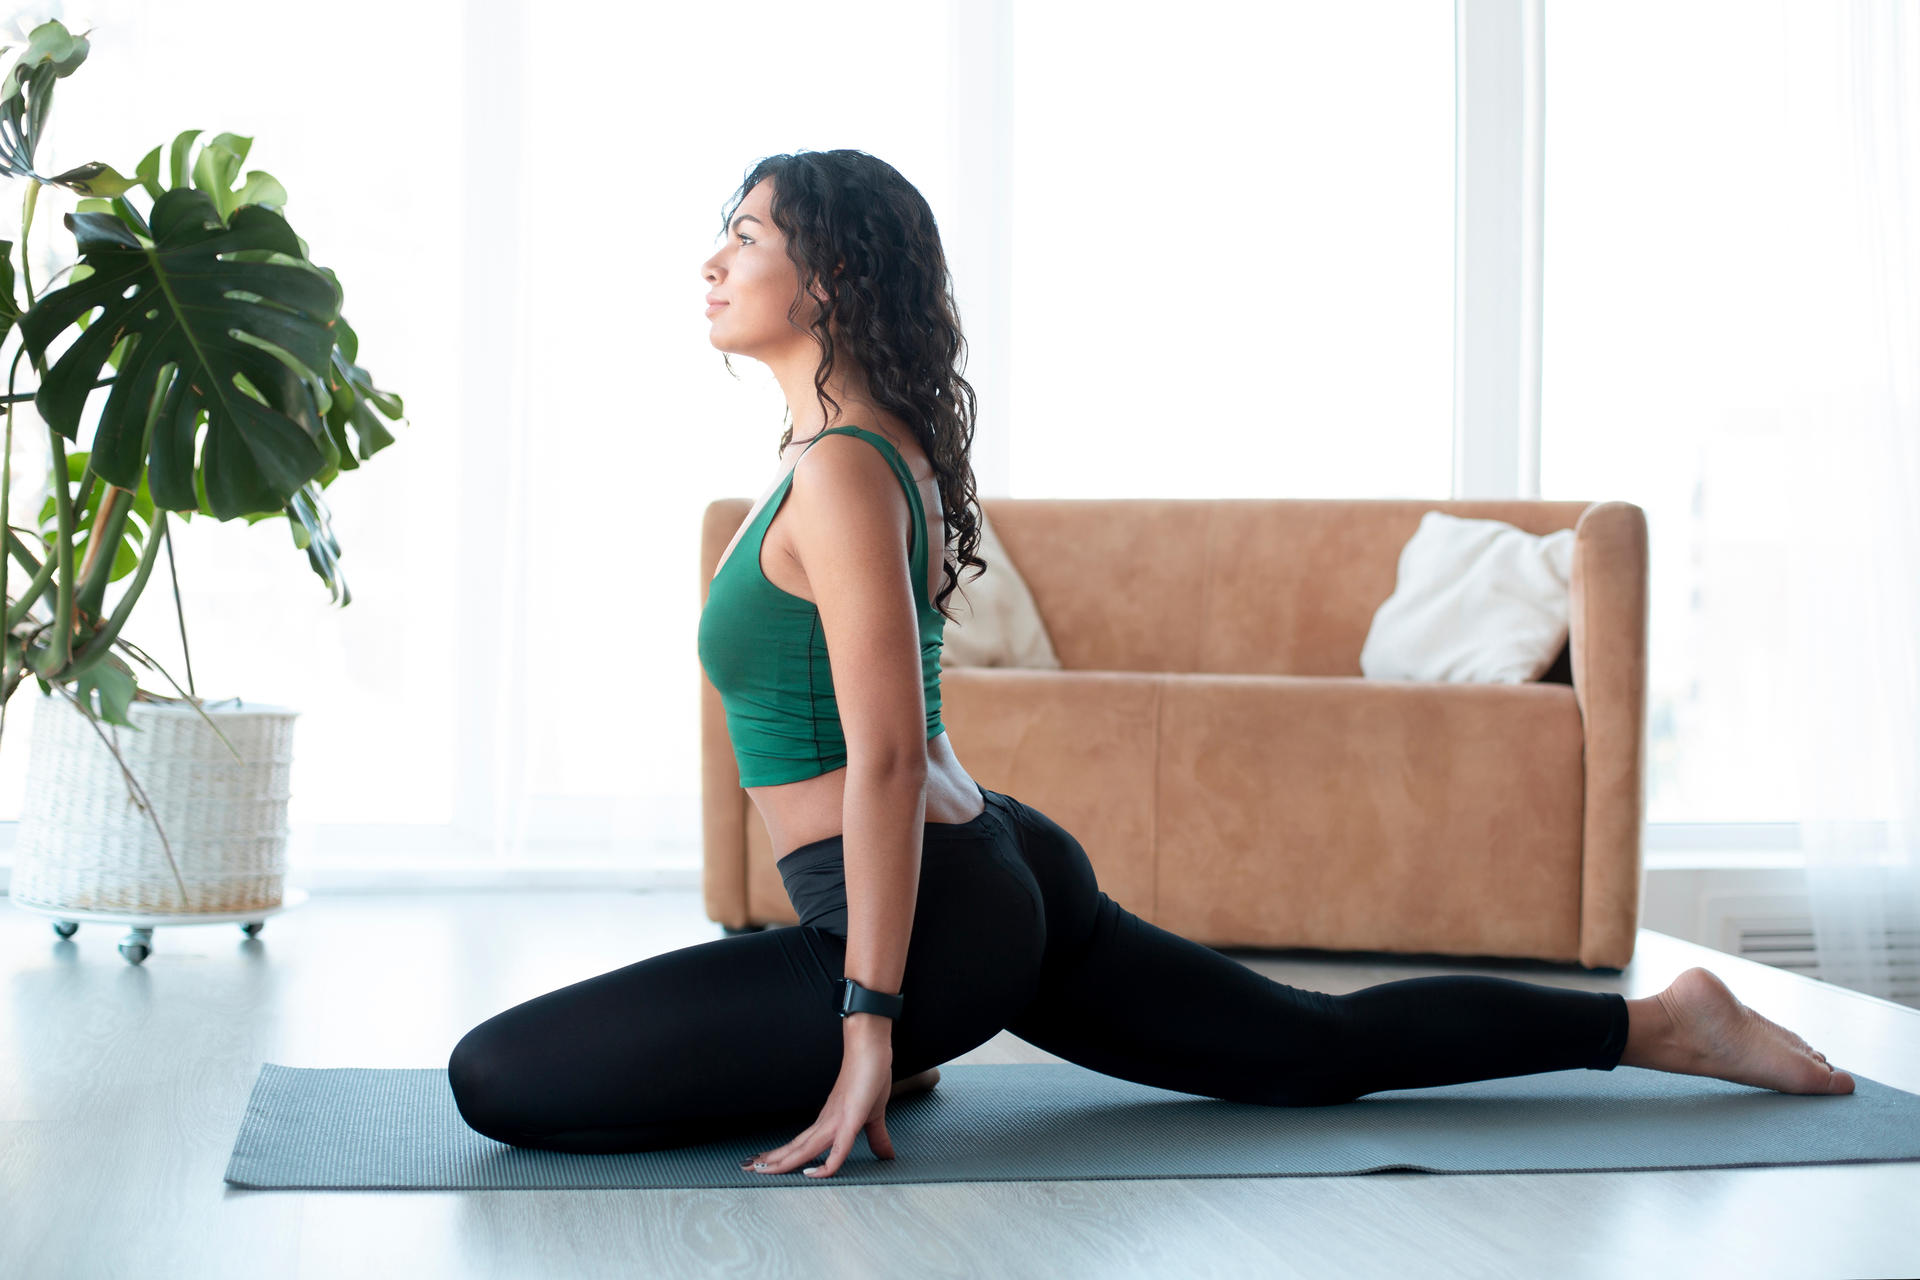
cmi6t

Of course, not all poses can be transitioned easily from one to the other. However, you should be able to find the right balance of movements between each posture to make the transitions smooth.

For example, moving from pigeon to swan and then into face down savasana (corpse pose) makes use of each different stage to create a smooth sequence.

One of our tips for Yin Yoga teachers is this – if you can’t create smoother transitions, make a feature out of them instead.

When you’re finding it hard to switch between postures, you can make more of a deal out of the transition and incorporate it into the routine rather than just as something to get from A to B.

Another ‘how to’ for teaching a Yin Yoga class is to slow down and make sure your students aren’t trying to rush through their transitions.

Yin Yoga is naturally meditative, meaning you should encourage students to work slowly through their transitions and concentrate on their movements in each phase.

Tip #8 – Leave Time Between Yin Yoga Poses for Rebound

18nwj

One thing you should know from learning how to teach a Yin Yoga class is paying attention to transitions like we explored above. This also means leaving some time between each pose for students to recover from any rebound they may experience.

Rebound is basically the time taken between positions where the body relaxes and recovers from the position it had previously been in.

When you’re instructing a Yin Yoga class, your students are putting controlled amounts of stress on the connective tissues of the body by stretching deeply.

When this tension is released, your students will need some time to recover from the release of pressure or rebound.

Having this short amount of time allows the body to reset back to a more neutral setting where it isn’t expected to hold any stretches, so rebound is a period of recovery.
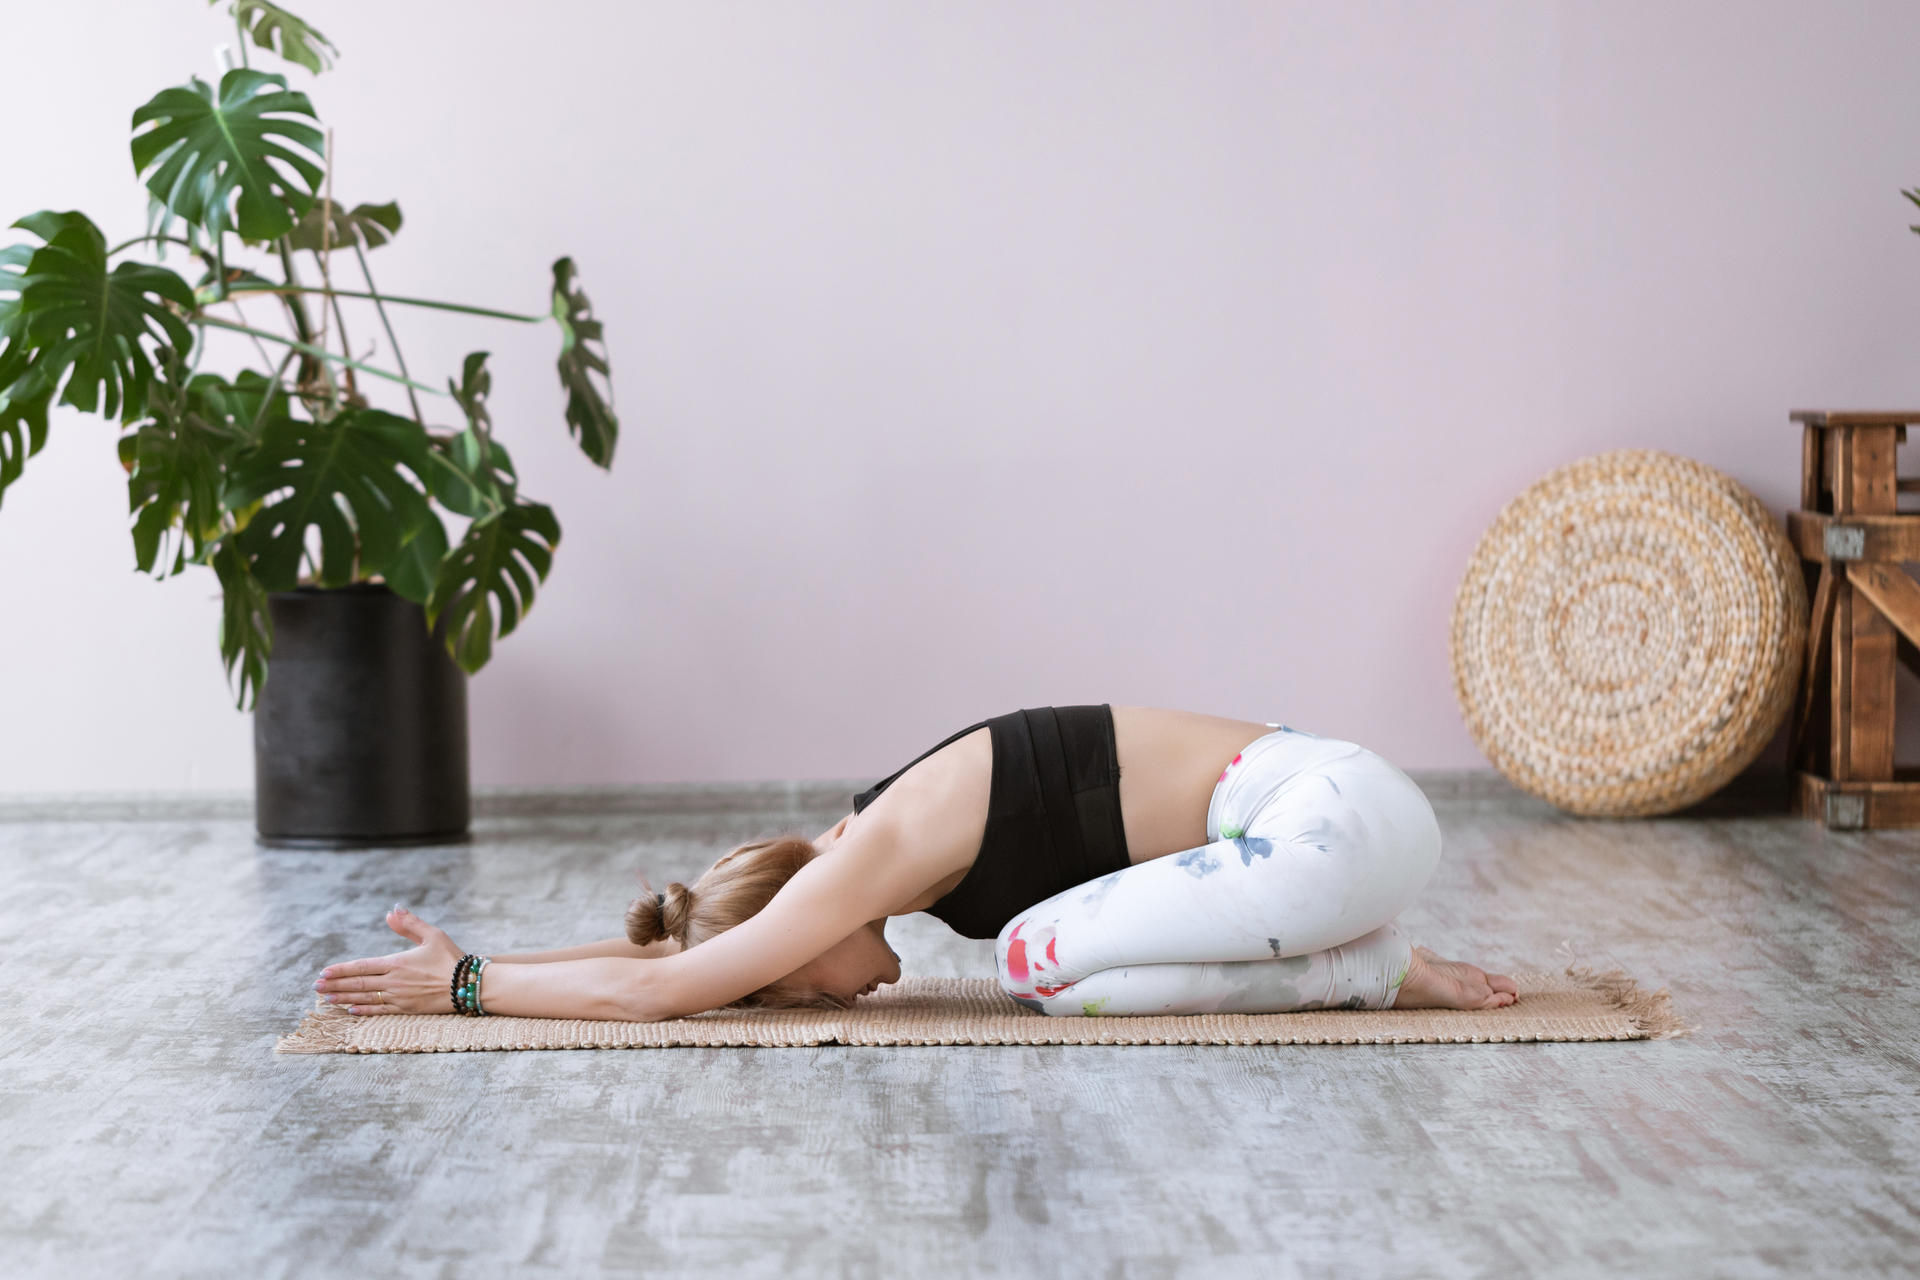
749bi

During rebound the heart rate returns to normal and blood flow increases to the areas you were just working with. Skipping this state could lead to increased tension and soreness as you haven’t allowed the body time to rest in between poses.

It’s definitely important you recognise the impact of recovery when you’re new to learning how to instruct a Yin Yoga class.

Our advice to Yin Yoga teachers is if you’re unsure how to incorporate time for rebound into your routines, make each transition go through savasana (corpse pose).

By lying down on your front or back in savasana you’re allowing time for the body to recover in a neutral pose. This is an easy position to transition through into the next pose while keeping the overall flow of your routine.

[……]

Read more
Vinyasa Yoga Glasgow

juk31

Vinyasa yoga can be both dynamic and gentle, cultivating a sense of lightness within the body and quiet within the mind.

Vinyasa Flow Yoga is a creative, unique, and dynamic flowing sequence around the sun salutation. Designed to increase strength and flexibility, the vinyasa flow class is taught from a functional approach and provides modifications and variations to help you find your own level of depth and comfort.

Dynamic Vinyasa Yoga is an intermediate level class that focuses on inversions like headstand and arm balancing sequences. If you are seeking to advance your practice, this class will suit you. It is both invigorating and challenging, so a general level of fitness will help. However, don’t let that put you off as you can improve your fitness level by regular attendance of this class.

Slow Flow Yoga is a Moon salutation based class, creating flowing transitions between yoga postures interspersed with longer held poses. In these longer held shapes, you will have the space and time to breathe and relax any tension out of your muscles and work deeper into your connective tissue.

Vinyasa Yoga is a unique blend of Hatha yoga, Classical Ashtanga and Vinyasa Krama Yoga. The class philosophy is that yoga is for Every One, Every Body, and Every Mind. As a result, the yoga teacher adapts and modifies the class to ensure the building of strength, stamina, and flexibility for all who attend.

Vinyasa Krama Yoga is a traditional and holistic approach that involves carefully sequenced postures, gradually leading students toward a deeper practice. With a focus on alignment, breath, and mindfulness, Vinyasa Krama Yoga offers a transformative journey for practitioners of all levels.

The Benefits

o0c7e

Vinyasa Flow: Embrace flowing movements that gently stretch your hamstrings, fostering flexibility and warding off potential injuries. Dive into a sequence that harmonizes your body’s rhythm.

Vinyasa Yoga: Elevate your practice with a fusion that enhances flexibility, boosts strength, and builds your endurance. Unite the energies of different yoga styles for a transformative experience.

Slow Flow: Discover tranquility and serenity as you gracefully transition between postures. Experience the synergy of gentle movement and stillness, nurturing both your body and mind.

Dynamic Vinyasa: Unleash your potential with invigorating sequences that amplify your strength and flexibility. Progress in your practice as you explore headstands, arm balances, and more.

Vinyasa Krama Yoga: For those individuals who wish to experience a more traditional style of yoga which has its roots anchored deeply in the passed. It links breath to movement gradually leading the practitioner from simple sequences until with patience & small steps they reach a more advanced level.

[……]

Read more
The Vini Yoga Approach to Yoga

chjj8

Yoga is best taught in a one to one situation, which caters for the needs of the individual. There are 3 main approaches to teaching.

As a therapy – ‘cikitsa’

This aims to help alleviate particular health problems. Eventually the condition may improve as the practitioner develops a skillful means to help deal with the symptoms.

The yoga sutra of Patanjali also mentions afflictions such as unsteadiness of limb and disturbed breathing. On an emotional level there may be the feeling of restriction in the mind and malaise known as ‘duhkha’, which can have deep-seated roots. This may also be accompanied by mental disturbance and negative thoughts, ‘daurmanasya’.

In yoga the aim is to work with the body, breath and mind to try and develop harmonious integration of all three functions. In this process the role of the breath plays a vital role in helping to bring about positive change. Particular importance is given to the exhalation, which the practitioner aims to be steady and subtle throughout the practice.

Maintaining constitutional health ‘raksana’

It is important to keep practising once the above symptoms have reduced, as there is a tendency for them to return when complacency sets in. Practice is best done on a regular basis but you may need to adjust your practice according to how you feel and your needs at a particular time. It may be your practice moves from the grosser aspects to the subtle, and you may find yourself incorporating more meditative aspects into your practice.

‘Siksana’, a strict form of teaching which emphasizes a very disciplined approach to yoga and the different levels of body, breath and mind.

It is unusual to start from a ‘siksana’ approach as modern life has led to a great need for the two previous approaches to teaching. For example, most people need to bend the knees when taking a forward bend. However, there may still be a role for a ‘siksana’ approach, for example, this may be applied to working intensely, especially on areas of the spine.

[……]

Read more