10 Benefits of Restorative Yoga Practice for Older Adults
ld1y7

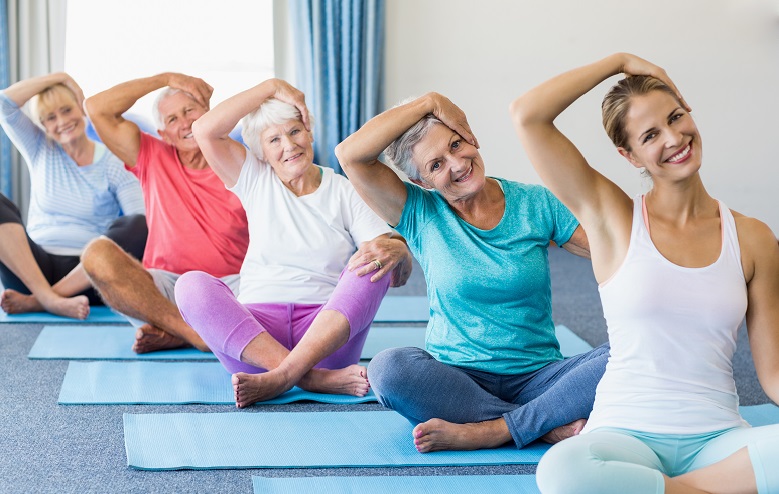
Commencing a yoga class, when you are past 50 years, can be an overwhelming or intimidating task, especially if you are obese or dealing with life-threatening diseases like diabetes or cancer. Although you may not wish to join a yoga class with younger practitioners, beginning a gentle yoga practice for starters is a good way of staying active and lowering your stress levels.

What is Restorative Yoga?

Restorative yoga involves the alignment of your physical and mental state using gentle movements or stillness over a period of time. It also includes the concept of mindfulness which allows the practitioners to be conscious and aware of everything that happens around them. Mindfulness not only increases the fitness levels for older people but also improves their sleeping patterns.

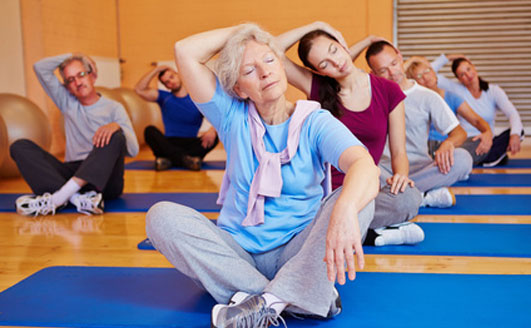
Restorative yoga is not only safe for older adults but also helps to keep their mind and body healthy. If you are past 50 years and want to start a yoga therapy course, then you need to find an instructor that will meet your needs.
tqi71

Benefits of Restorative Yoga in Fitness for Older Adults

Increased Flexibility

If you are searching for gentle stretching exercises that will help you achieve greater flexibility, then restorative yoga is a greater option. Flexibility exercises like restorative yoga are great if your joints are stiff or achy. A recent study conducted to investigate the effectiveness of yoga therapy in managing arthritis in older women, researchers concluded that restorative yoga offered therapeutic benefits.

Improves Respiration

As people become older, they are faced with various respiratory complications that can harm their health. This results in the reduction of oxygen supply in the body which can adversely affect your overall health. Scientists have discovered that 3-months yoga for adults program can help to improve respiratory functions in elderly women. Breathing is a basic unit of life. You can go for weeks without eating, but you cannot go even for few minutes without breathing, so you need to keep your respiratory system in good shape at old age.

Yoga Keeps Your Mind Sharp

Attending regular yoga practice sessions can help you to relieve the stress that had accumulated over a long time. This will help to keep your mind energized and centered on solving any problem at hand. When your body is working properly, you will have more vitality, and this will even enhance your moods.

Reduces High Blood Pressure

Hypertension is the most prevalent disease among the elderly nowadays. Recent clinical studies have shown that yoga therapy reduces oxidative stress in older adults. Oxidative stress is one of the leading causes of hypertension among the elderly.

Restorative Yoga Reduces Anxiety

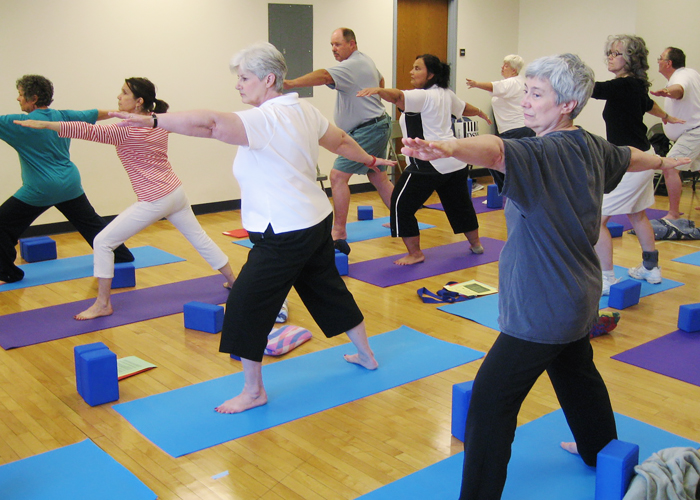
Yoga classes help your mind and body to relax, especially restorative yoga for older adults. When practiced regularly, it can help to reduce stress and anxiety in older adults. This is because it focuses on slow movements and breathes to trigger the nervous system.
hww0l

Relieves Menopausal Discomfort

Certain yoga poses can help you overcome the stress that comes with menopausal fluctuations. You can try poses such as the Bridge to help you overcome your menopausal symptoms.

Improves Your Bone Health

It is a well-known fact that weight-bearing exercises like yoga can help to prevent loss of bone density and reduces osteoporosis. Whether you want to relieve pain from a bone fracture or prevent osteoporosis, yoga exercises can be beneficial.

Increases Blood Circulation

The yoga relaxation exercises you learn can help to improve blood circulation in your hands and feet. This ensures that you have enough oxygen in your cells and this promotes proper functioning of your body.

Yoga Helps seniors to Shed Excess Weight

Yoga enhances determination and concentration in all areas of your life. Practicing yoga every day will help you lose more weight compared to people who did morning and evening walks during the same period.

Protect Your Joints

You may have noted that your joints are not as lubricated as they used to be when you in your late 20’s. If you practice yoga frequently, then your joints will become lubricated, and you will avoid risks of getting arthritis. You need to start taking good care of your joints to allow you perform daily tasks as you get old, because if you don’t arthritis or osteoporosis will strike you.

[……]

Read more

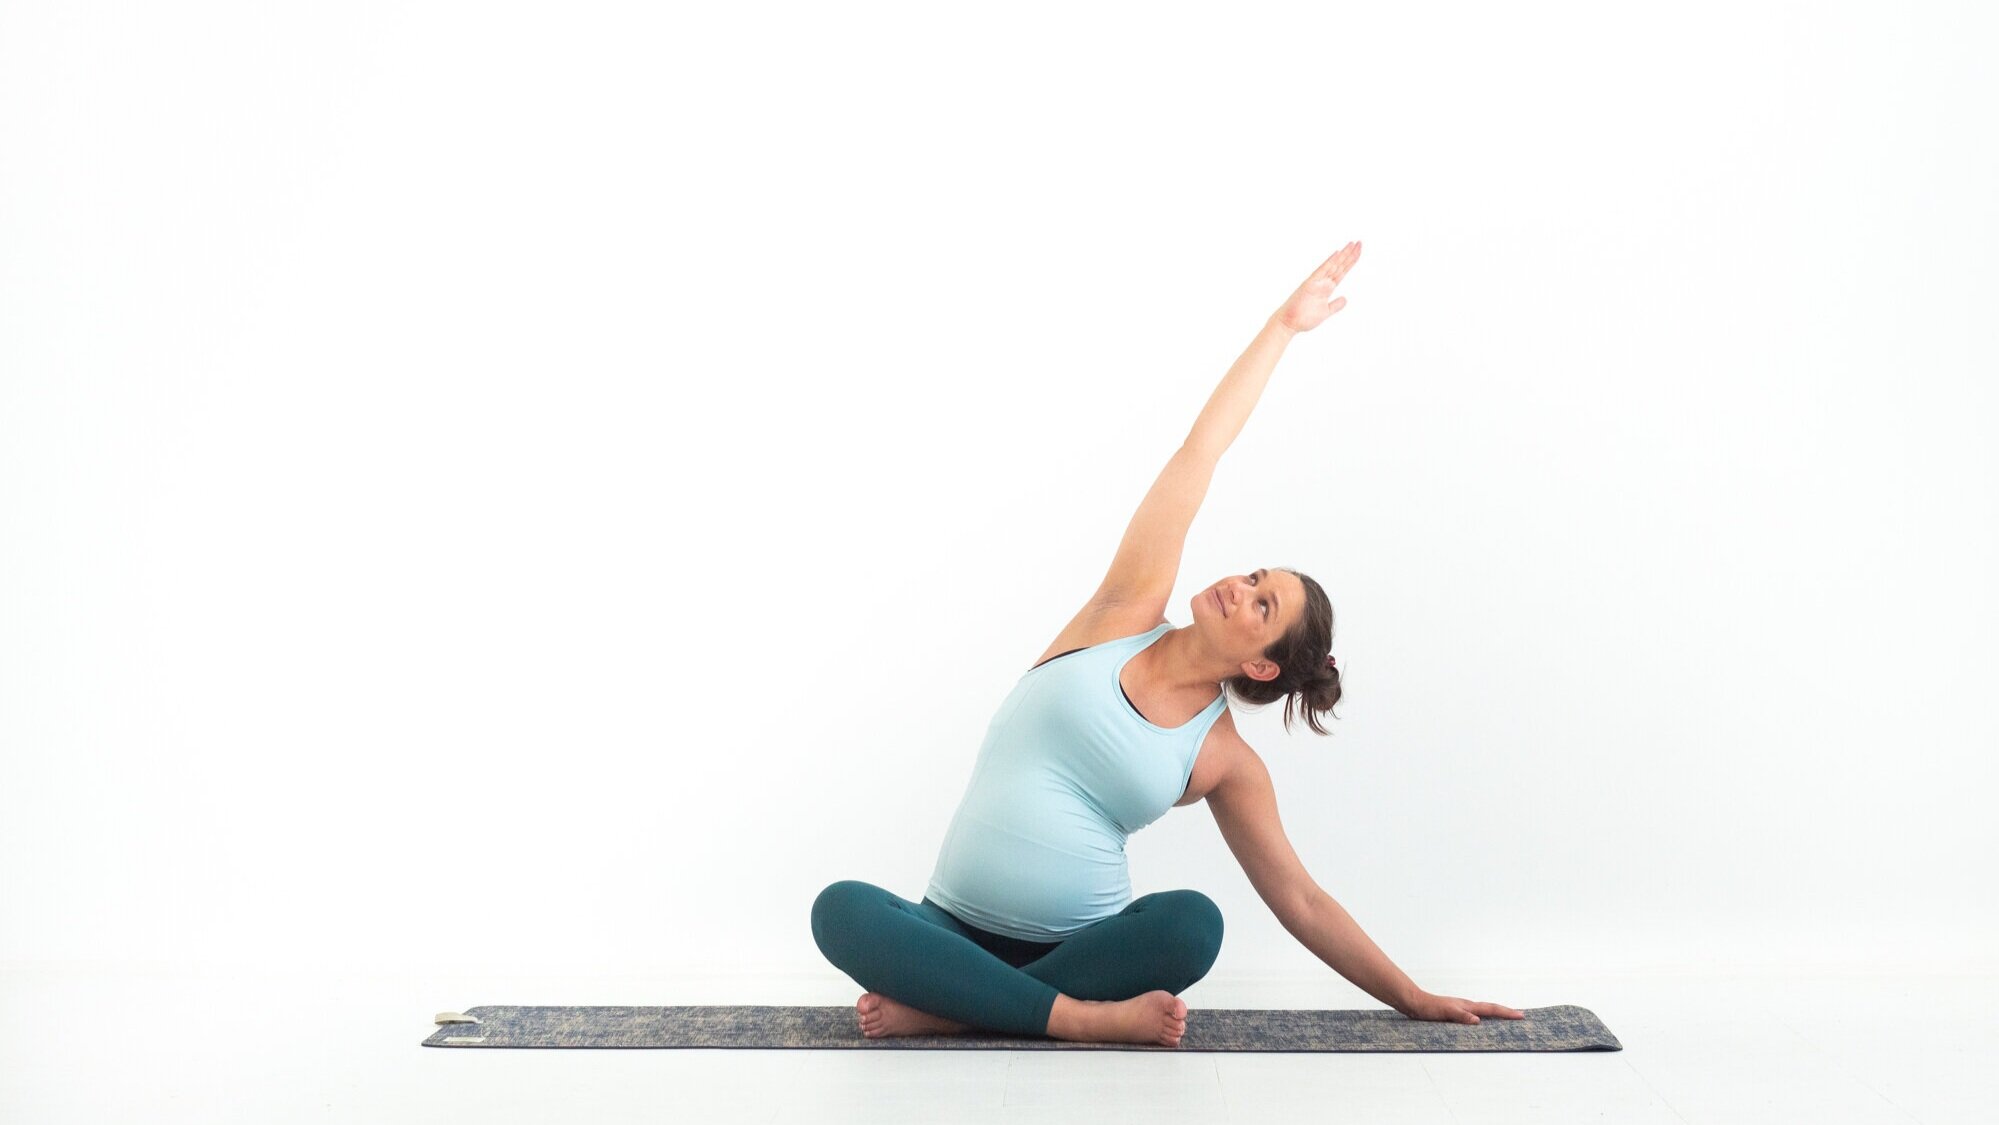
Bump & Flow Prenatal Yoga

89sqf

Are you cooking up a cute new addition and looking for a safe, accessible and budget-friendly way to keep active during pregnancy, to help prepare you for an active birth and get you set up for quicker postnatal healing? Well then you’ve come to the right place.

The Bump & Flow Online Studio is home to over 15hrs of specialist prenatal yoga videos that are suitable for everyone that has been cleared for movement.

Never done yoga before? This is a GREAT place to start? All these videos are suitable for beginners as well as more practised yoga lovers and you can practice them all through your pregnancy, right up until the day your sweet babe arrives!

“These prenatal yoga classes are SO much more than just “yoga poses that have been adjusted for pregnant and bodies.” They are designed to support you body, mind and heart throughout your pregnancy, to prepare you for physically and mentally for birth and put you in the best place possible for post natal healing.” – Kat x

[……]

Read more

Pranayama: The 4th Limb of Yoga Explained

s3v6r

It’s not for nothing that the breath plays an important role in asana class. You begin the class by focusing on your breath, and everything kind of settles down. The day and its activities start seeming more distant, and all of a sudden there is no hurry anywhere anymore.

The breath truly is the key in moving distractions from the mind.

What is Pranayama?

Pranayama is the fourth limb of the eightfold path of yoga. Prana is the vital life force and energy that runs through our body. This beautiful energy is constantly flowing through us, and through all living beings.

My yoga teacher used to say that the quality of our breath determines the quality of our lives, and many yogis believed that the length of one’s life is determined by number of breaths, not by number of years. The deeper you breathe, the longer you can live.

Pranayama is the act of controlling and directing this energy, namely by controlling the flow of breath. Pranayama involves many different breathing techniques that aim at slightly different results.

We can use the breath to calm and balance ourselves, to energize the body and the mind, to cool or heat the body, but it always aims at promoting and maintaining our overall health.

The Effects of Pranayama Practice

When we can control the breath, we can control the mind. If the mind is anxious, usually the breath tends to be shallow and fast, which in turn sends a signal to the nervous system that something is wrong.

By focusing and deliberately guiding and controlling the breath, we can send a signal to the nervous system that we are safe, everything is ok. This creates a place of peace and calm for the mind, the body relaxes and we receive space for concentration and meditation.

Physically, Pranayama is supporting the respiratory system by keeping it strong. We can also greatly influence the heart rate by controlling the breath. Long, steady breaths in and out for a period of time will slow down the heart rate and keep us in greater balance.

Pranayama goes together with asana practice and together they are considered to be the highest form of purification for the body and the mind.

How to Practice Pranayama in Your Daily Life?

When we start to practice Pranayama, it’s good to remember that we should never become breathless or anxious as we practice. Start slowly, and become aware of your breath in different situations in daily life.

If you are nervous or anxious, bring your awareness onto your breath and start to lengthen it. Make the exhale slightly longer than the inhale, and continue for few minutes. Observe the difference in the mind and the body.

As you are engaged in asana practice, you can keep your awareness in your breath. Try to keep the breath steady and long, and let the breath support you in the more challenging poses by making it deeper. When we bring more fresh air into the body, we bring more oxygen into the organs.

Study with your yoga teacher the different breathing techniques and explore their effects on you.

In its essence, Pranayama is easy to do in any place, any time. You can practice as you are sitting in a bus, or at your desk at work. Just a few minutes at a time, just a few controlled breaths at a time.

Bring your awareness into this beautiful movement that has been there for you since the very moment you were born.

[……]

Read more

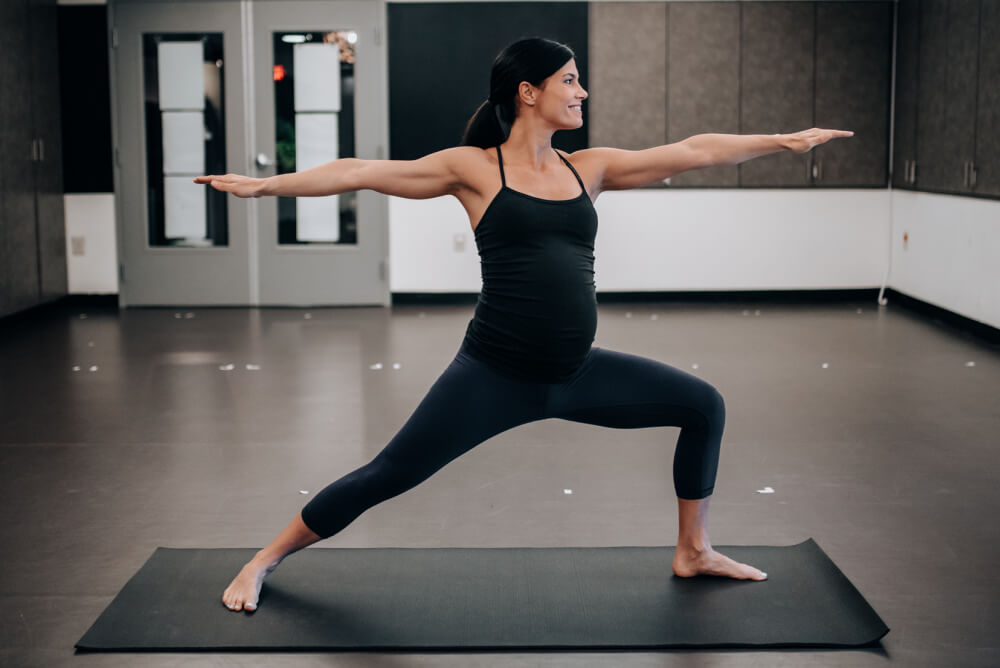
6 Tips for Modifying Your Power Yoga Practice During Pregnancy

I am almost three years out from practicing and teaching power yoga while pregnant but I still receive questions all the time about modifying power yoga for pregnancy while still maintaining a strong/regular practice. I recently relocated these prenatal yoga photos that Scott Broome shot for me a few weeks before my due date and just received the same question from a fellow expecting teacher and was inspired to write a post on the topic!

gginr

The most important thing to remember is that every single body is different and what feels good for one pregnant woman might not be the right thing for another. Personally, I was able to practice throughout my entire pregnancy and felt really great in my body but I have friends and students who either greatly scaled their practice or stopped practicing all together during pregnancy because it wasn’t working for them. I truly believe there’s not a black and white, right or wrong for practicing yoga during pregnancy and so much of it is unique to the yogi’s body and the baby they are carrying.

And now….here are my top tips for modifying your power practice for pregnancy with the assumption that you are listening to your body, practicing within the scope of what’s reasonable for your body and that your midwife or doctor is on board. Most of these tips are most applicable to the second half of pregnancy when your belly starts to really grow but can be implemented throughout all of pregnancy.

m9c4e

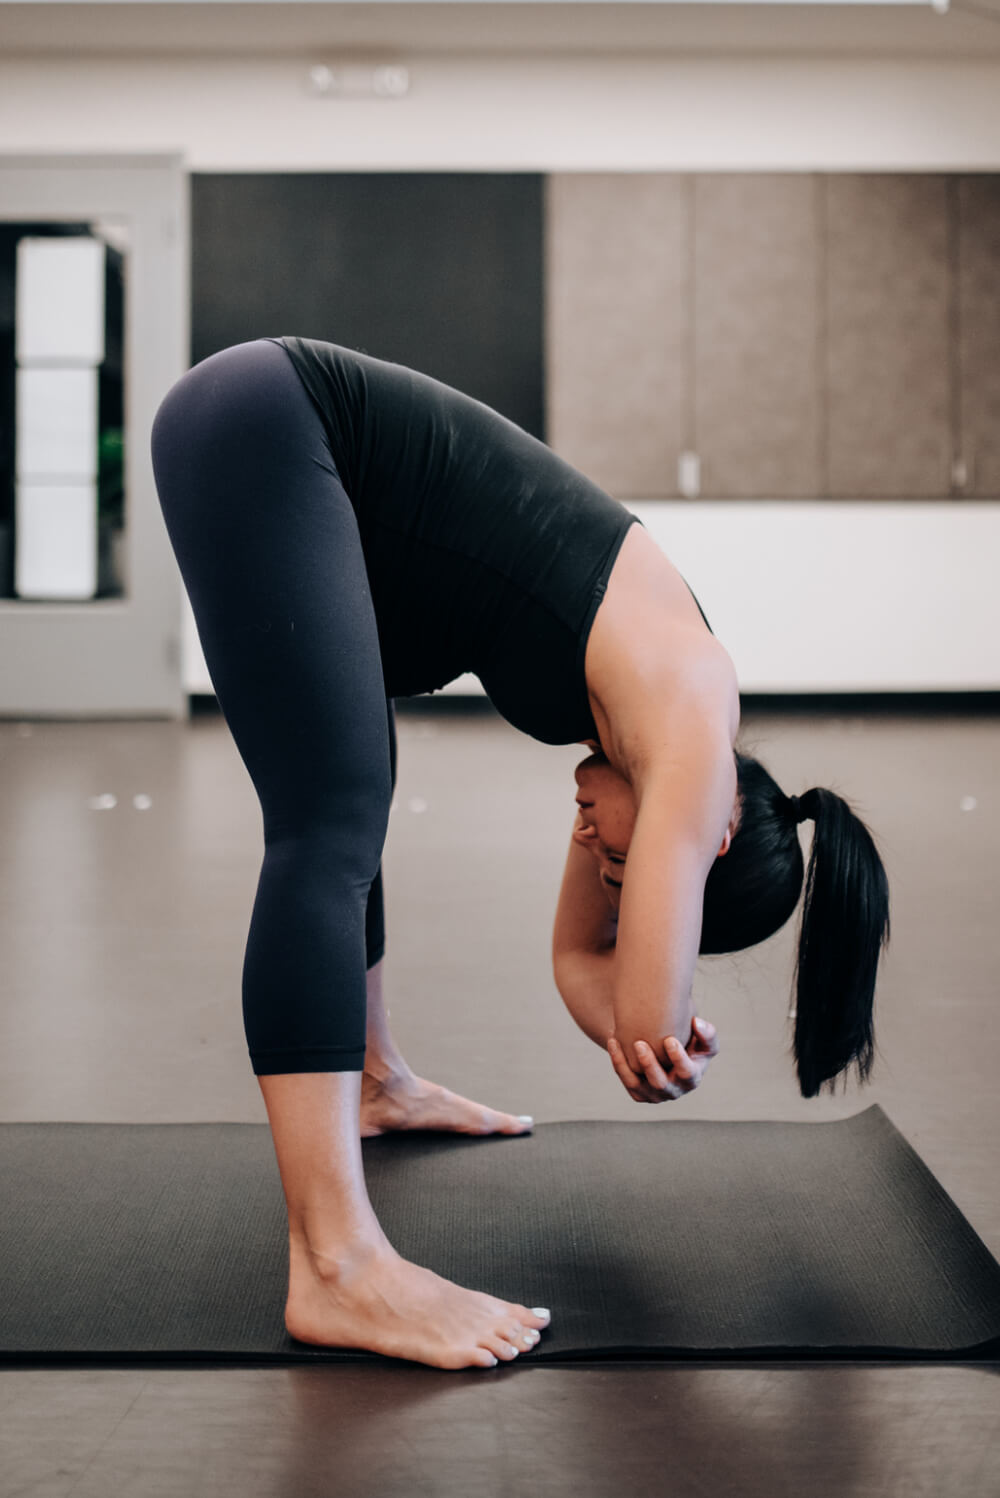
1. Widen legs and soften knees in forward folds.

Widening your base in forward folds where your feet would typically be hips distance apart (like rag doll, bound forward fold, padangusthasana and padahastasana) can be extremely helpful in creating space for your belly to fold forward without running into the the tops of your thighs. Take your feet about mats distance apart or even wider.

Softening your knees in forward folds is important for protecting your hamstrings from over-stretching, especially up near the attachment. Remember, when you are pregnant your body produces a hormone called relaxin. It’s meant to relax the ligaments in the pelvis and soften the cervix to prepare for birth but it tends to have an overall effect of causing joints to become more elastic and lose some stability. It’s important not to push the stretching part of your practice during pregnancy because of this hormone.

lw7t3

2. Bring blocks to the mat every time you practice.

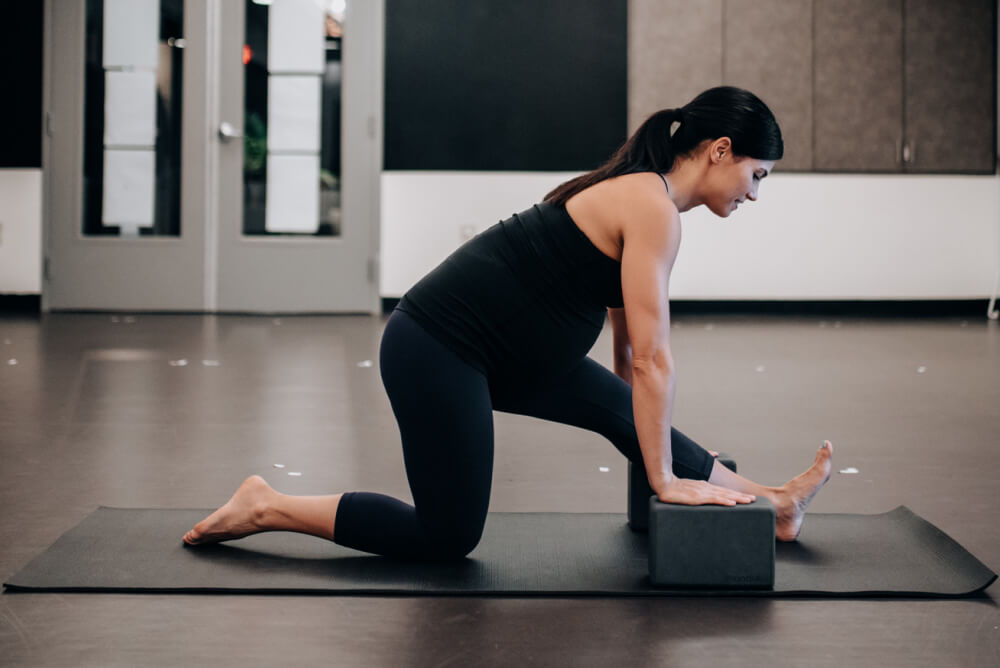
I rarely practice without a block even when I’m not pregnant but I never came to my mat without blocks when I was pregnant. Blocks are helpful for so many pregnancy modifications. Take the photo above for example, using a block under each hand in half splits allowed me to lessen the stretch on my hamstring and also create space for my belly so it wasn’t pressing into my thigh. It also allowed me to keep a long spine and avoid rounding of my back and shoulders.

rrfab

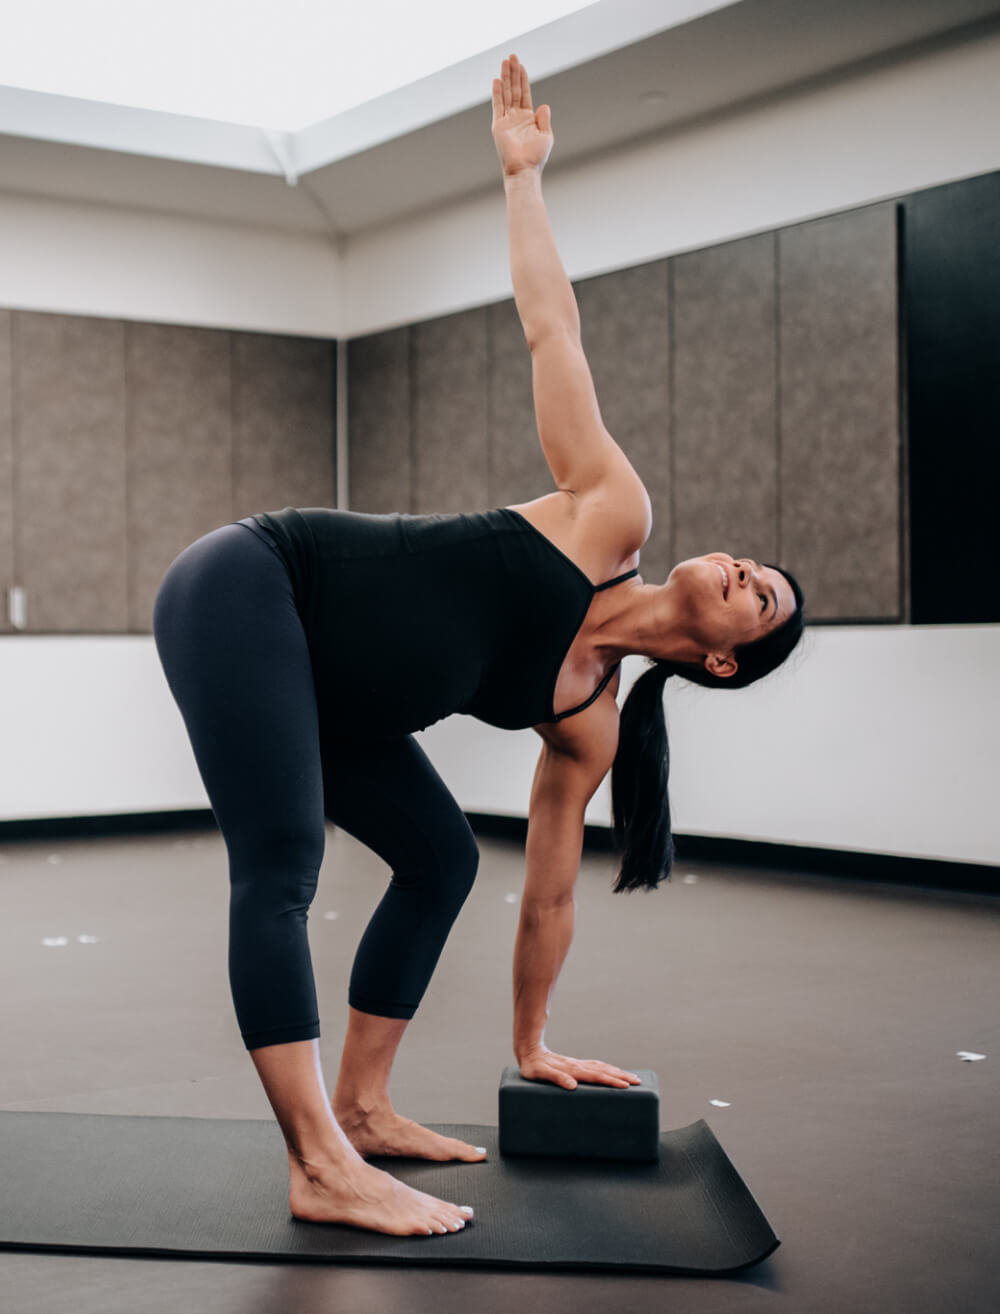
And in this photo the block is bringing the floor closer so that I can give my belly a lot of space to find this thoracic twist while maintaining axial extension of my spine from sacrum to crown.

ic9nt

3. Keep twisting, just open them up!

There is a misconception that pregnant yogis cannot twist. This is bad information. You can absolutely twist and its so healthy and good for your spine during pregnancy to get some movement, especially as the belly (and breasts!) grow and pull everything forward. Back pain is a common complaint among pregnant women and gentle twisting is great for maintaining mobility in the spine and alleviating some of that pain. The key is to never compress the belly when twisting. I’m going to show you some examples!

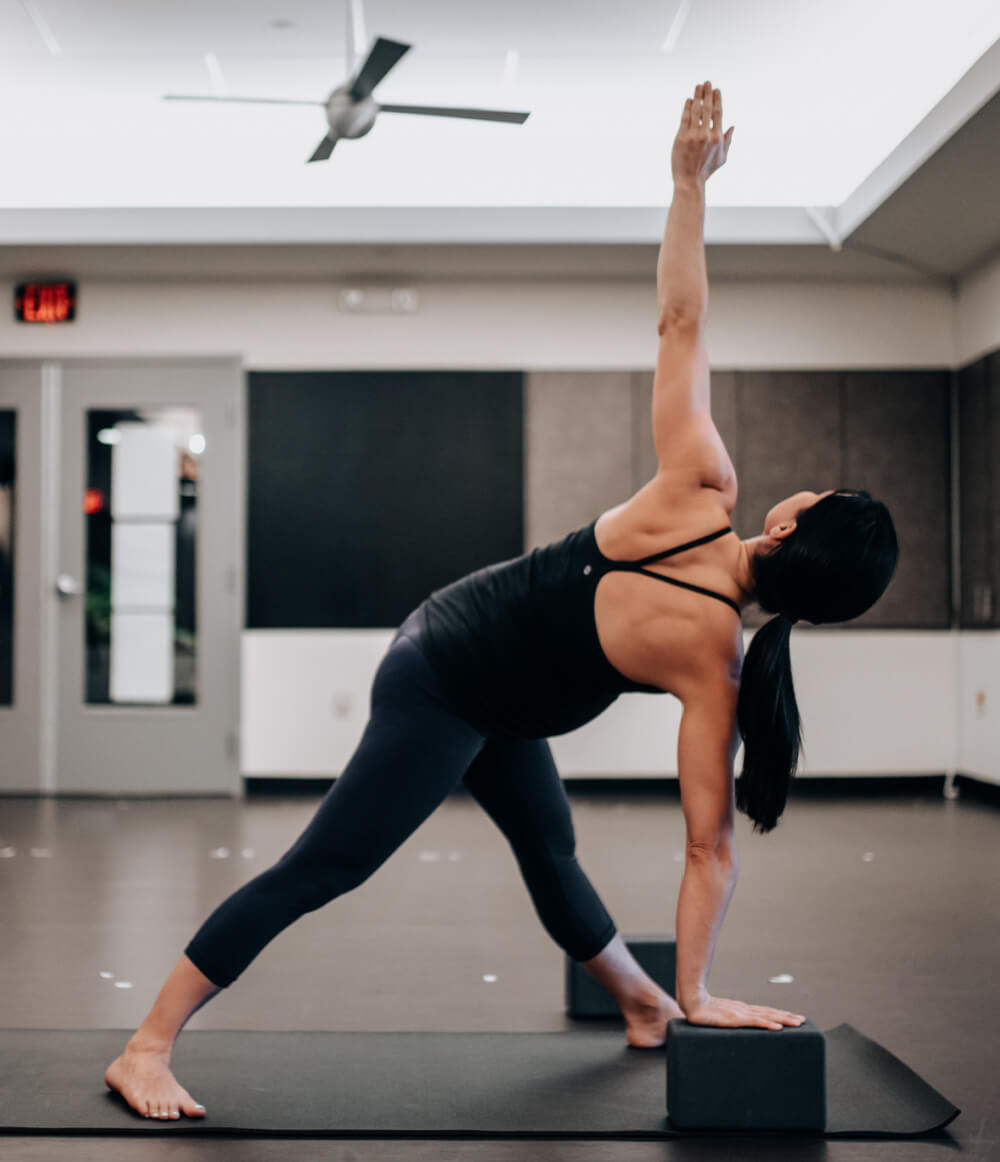
In the photo above I am practicing revolved triangle. Non-pregnant, I would have my hand much closer to my front foot or even crossed to the opposite side of it. Pregnant, I put my hand on a block and out wide enough that my belly isn’t pressing into my front thigh. I’m still getting a nice thoracic twist here but in a way that is free and open.

hxzc3

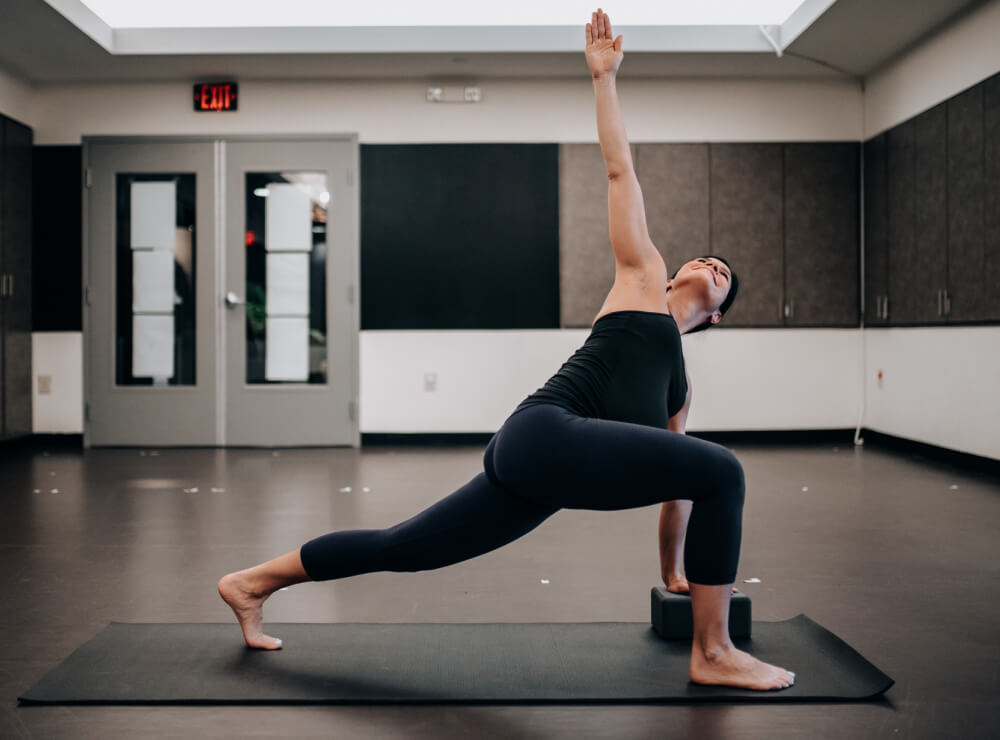
This is revolved side angle. You can see that once again I have my hand on a block and out wider to create space for my belly. I also used this pose as a modification for crescent lunge prayer twist throughout my pregnancy.

zbcia

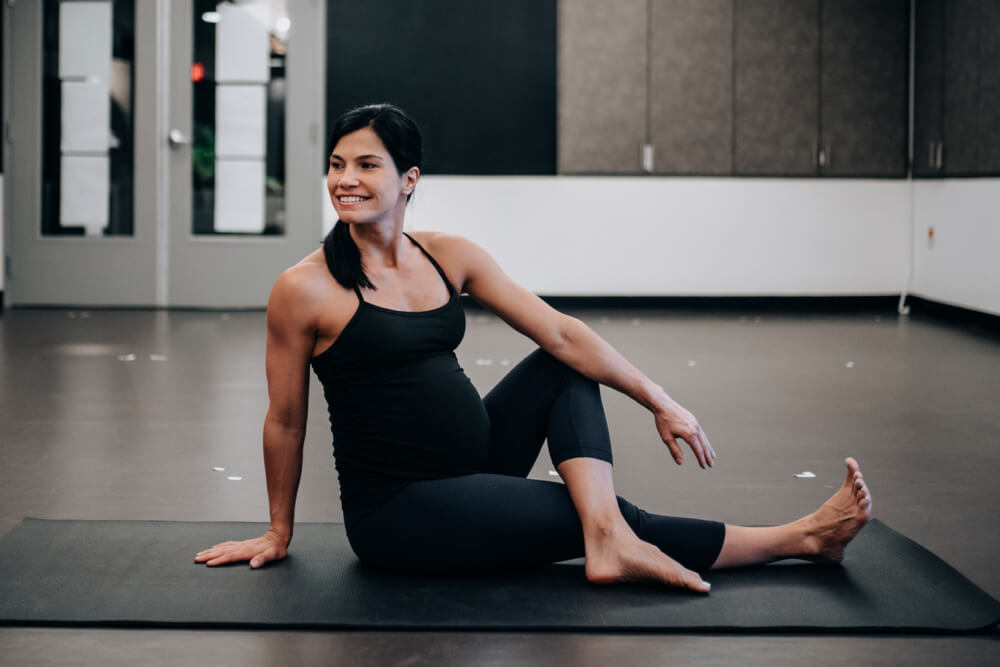
Finally, this is a seated twist. Instead of twisting the traditional way towards my knee, I keep the twist open and twist away from my knee to keep the belly free.

4. Scale back on backbends but you can keep doing them.

51bow

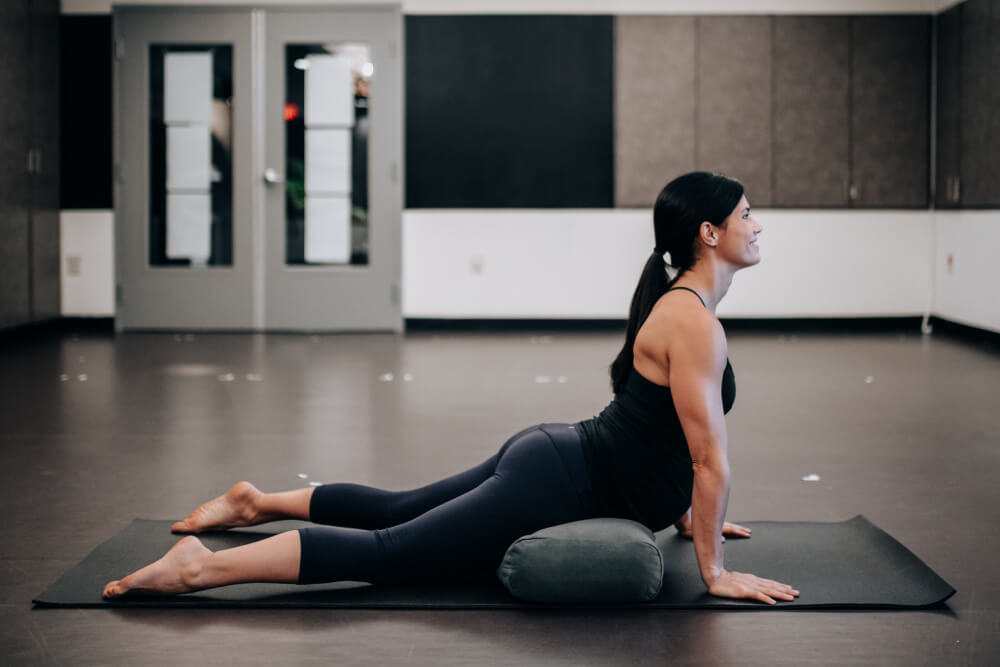
Typically, there are a lot of chaturangas in power yoga and that means a lot of upward facing dogs. I was able to up dog through my pregnancy although I found it helpful to ground my thighs and bring them wider than hips distance apart. Typically they were about mats distance apart like you see in the photo above. I can also be helpful to place a bolster under the tops of the thighs/hips for up dog but that can be difficult to do when you’re moving through a faster flow. It’s a great option for a static hold in up dog though to stretch the front body.

p1jn0

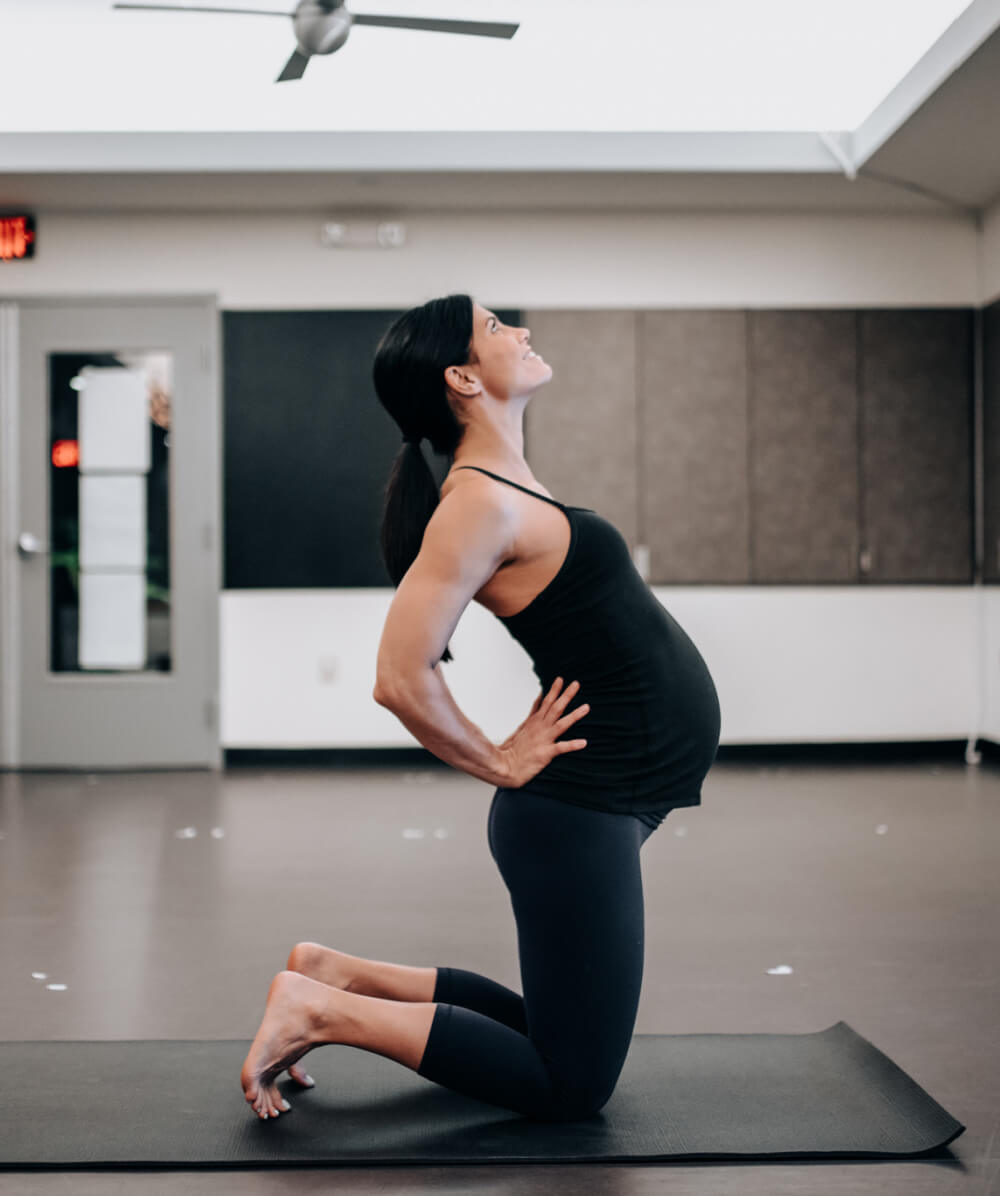
Camel variations can be great for pregnancy. If reaching back to the heels doesn’t feel like the right thing then hands to the low back can be a great way to still experience a nice backbend without overstretching the belly or compressing the low back.

l3qsj

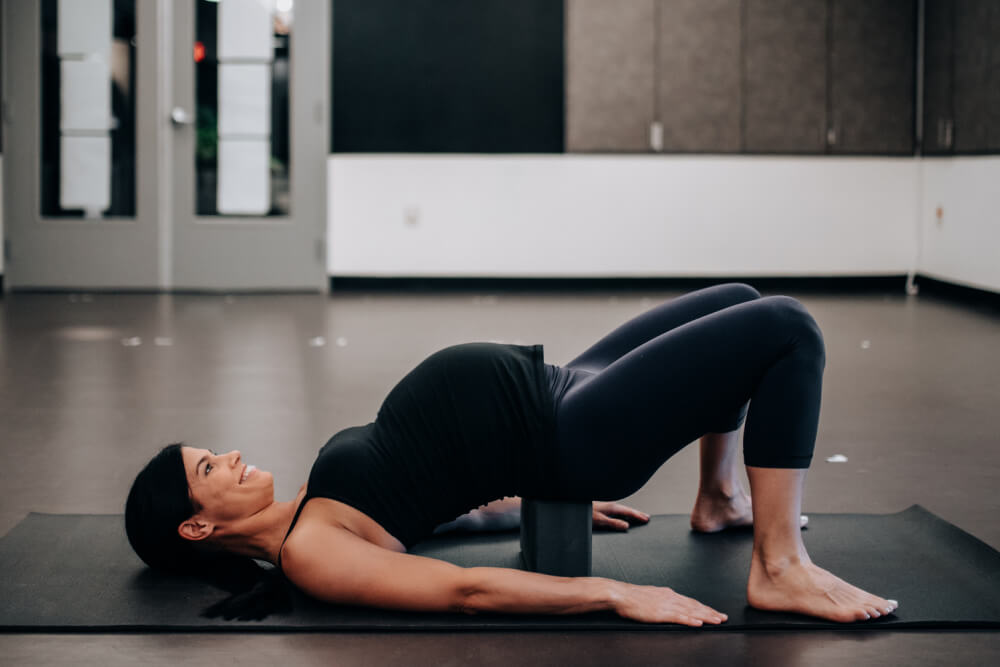
My favorite backbend for pregnancy is bridge pose and supported bridge on a block. This is one you can keep practicing right until the very end. Bridge without the block is beneficial for keeping glutes strong and engaged. Bridge on a block is a nice restorative post to alleviate tension/pressure in the low back and gently open the front body.

8p36q

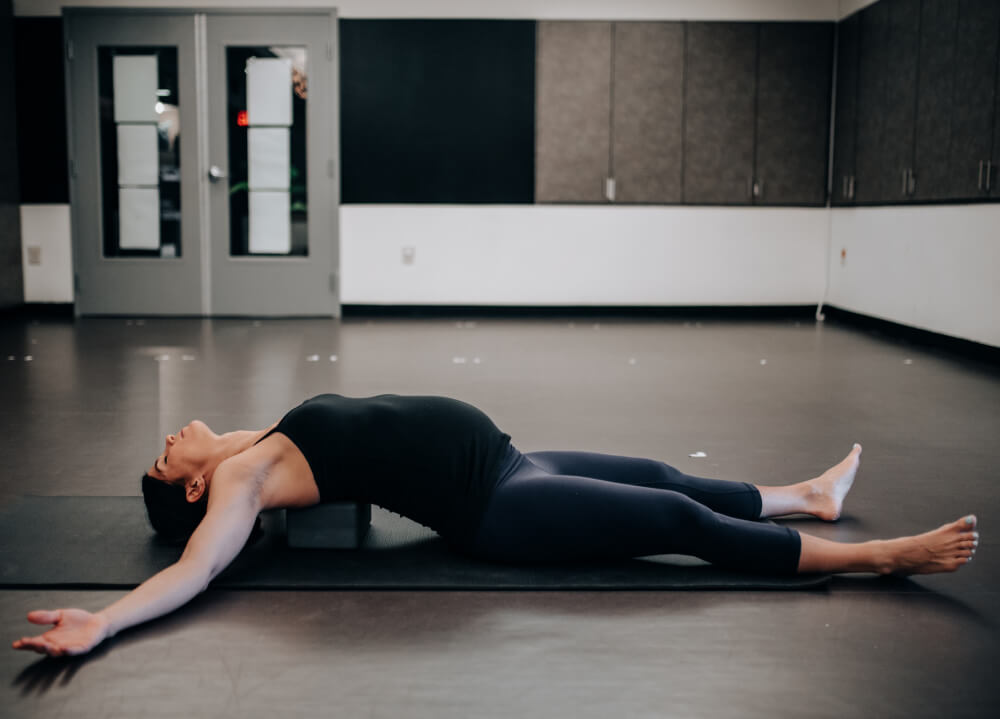
Supported fish is also super wonderful for getting all the benefits of a backbend in your chest, shoulders, throat and upper back without a big stretch of the belly or any compression of the low back.

What you want to avoid when it comes to backends in pregnancy is belly backbends like locust, sphynx and bow once you have a belly (these are typically okay in the first trimester) and super deep backbends like wheel because you don’t want to exacerbate any abdominal separation that might lead to diastasis recti.

5. Keep working your core.

znv8n

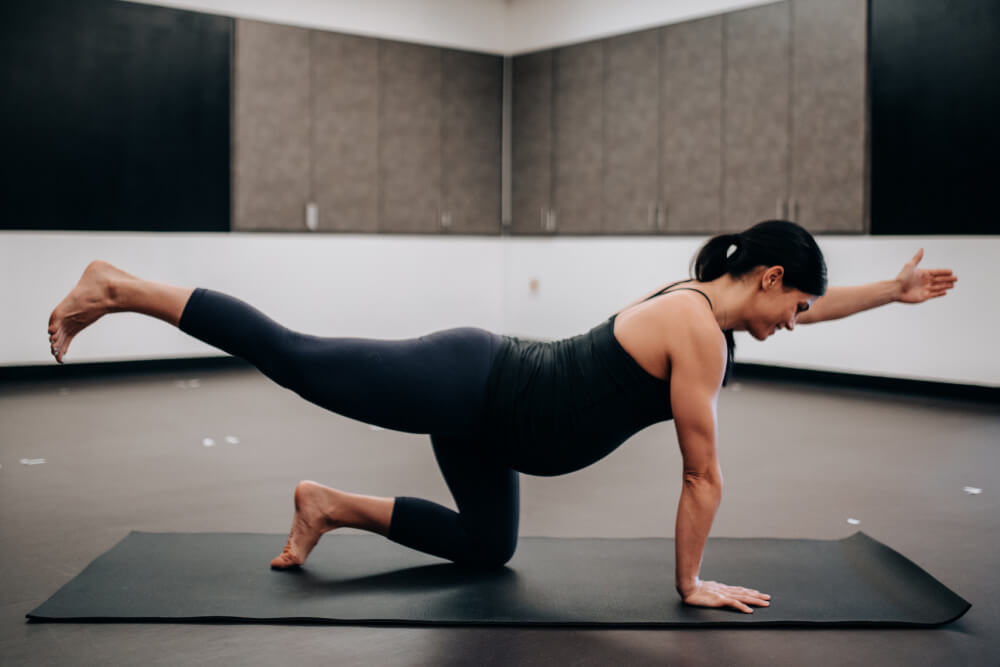
So many of my pregnant students wonder what to do when the rest of the class is planking, bicycling or crunching (these are things you definitely want to avoid, especially after the first trimester). My favorite recommendations are spinal balance variations, hip bridge lift and lowers, squats and diaphragmatic breathing. Oftentimes, I would just sit on a block and focus on my breathing or do some pelvic floor engagement.

Remember, your core is so much more than just your abs! It’s important to keep your low back muscles, glutes and hip flexors strong too.

6. How to take rest.

ginju

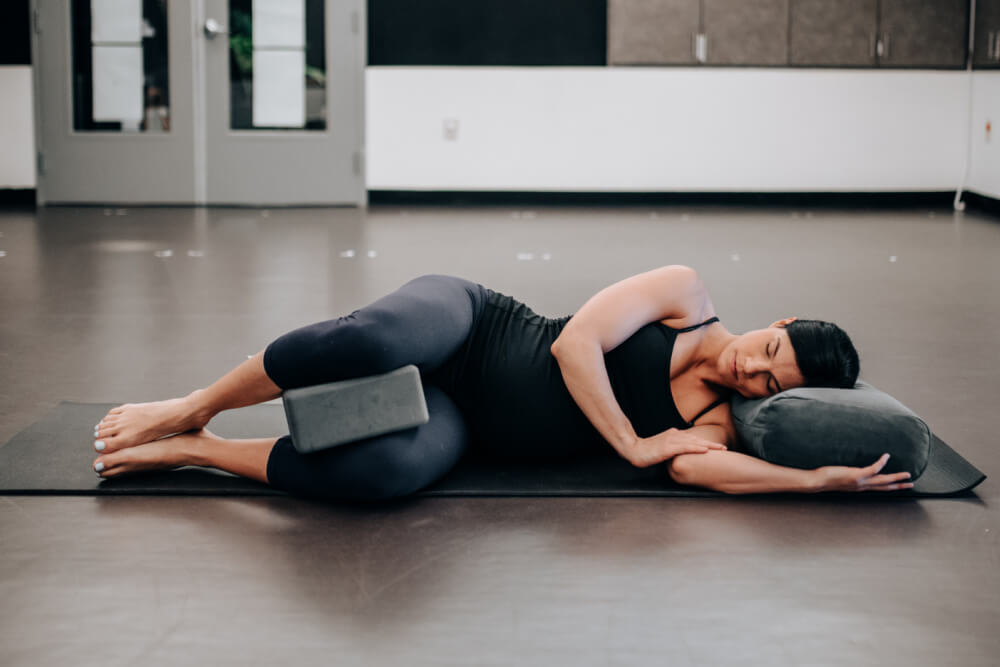
Generally, it’s recommended that once you start showing that you take savasana lying on your left side instead of on your back. That being said, I was comfortable on my back up until the third trimester so don’t stress if that feels good for you! A few minutes on your back is not something to worry about. When you do take savasana on your left side, you may be more comfortable placing a block beneath your knees to square your hips and your head on a bolster. If you’re not comfortable lying down for savasana (hello heartburn), you can also take a comfortable seated position. I like to sit with hips elevated on a block.

[……]

Read more

Kundalini Yoga Meditation – Benefits & How to Do?

Do you want to achieve enlightenment? Learn Kundalini Yoga meditation, the school of yoga that awakens your full potential for awareness of the spiritual.

i8hwn

Introduction

Kundalini is a powerful style of meditation that can help you achieve enlightenment through a combination of different techniques. In this article, you will learn everything you need about Kundalini Yoga meditation, its potential benefits, how to practice it, and other meditation styles to help you achieve your goal.

Intro to Kundalini Yoga

“Kundalini” is a Sanskrit term meaning “coiled,” as it lies at the base of your spine (Root chakra), coiled like a snake. It is a specific type of meditation that may help you achieve the ability to have full awareness, awakening, or enlightenment.

Where Kundalini came from is not clear. However, according to studies, it has been practiced in India since 500 BCE. Practitioners of Kundalini believe that everyone has the divine within them. This divine sometimes lays dormant and needs an awakening.

In the west, Yogi Bhajan popularised the Kundalini Yoga meditation. He developed and introduced his style of Kundalini yoga in the United States in the late 1960s. Since then, it has become popular.

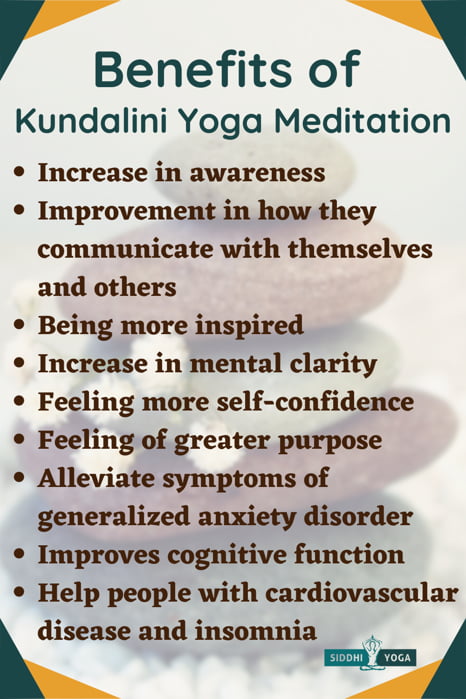
Practitioners of Kundalini yoga meditation report the following benefits:

Increase in awareness

Improvement in how they communicate with themselves and others

Being more inspired

Increase in mental clarity

Feeling more self-confidence

Feeling of greater purpose

Kundalini Yoga meditation

A Kundalini meditation combines a few techniques to unite with the divine feminine energy. These techniques are called Kundalini kriyas. These are:

Pranayama

Pranayama is a Sanskrit term that comes from the words “prana,” which means life force, “yama,” which means expansion or extension, and “ayama,” which means control. It means the expansion of the breath or breath control.

Pranayama is a big part of Kundalini yoga. Depending on the Kundalini yoga teacher or the theme of the yoga class, the specific type of Pranayama you practice in the class will be different.

The Pranamayas Kundalini yogis practice include:

Long Deep Breathing: This type of breathing exercise is suitable for beginners since it doesn’t involve complex suspension or extension of the breath. It only consists of breathing deeply and slowly through your nostrils.

Breath of Fire: This breathing exercise involves quick and rhythmic inhales and exhales that practitioners need to sustain for a certain period.

Nadi Shodhana: You may know this Pranayama as Alternate Nostril Breathing. It’s a breathing exercise that balances the brain’s Nadis or left and right hemispheres.

Mudras

Mudras are hand gestures that are necessary aspects of a Kundalini yoga meditation practice. Kundalini yogis believe that hands have connections with the brain. You can lock in energy or stimulate it by doing various hand placements.

Gyana Mudra is the most common hand gesture in a Kundalini yoga practice. This Mudra directs energy and maintains focus on that energy. You can do this by bringing your thumb and index fingers together.

Mantras (Phrases)

Chanting mantras or phrases is another essential technique in practicing Kundalini yoga. It is a phrase you utter internally or could be spoken out loud and repeated. It is a vibration or sound that helps the practitioner enter into a deep state of meditation.

A common mantra you chant in Kundalini Yoga is “Sat Nam.” It comes from the Sanskrit words “Sat,” which means truth, and “Nam,” which means name. It can mean, “I am the truth,” or “Truth is my essence.”

Physical Movements

The physical movements in Kundalini yoga differ from that of Hatha Yoga. In Kundalini yoga, you do the movements while in a seated posture.

One of the most common physical movements Kundalini yogis practice is the Ego Eradicator. You do this by sitting in Sukasana or easy pose, folding the four fingers while sticking the thumb out, and bringing the arms overhead at a 45-degree angle. Practicing this movement opens the lungs and brings you into an alert state. You usually practice it with the breath of fire in the morning or midday for a quick energy boost.

Takeaway: Kriyas mean completed action. You have achieved the exercises necessary to rouse the Kundalini when you practice these exercises. The Kundalini will now be ready to move along your chakras (energy centres) until it reaches the seventh chakra. This Sahasrara chakra sits at the crown of the head and is the centre for ultimate wisdom and enlightenment.

How to Practice Kundalini Yoga Meditation

There are thousands of ways to do a Kundalini Yoga meditation. It depends on the specific outcome you wish to achieve. You are doing it correctly as long as the kriyas are all present. If you have a particular concern and you want to be your focus, ask for a Kundalini yoga teacher to offer you guidance.

The structure of a basic Beginner’s Kundalini yoga meditation could look like this:

Prepare for meditation. As much as possible, do it when there are fewer distractions, such as in the early morning or before bed. Wear something light and loose. Practitioners of Kundalini yoga believe that wearing light clothing attracts lightness. They also think wearing a shawl or a headcover promotes energy flow.

Once ready, sit on a chair, a bolster, or directly on the ground. You can do any meditation posture. Find the seated posture that you can sustain throughout the whole duration of your meditation. Then, bring your hands in Anjali Mudra or prayer hands in front of your chest and close your eyes. Start tuning into your body by noticing the sensations you feel.

With your eyes still closed, bring your Drishti or gaze towards the Third Eye chakra, which sits between your eyebrows. Focus on the Third Eye chakra.

Use a mantra. Mantras help direct your focus. You can recite any mantra you like at any pace that’s comfortable for you. You can start with Sat Nam if you are new to this type of meditation. If Sat Nam or any mantra you come across doesn’t resonate with you, don’t force it.

Begin bringing your awareness towards your breath. Notice your inhales and exhales, their duration, the temperature, and how your body feels as you do them. Then start practicing Pranayama. You can begin with deep breathing, inhaling, and exhaling for 3 to 4 seconds.

After a while, start doing a Mudra or a hand gesture. You can do the gyana Mudra, bringing the tip of your thumb and pointer finger together. This Mudra promotes wisdom and creativity.

Bring your attention back to your breath. Then start dividing the breath into equal segments. So instead of inhaling and exhaling for 4 seconds, you inhale four times, then exhale four times while making sure that you draw your navel in as you inhale and exhale. This breathing exercise is the breath of fire. Each inhale and exhale should be quick, but the rhythm depends on you. Do this for a few minutes. If the mind wanders away from the breath, gently bring your awareness back to it without judgment.

Return your attention to your breath when it wanders without judgment. Even long-time meditation practitioners do this. What matters is that you go back to the breath.

End your meditation with one deep inhale and one slow exhale. Then fold your fingers, stick your thumb out, and raise your arms overhead for an Ego Eradicator.

[……]

Read more